Arduino Uno R4 WiFi Web Server with Authentication - Username and Password
Arduino Uno R4 WiFi - Web Server with Basic Authentication
This example demonstrates how to create a secure web server with HTTP Basic Authentication on Arduino Uno R4 WiFi using the UnoR4WiFi_WebServer library.
Hardware Required
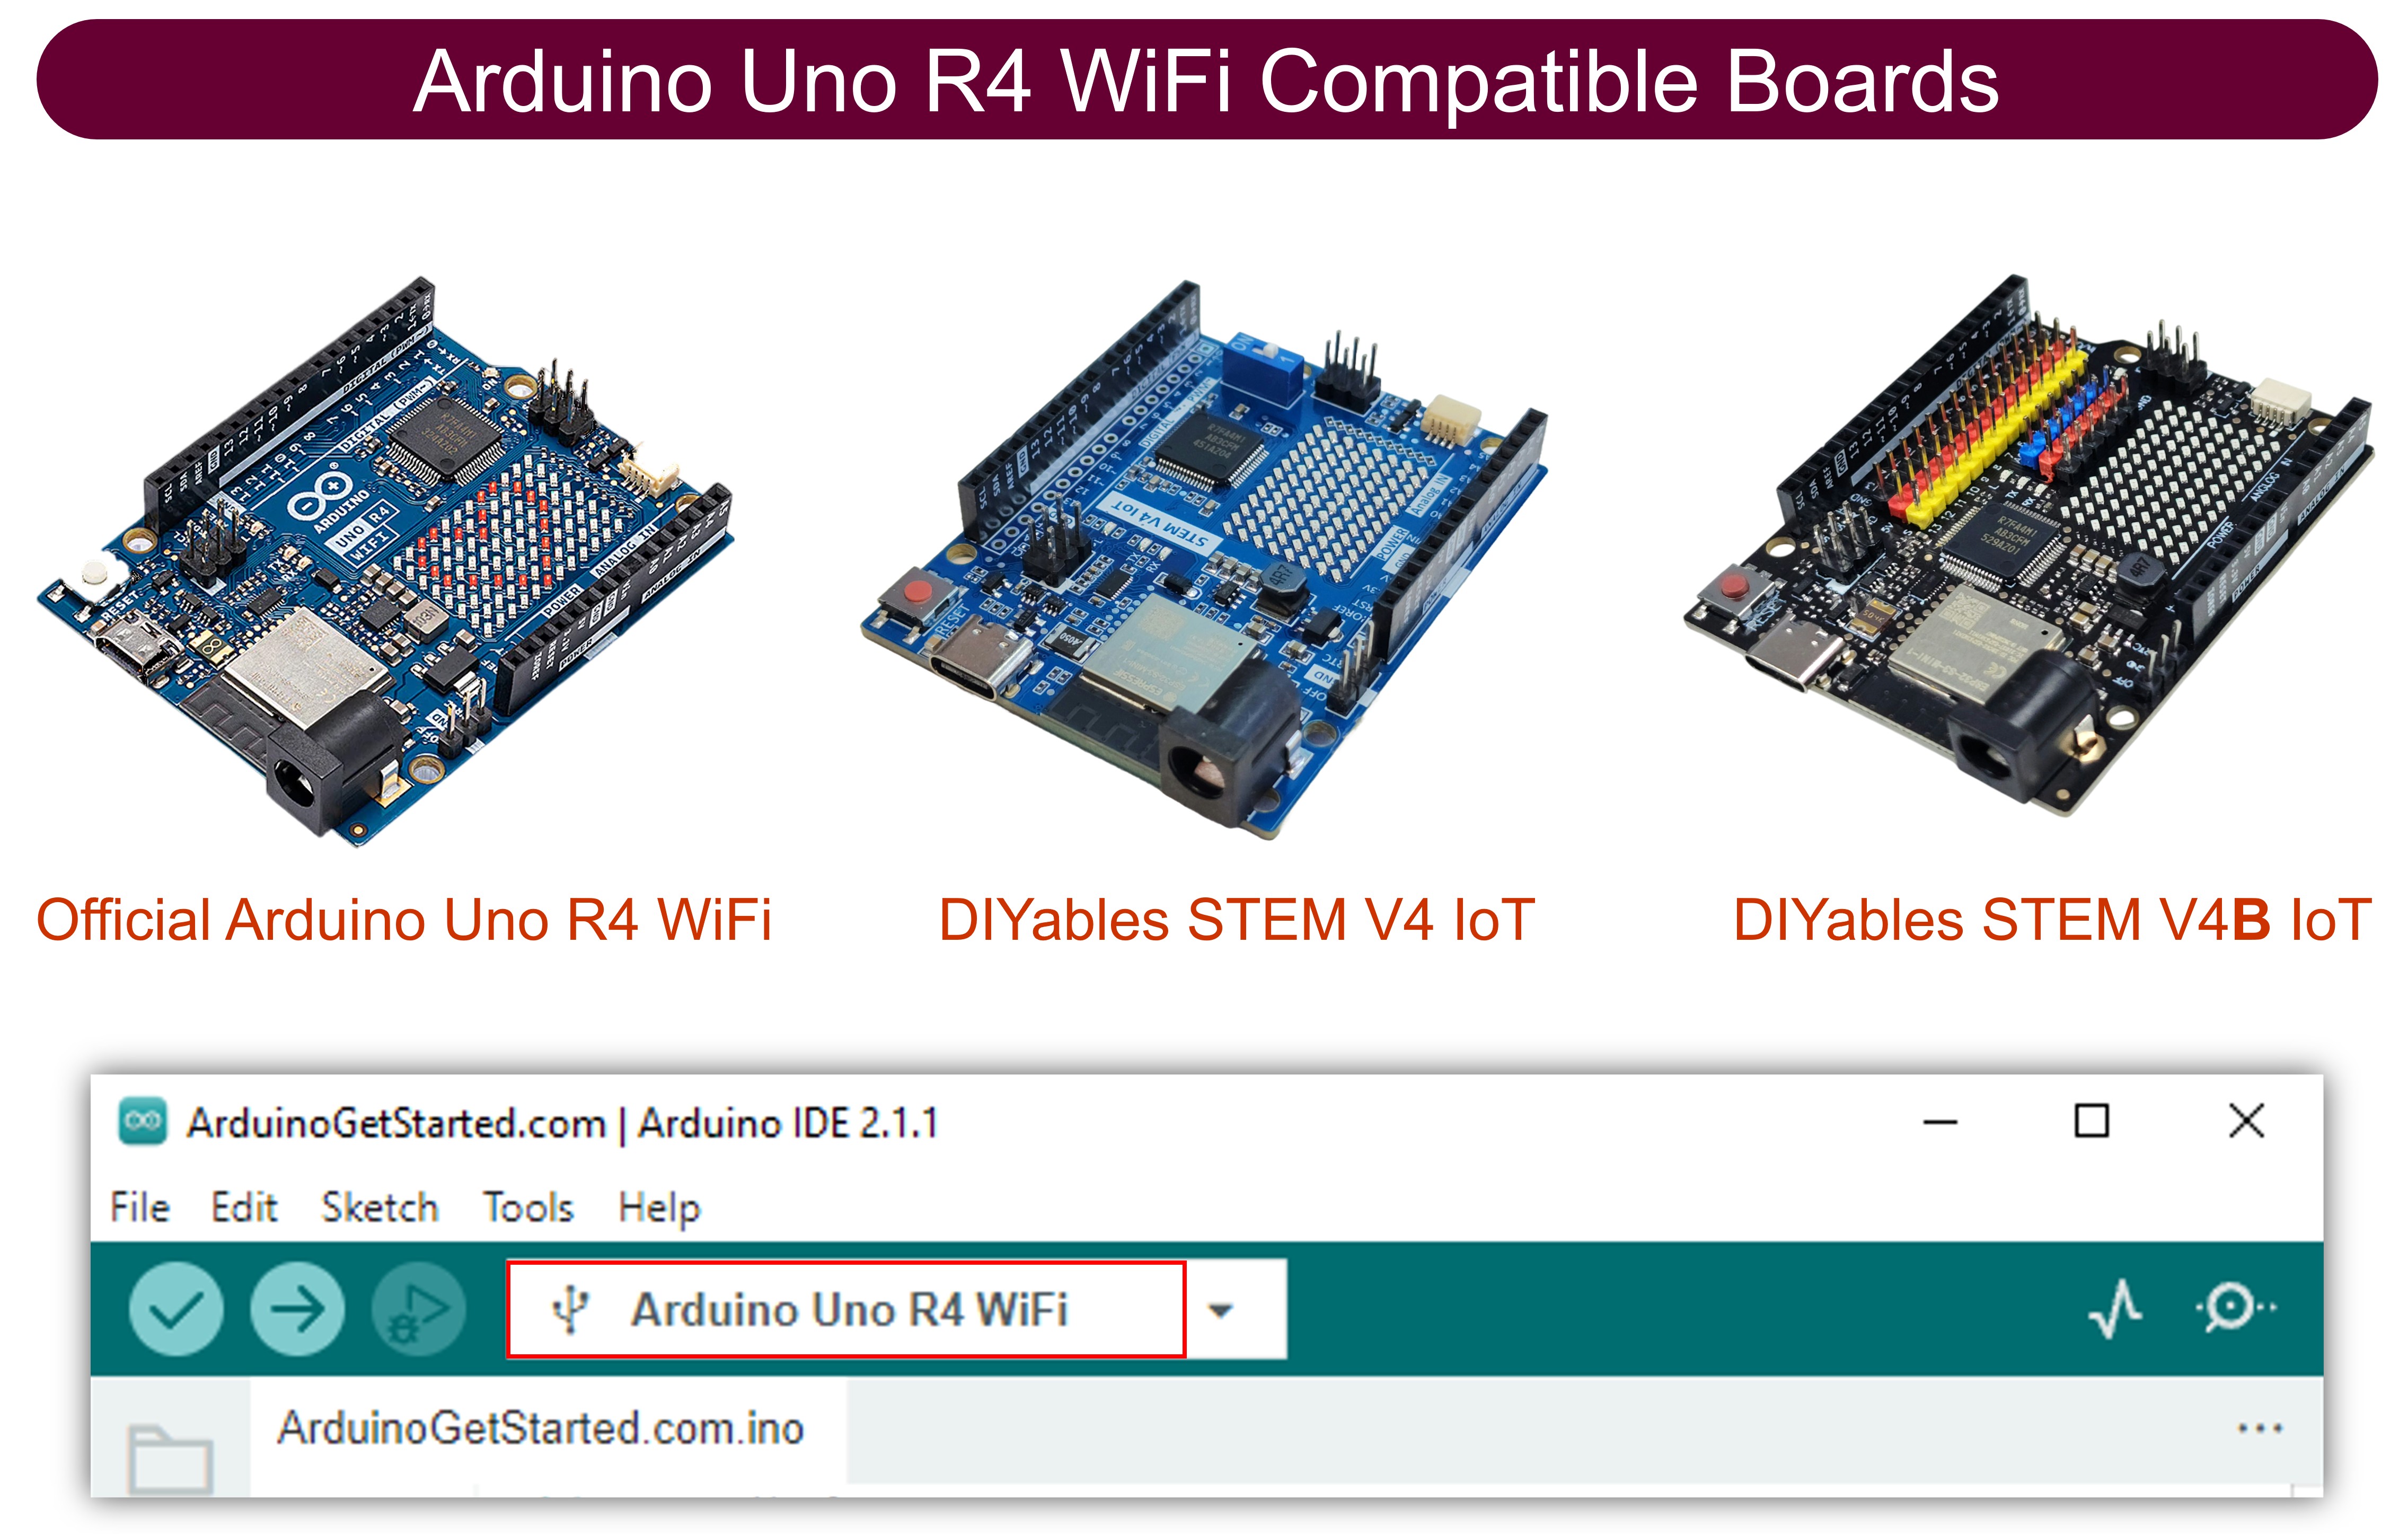
| 1 | × | Arduino UNO R4 WiFi | |
| 1 | × | Alternatively, DIYables STEM V4 IoT | |
| 1 | × | Alternatively, DIYables STEM V4B IoT | |
| 1 | × | USB Cable Type-C |
Additionally, some links direct to products from our own brand, DIYables .
Features Demonstrated
- HTTP Basic Authentication
- Username and password protection
- Browser-native login dialogs
- Secure access control
- Simple authentication setup
Library Installation
Follow these instructions step by step:
- If this is your first time using the Arduino Uno R4 WiFi/Minima, refer to the tutorial on setting up the environment for Arduino Uno R4 WiFi/Minima in the Arduino IDE.
- Connect the Arduino Uno R4 board to your computer using a USB cable.
- Launch the Arduino IDE on your computer.
- Select the appropriate Arduino Uno R4 board (e.g., Arduino Uno R4 WiFi) and COM port.
- Open the Library Manager by clicking on the Library Manager icon on the left side of the Arduino IDE.
- Search for Web Server for Arduino Uno R4 WiFi and locate the mWebSockets by DIYables.
- Click on the Install button to add the mWebSockets library.

Web Server Example
- On Arduino IDE, Go to File Examples Web Server for Arduino Uno R4 WiFi WebServerWithAuthentication example to open the example code
Circuit Diagram
No additional wiring required - this example uses only the built-in LED and WiFi functionality of the Arduino Uno R4 WiFi.
Setup Instructions
1. Network Configuration
Edit the WiFi credentials directly in the WebServer.ino file:
2. Upload Code and Monitor Output
- Connect your Arduino Uno R4 WiFi to your computer
- Select the correct board and port in Arduino IDE
- Upload the WebServer.ino sketch
- Open Serial Monitor (9600 baud)
- Wait for WiFi connection
- Note the IP address displayed
- If you do not see IP address in Serial monitor, press the reset button on the Arduino Uno R4 WiFi or DIYables STEM V4 IoT board
How It Works
1. Authentication Setup
The example enables HTTP Basic Authentication with:
2. Automatic Protection
Once authentication is enabled, all routes are automatically protected. Users must provide valid credentials to access any page.
3. Browser Integration
When users visit the web server:
- Browser displays a login dialog
- User enters username and password
- On success: Page loads normally
- On failure: 401 Unauthorized page is shown
4. Credential Storage
Browsers cache credentials for the session, so users don't need to log in repeatedly.
Security Considerations
✅ Suitable For:
- Home networks and trusted environments
- Internal IoT devices
- Development and prototyping
- Educational projects
⚠️ Limitations:
- Credentials are Base64 encoded, not encrypted
- No HTTPS support (Arduino platform limitation)
- Single username/password combination
- Not suitable for production use over public networks
🔒 Best Practices:
- Change default credentials immediately
- Use only on trusted networks
- Consider additional network security (VPN, firewall)
- For high-security applications, add additional authentication layers
Testing the Authentication
- Upload the code to your Arduino Uno R4 WiFi
- Open Serial Monitor to see the IP address
- Visit the IP address in your web browser
- Login dialog appears - enter credentials:
- Username: admin
- Password: arduino
Customization Options
Change Credentials
Custom Realm
Disable Authentication
Check Authentication Status
Backward Compatibility
Authentication is disabled by default, so existing code continues to work without modification. Enable authentication only when needed:
Troubleshooting
Browser Keeps Asking for Credentials
- Check username/password for typos
- Clear browser cache/cookies
- Verify credentials match exactly
Cannot Access Any Pages
- Authentication protects ALL routes when enabled
- Use server.disableAuthentication() to test
- Check Serial output for authentication messages
Authentication Not Working
- Ensure enableAuthentication() is called after server.begin()
- Verify credentials are within length limits (31 characters max)
- Check for special characters in passwords
※ ARDUINO BUY RECOMMENDATION
| Arduino UNO R3 | |
| Arduino Starter Kit |