Arduino Uno R4 WiFi REST API Server with JSON
WebServerJson Example - REST API Server
Overview
This example demonstrates how to create a REST API server on Arduino Uno R4 WiFi that handles JSON requests and responses, perfect for modern web applications and mobile app backends.
Features
- REST API endpoints with JSON request/response handling
- POST request processing with JSON data parsing
- GET endpoints for data retrieval
- Professional JSON responses with proper HTTP status codes
- Error handling with appropriate JSON error messages
- CORS support for cross-origin requests
Hardware Required
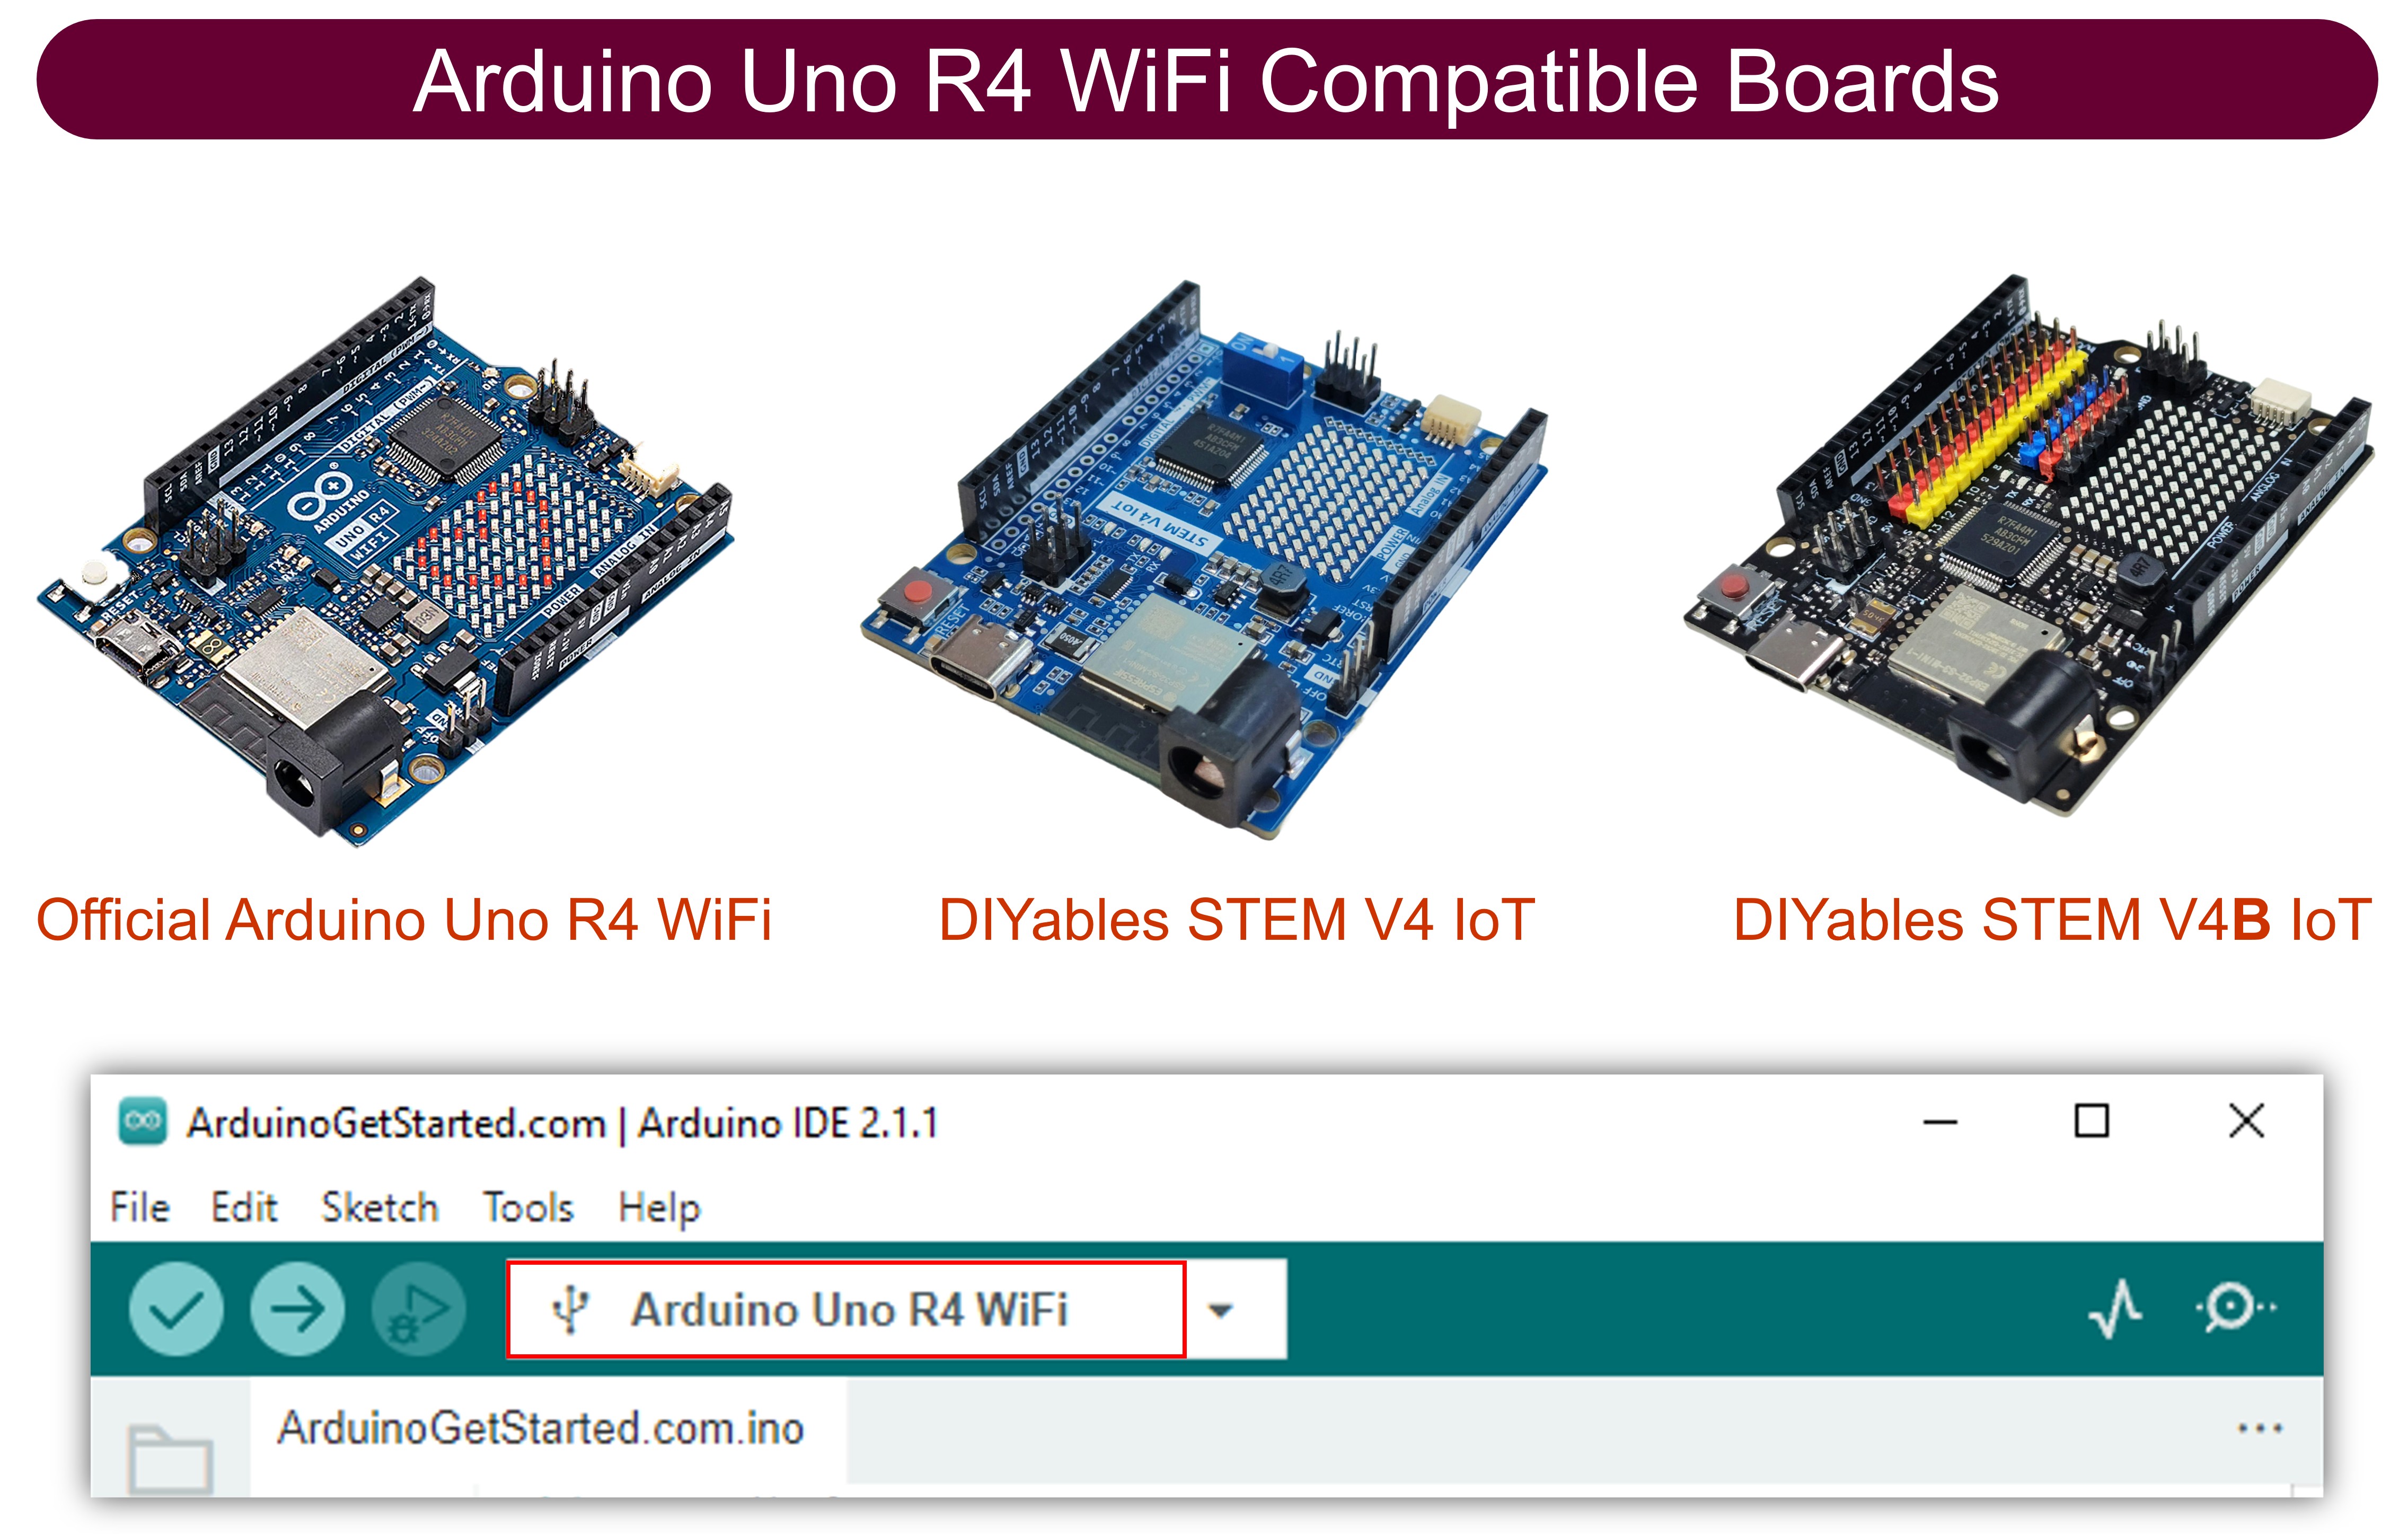
| 1 | × | Arduino UNO R4 WiFi | |
| 1 | × | Alternatively, DIYables STEM V4 IoT | |
| 1 | × | Alternatively, DIYables STEM V4B IoT | |
| 1 | × | USB Cable Type-C |
Additionally, some links direct to products from our own brand, DIYables .
Library Installation
Follow these instructions step by step:
- If this is your first time using the Arduino Uno R4 WiFi/Minima, refer to the tutorial on setting up the environment for Arduino Uno R4 WiFi/Minima in the Arduino IDE.
- Connect the Arduino Uno R4 board to your computer using a USB cable.
- Launch the Arduino IDE on your computer.
- Select the appropriate Arduino Uno R4 board (e.g., Arduino Uno R4 WiFi) and COM port.
- Open the Library Manager by clicking on the Library Manager icon on the left side of the Arduino IDE.
- Search for Web Server for Arduino Uno R4 WiFi and locate the mWebSockets by DIYables.
- Click on the Install button to add the mWebSockets library.

Web Server Json Example
- On Arduino IDE, Go to File Examples Web Server for Arduino Uno R4 WiFi WebServerJson example to open the example code
API Endpoints
GET /api/data
Returns a success message with timestamp in JSON format.
Response:
The timestamp value represents milliseconds since the Arduino started (from millis() function).
POST /api/data
Accepts JSON data and returns the received key value.
Request:
Response:
Setup Instructions
1. Network Configuration
Edit the WiFi credentials in the WebServerJson.ino file:
2. Upload Code and Monitor Output
- Connect your Arduino Uno R4 WiFi to your computer
- Select the correct board and port in Arduino IDE
- Upload the WebServerJson.ino sketch
- Open Serial Monitor (9600 baud)
- Wait for WiFi connection
- Note the IP address displayed
- If you do not see IP address in Serial monitor, press the reset button on the Arduino Uno R4 WiFi or DIYables STEM V4 IoT board
Usage
Testing with cURL
Replace your-arduino-ip with the actual IP address shown in your Serial Monitor.
Test GET Request
Expected Output:
The timestamp shows milliseconds since Arduino startup.
Test POST Request with JSON Data
Expected Output:
Test POST Request with Different Data
Expected Output:
Test Invalid JSON (Error Response)
Expected Output:
Test Missing JSON Body (Error Response)
Expected Output:
Test Unsupported Method (Error Response)
Expected Output:
Test Non-existent Endpoint (404 Error)
Expected Output:
Testing with Postman
Test GET Request
- Create a new GET request
- Set URL to http://your-arduino-ip/api/data
- Send request
- Verify response contains status, message, and timestamp
Test POST Request
- Create a new POST request
- Set URL to http://your-arduino-ip/api/data
- Add header: Content-Type: application/json
- Add JSON body: {"key": "test_value"}
- Send request
- Verify response shows the received key value
Testing Error Responses
Test the error handling by sending invalid requests as shown in the example code:
Missing JSON Data
Expected: {"status": "error","message": "No JSON data received"}
Invalid JSON Format
Expected: {"status": "error","message": "Invalid JSON"}
Missing Key Field
Expected: The key will default to "none" as per the example code: doc["key"] | "none"
Unsupported HTTP Method
Expected: {"status": "error","message": "Method not allowed"}
Code Explanation
Route Configuration
Handler Function Signature
All handler functions must follow this signature:
Method Detection and JSON Processing
Integration Examples
JavaScript Frontend
Python Client
Control LED
Get status
Usage
Error Handling
HTTP Status Codes
- 200: Success
- 400: Bad Request (invalid JSON, missing parameters)
- 404: Endpoint not found
- 405: Method not allowed
- 500: Internal server error
Error Response Format
Based on the actual example code, different errors return specific messages:
Missing JSON Data Error
Returned when: POST request is sent without JSON body
Invalid JSON Format Error
Returned when: JSON data cannot be parsed (syntax errors)
Method Not Allowed Error
Returned when: Using unsupported HTTP methods (PUT, DELETE, PATCH, etc.)
404 Not Found Error
Returned when: Accessing non-existent endpoints
Customization
Adding New Handler Functions
Template-Based JSON Responses
The example uses template strings for consistent JSON formatting:
Troubleshooting
Common Issues
Connection Issues
If you can't connect to the API endpoints:
- Verify your Arduino is connected to WiFi (check Serial Monitor)
- Ensure your client and Arduino are on the same network
- Check that the IP address is correct
- Verify the Arduino hasn't reset (which would change the IP)
JSON Parsing Errors
If you get "Invalid JSON" responses:
- Ensure Content-Type header is set to application/json
- Verify your JSON syntax is valid
- Check that special characters are properly escaped
- Make sure the JSON payload isn't too large (current limit: 200 bytes)
POST Request Issues
If POST requests return "No JSON data received":
- Verify you're sending a JSON body with the request
- Check that Content-Length header is set correctly
- Ensure the HTTP method is actually POST
- Test with a simple JSON like {"key": "test"}
Memory Issues
If the Arduino becomes unresponsive:
- Monitor memory usage - the StaticJsonDocument uses 200 bytes
- Reduce JSON_RESPONSE template size if needed
- Consider using DynamicJsonDocument for variable-sized data
- Check for memory leaks in custom handler functions
Performance Tips
Optimize JSON Processing
Efficient Response Handling
Next Steps
- Explore WebServerQueryStrings.ino for URL parameter handling
- Try WebServerWithWebSocket.ino for real-time communication
- Consider integrating with databases or cloud services
Learning Resources
※ ARDUINO BUY RECOMMENDATION
| Arduino UNO R3 | |
| Arduino Starter Kit |