Arduino Uno R4 WiFi WebSocket Server - Real-Time Communication
WebServerWithWebSocket Example - Real-Time Communication
Overview
This example demonstrates how to create an advanced multi-page web server with real-time WebSocket communication on Arduino Uno R4 WiFi, enabling bidirectional data exchange between the browser and Arduino.
Features
- Real-time WebSocket communication for instant bidirectional messaging
- Simple string-based commands (ping, hello, time, led on/off)
- LED control via WebSocket commands
- Built-in HTTP server serving WebSocket test interface
- Echo functionality for testing message transmission
- Connection status monitoring with automatic reconnection
Hardware Required
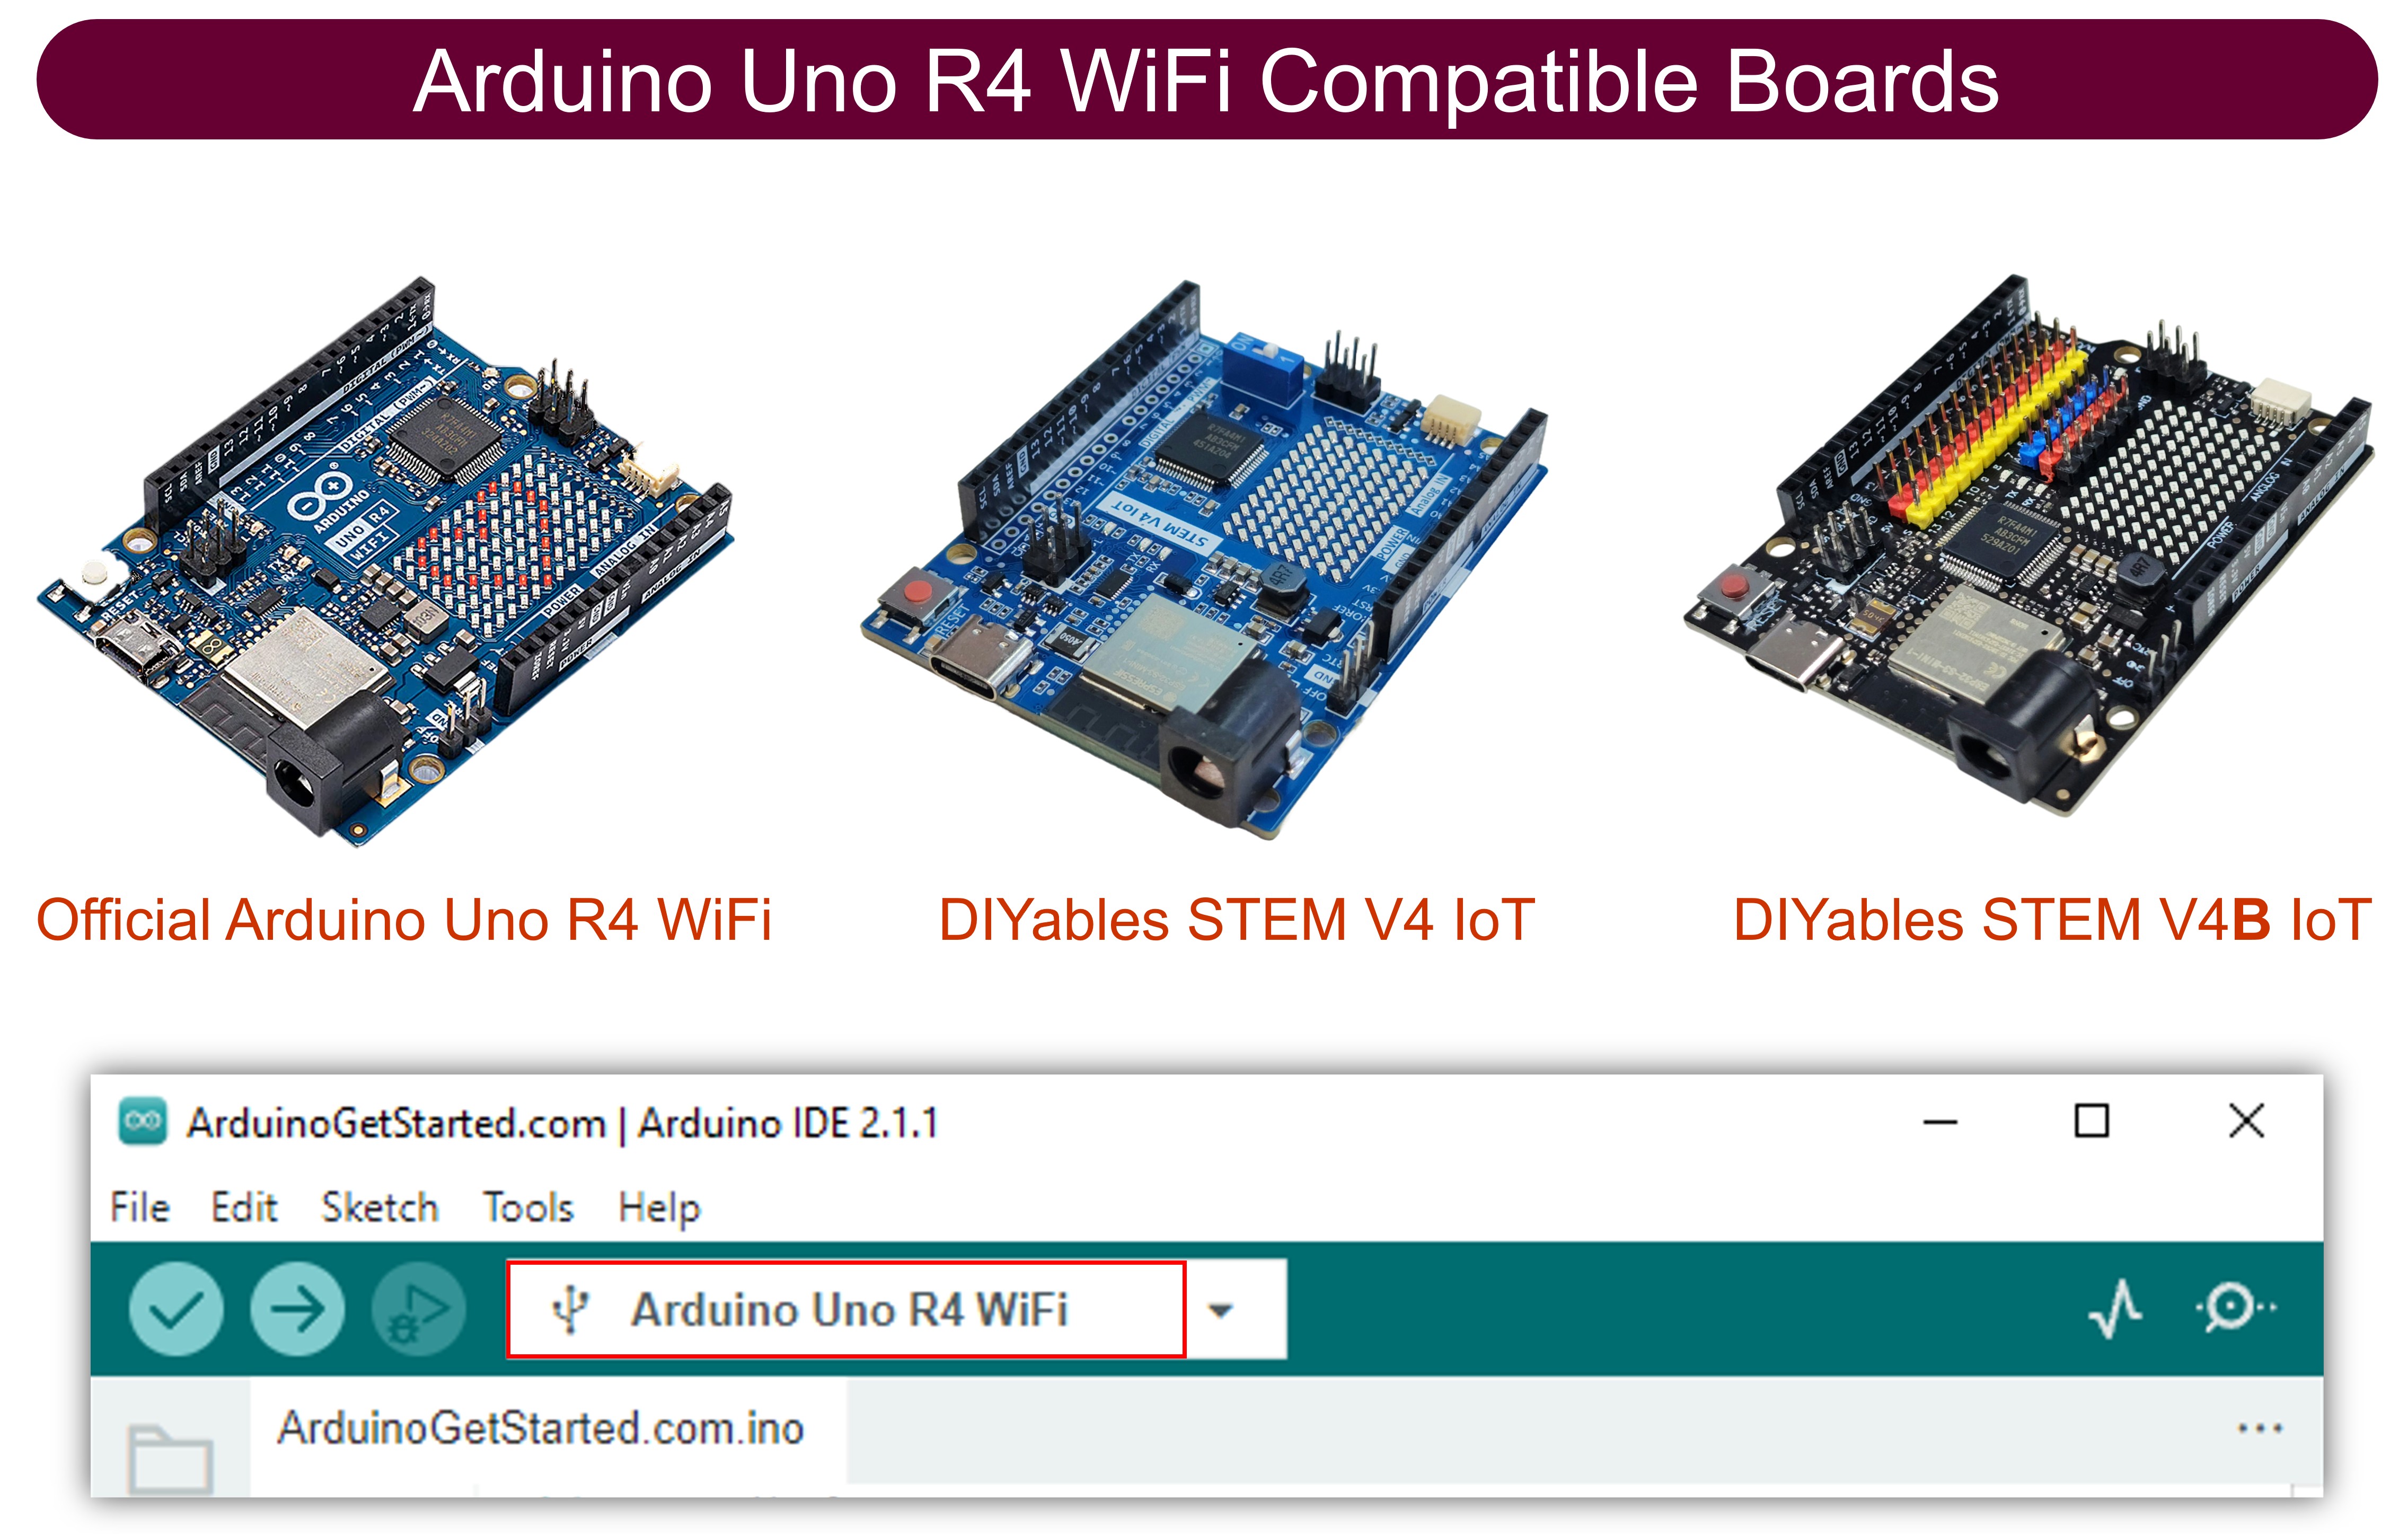
| 1 | × | Arduino UNO R4 WiFi | |
| 1 | × | Alternatively, DIYables STEM V4 IoT | |
| 1 | × | Alternatively, DIYables STEM V4B IoT | |
| 1 | × | USB Cable Type-C |
Additionally, some links direct to products from our own brand, DIYables .
Library Installation
Follow these instructions step by step:
- If this is your first time using the Arduino Uno R4 WiFi/Minima, refer to the tutorial on setting up the environment for Arduino Uno R4 WiFi/Minima in the Arduino IDE.
- Connect the Arduino Uno R4 board to your computer using a USB cable.
- Launch the Arduino IDE on your computer.
- Select the appropriate Arduino Uno R4 board (e.g., Arduino Uno R4 WiFi) and COM port.
- Open the Library Manager by clicking on the Library Manager icon on the left side of the Arduino IDE.
- Search for Web Server for Arduino Uno R4 WiFi and locate the mWebSockets by DIYables.
- Click on the Install button to add the mWebSockets library.

WebSocket Example
- On Arduino IDE, Go to File Examples Web Server for Arduino Uno R4 WiFi WebServerWithWebSocket example to open the example code
Code Structuree
The project consists of two main files:
- websocket_html.h:
Contains the HTML, CSS, and JavaScript code for the web interface. This file defines the user interface for interacting with the Arduino via WebSocket, including buttons for sending commands, a message log, and connection status indicators.
- WebServerWithWebSocket.ino:
Implements the main server logic on the Arduino. This file sets up the HTTP and WebSocket servers, manages WiFi connectivity, processes incoming WebSocket messages, and controls hardware (such as the built-in LED) based on received commands.
Circuit Connection
No external components required - this example uses the built-in LED on pin 13.
WebSocket Communication
Connection Details
- Web Server Port: 80 (HTTP)
- WebSocket Port: 81 (WebSocket)
- Protocol: RFC 6455 compliant WebSocket
Message Types
The actual implementation uses simple string commands:
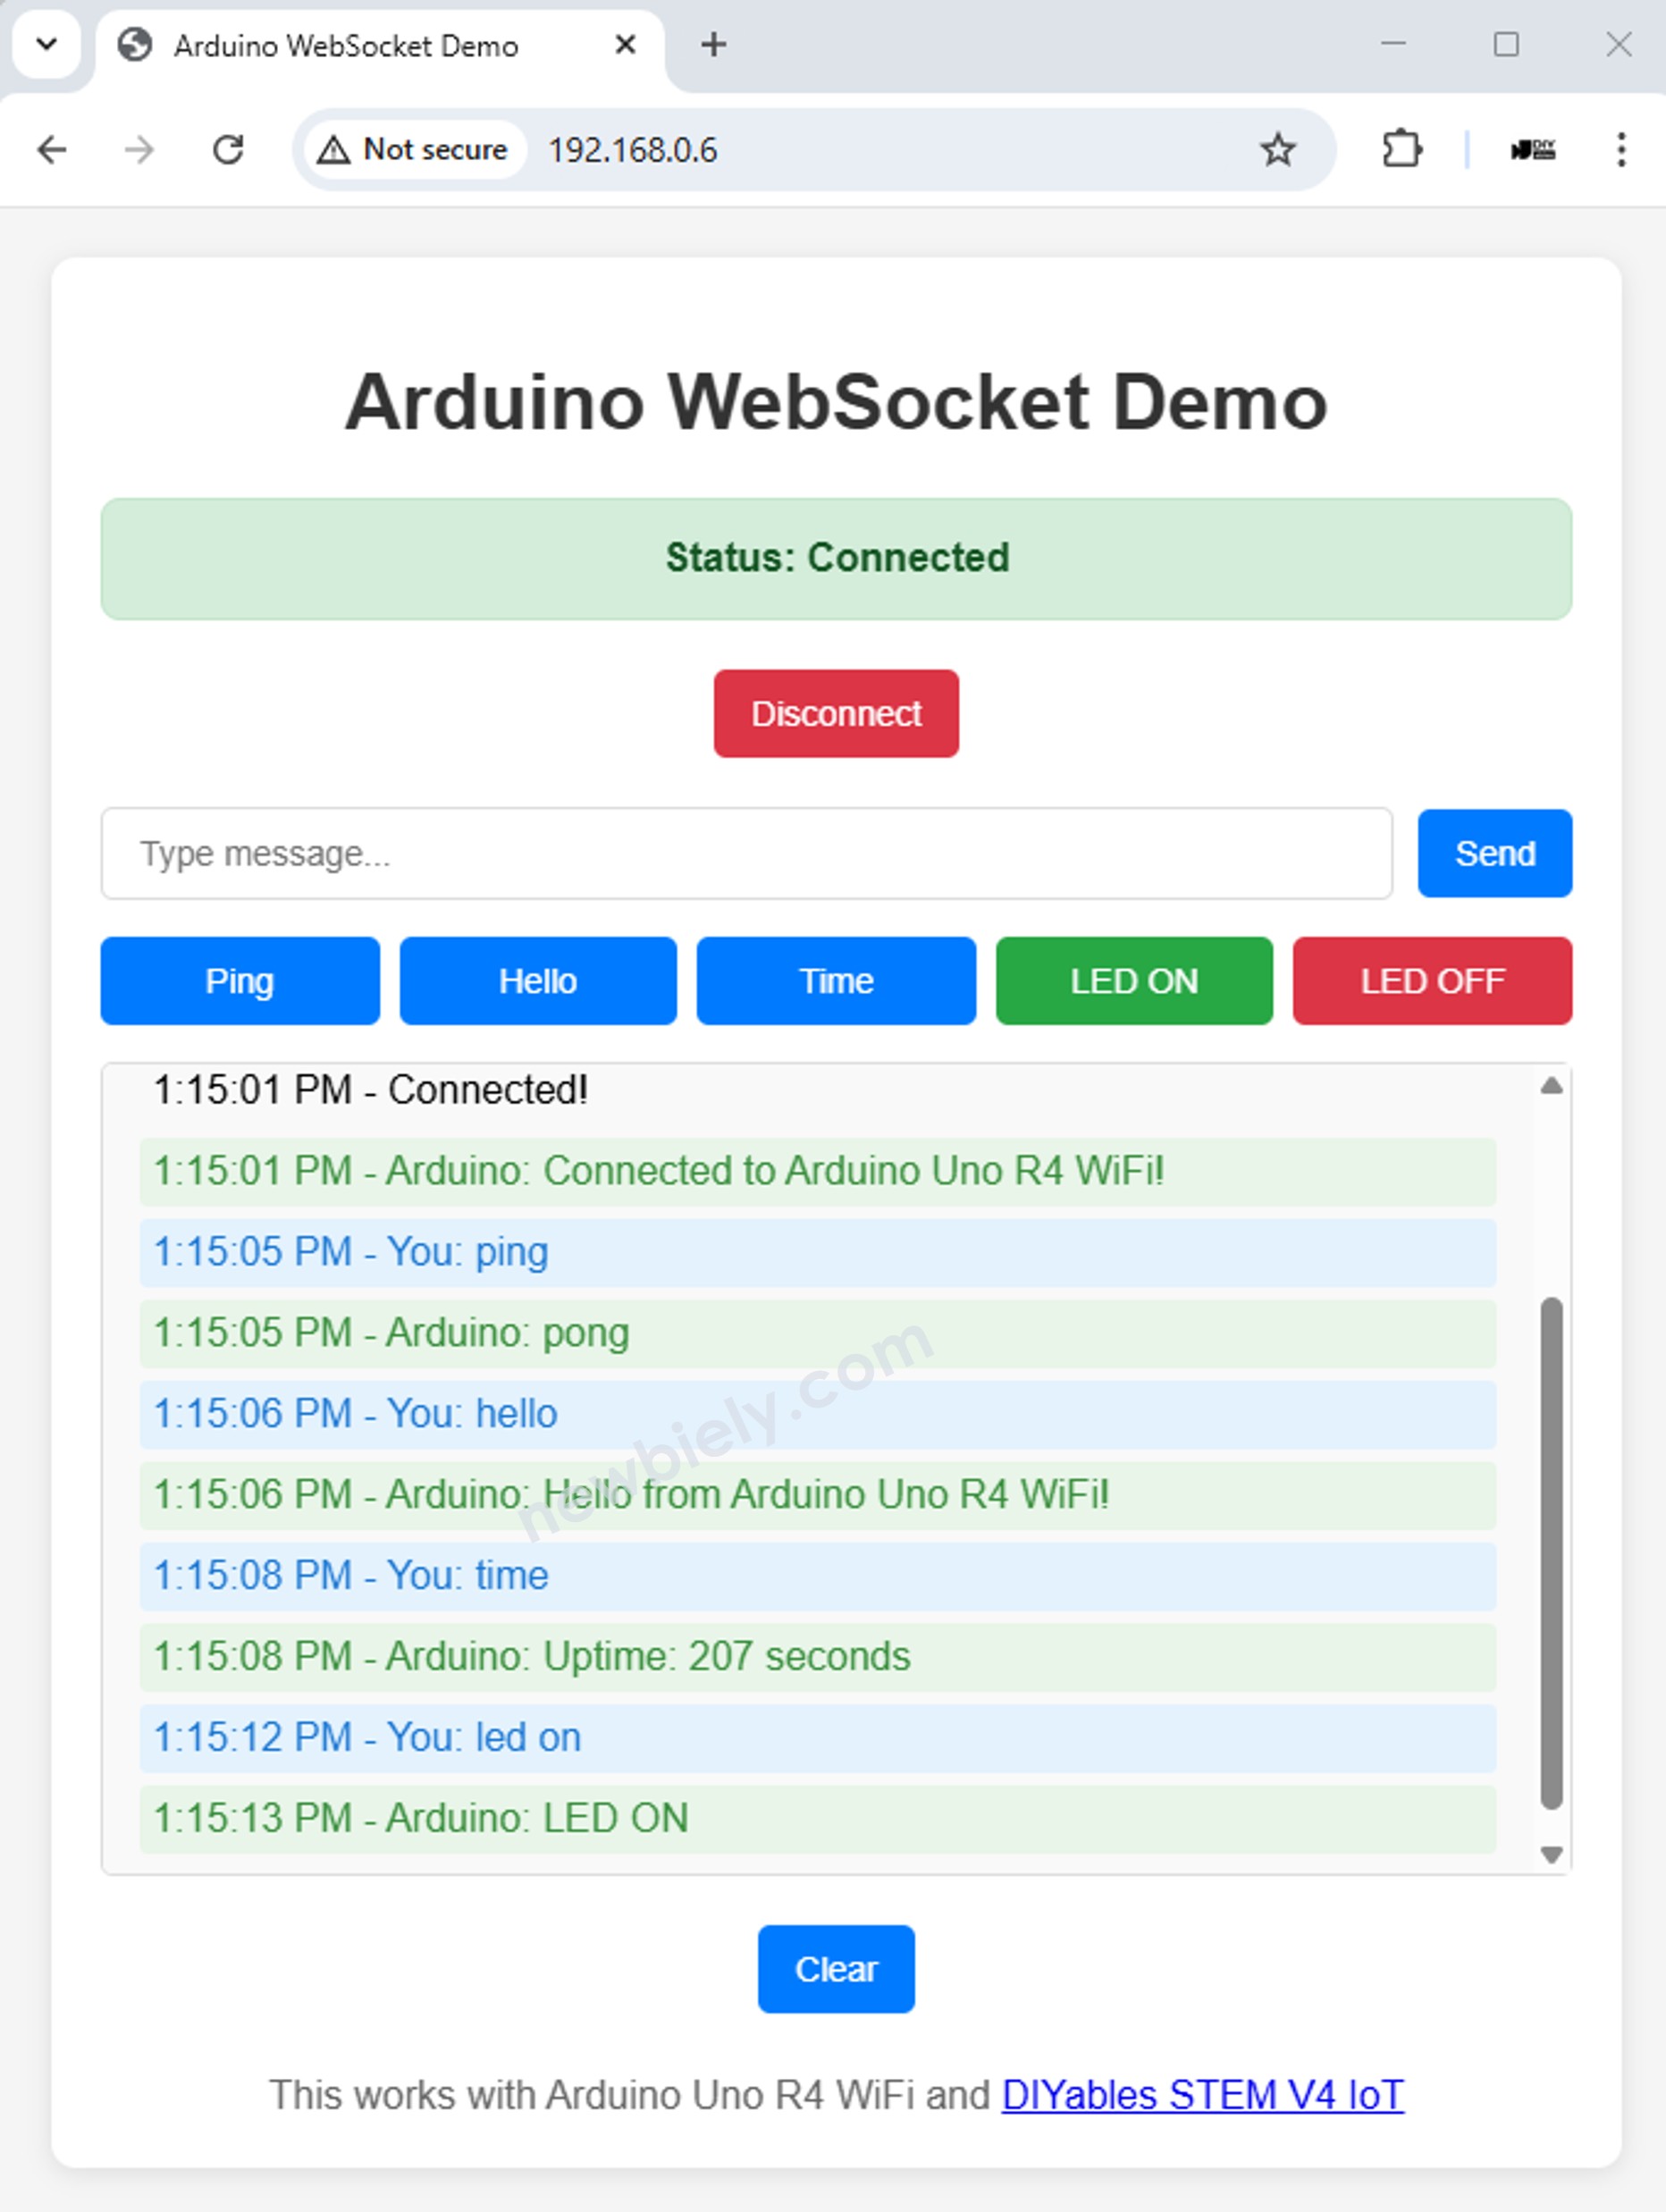
- Ping: "ping" → Response: "pong"
- Greeting: "hello" → Response: "Hello from Arduino Uno R4 WiFi!"
- Uptime: "time" → Response: "Uptime: X seconds"
- LED Control: "led on" / "led off" → Response: "LED ON" / "LED OFF"
- Echo: Any other text → Response: "Echo: [your message]"
Setup Instructions
1. Network Configuration
Edit the WiFi credentials directly in the WebServerWithWebSocket.ino file:
2. Upload Code and Monitor Output
- Connect your Arduino Uno R4 WiFi to your computer
- Select the correct board and port in Arduino IDE
- Upload the WebServerWithWebSocket.ino sketch
- Open Serial Monitor (9600 baud)
- Wait for WiFi connection
- Note both HTTP and WebSocket server addresses
- If you do not see IP address in Serial monitor, press the reset button on the Arduino Uno R4 WiFi or DIYables STEM V4 IoT board
- Open a web browser and enter the Arduino's IP address in the address bar (e.g., http://192.168.x.x/). You will see the web interface look like the below:
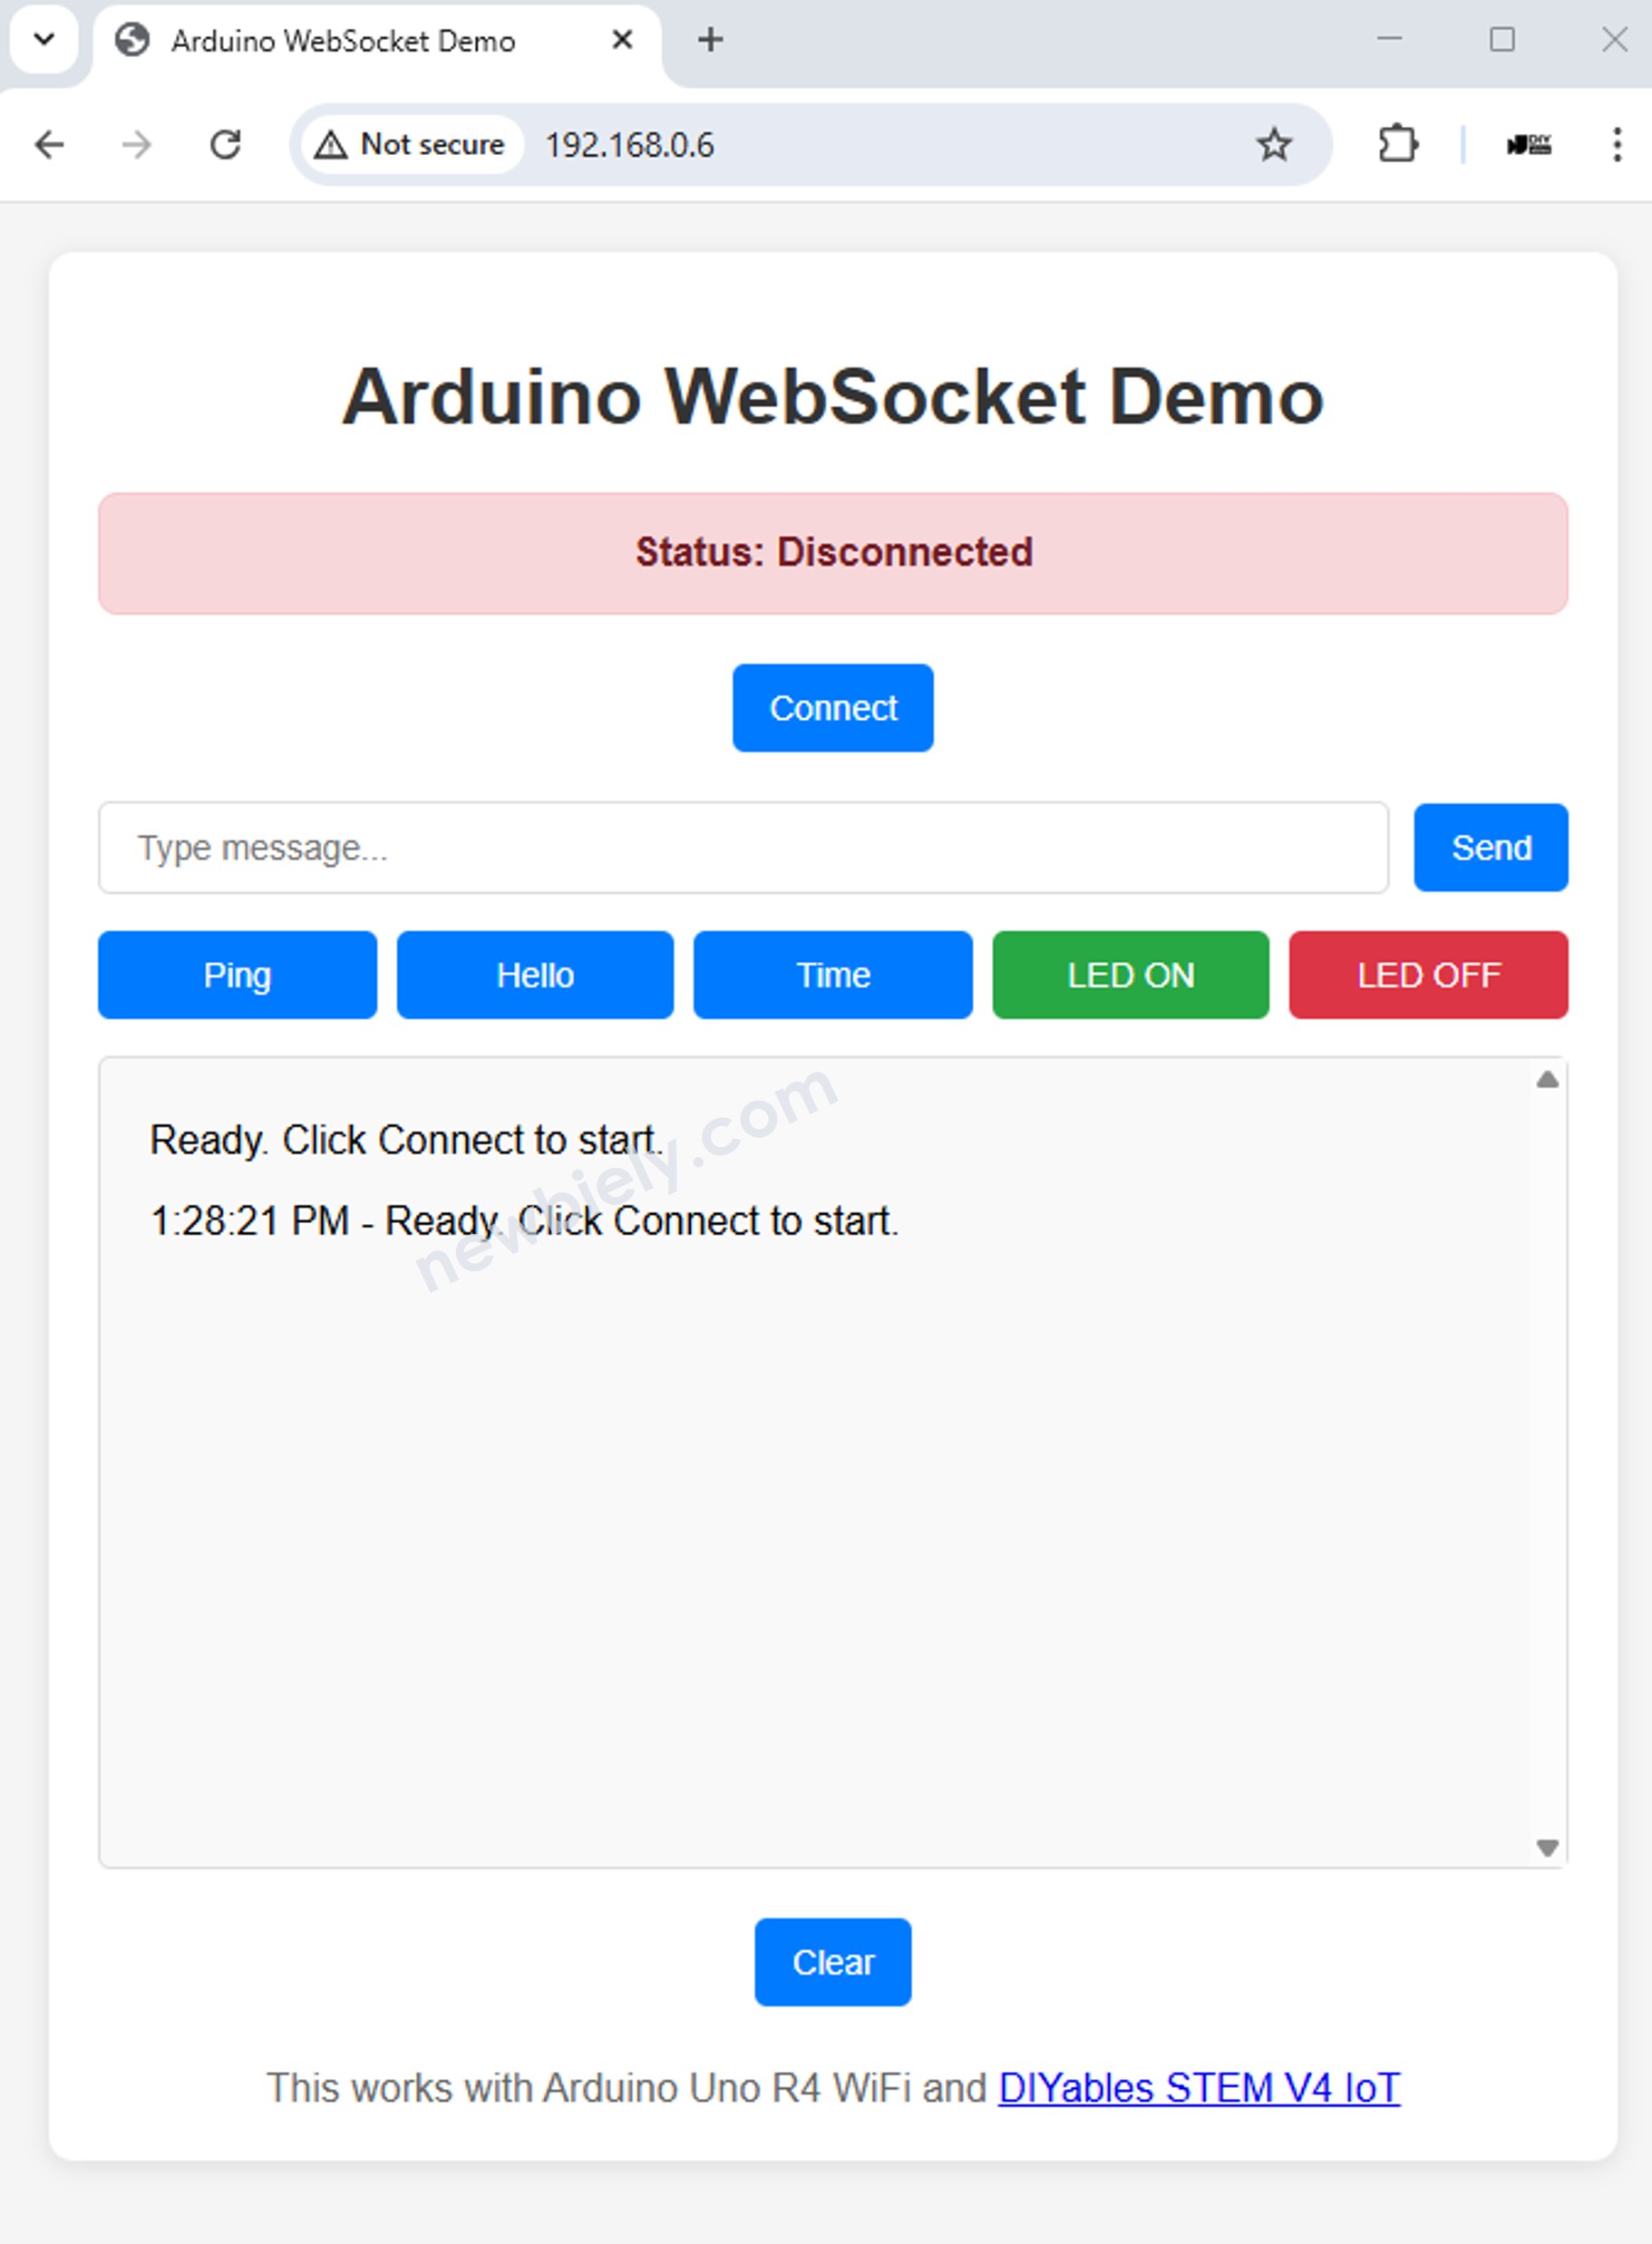
- Click "Connect" button to connect the web to the Arduino via WebSocket.
- Once the connection status shows "Connected", click each button one by one to test bidirectional communication between the web interface and Arduino via WebSocket. The result will be as below:
Web Interface Features
The HTML interface (from websocket_html.h) provides:
- WebSocket connection management with connect/disconnect buttons
- Simple command buttons for ping, hello, time, LED on/off
- Message input field for sending custom commands
- Real-time message history showing sent and received messages
- Connection status indicator showing WebSocket state
Code Explanation
WebSocket Server Setup
WebSocket Message Handling
Main Loop with WebSocket Processing
JavaScript WebSocket Client
Connection Management
Message Handling
Sending Commands
HTML Interface Features
WebSocket Test Interface
The included HTML page provides a complete WebSocket testing interface:
- Connection controls with connect/disconnect functionality
- Quick command buttons for common commands (ping, hello, time, LED control)
- Message input field for sending custom text commands
- Real-time message log showing all communication
- Connection status display with visual indicators
Built-in JavaScript Functions
The HTML interface includes JavaScript functions matching the Arduino command structure:
Implementation Notes
Simplified Architecture
The actual implementation uses a basic approach:
- Separate servers: WiFiServer for HTTP and WebSocketServer for WebSocket
- Manual WiFi connection: Standard WiFi.begin() setup without integrated server management
- String-based messaging: Simple string commands instead of JSON protocols
- Lambda handlers: WebSocket event handlers defined as inline lambda functions
- Basic HTML serving: Direct client.print() of HTML content from header file
Limitations of Current Implementation
- No sensor data streaming (as shown in documentation examples)
- No JSON message parsing
- No broadcasting to multiple clients
- No connection management beyond basic connect/disconnect
- No heartbeat or keepalive system
- No message queuing or reliability features
Available Commands
The working commands in the actual implementation:
- ping → pong
- hello → Hello from Arduino Uno R4 WiFi!
- time → Uptime: X seconds
- led on → LED ON (turns on LED_BUILTIN)
- led off → LED OFF (turns off LED_BUILTIN)
- Any other text → Echo: [your message]
Troubleshooting
Common Issues
WebSocket Connection Failed
- Check if WebSocket port (81) is accessible
- Verify firewall settings don't block port 81
- Use browser developer tools to check WebSocket errors
- Ensure Arduino IP address is correct
Messages Not Received
- Check Serial Monitor for WebSocket events and message reception
- Verify command strings match exactly (case-insensitive)
- Test with simple commands like "ping" first
LED Not Responding
- Confirm LED_BUILTIN is properly defined for your board
- Check Serial Monitor for command processing messages
- Verify "led on" and "led off" commands are sent exactly
Debug Commands
Use these commands to test WebSocket functionality:
- ping - Simple connectivity test
- hello - Greeting response test
- time - Arduino uptime test
- led on / led off - Hardware control test
- Any other text will echo back for communication testing
Real-World Applications
Basic IoT Control
The current simple implementation is suitable for:
- Remote LED control for basic device status indication
- Simple command/response systems for device interaction
- WebSocket connectivity testing for development purposes
- Basic real-time communication demonstrations
Potential Enhancements
To extend this example for production use, consider adding:
- JSON message parsing for structured data
- Sensor data streaming capabilities
- Multiple client connection management
- Authentication and security features
- Error handling and reconnection logic
Next Steps
- Add JSON message parsing using ArduinoJson library
- Integrate actual sensors (temperature, humidity, etc.)
- Implement broadcasting to multiple WebSocket clients
- Add authentication for secure access
- Create mobile app interfaces using WebSocket connections
Learning Resources
※ ARDUINO BUY RECOMMENDATION
| Arduino UNO R3 | |
| Arduino Starter Kit |