Arduino - HTTP Request
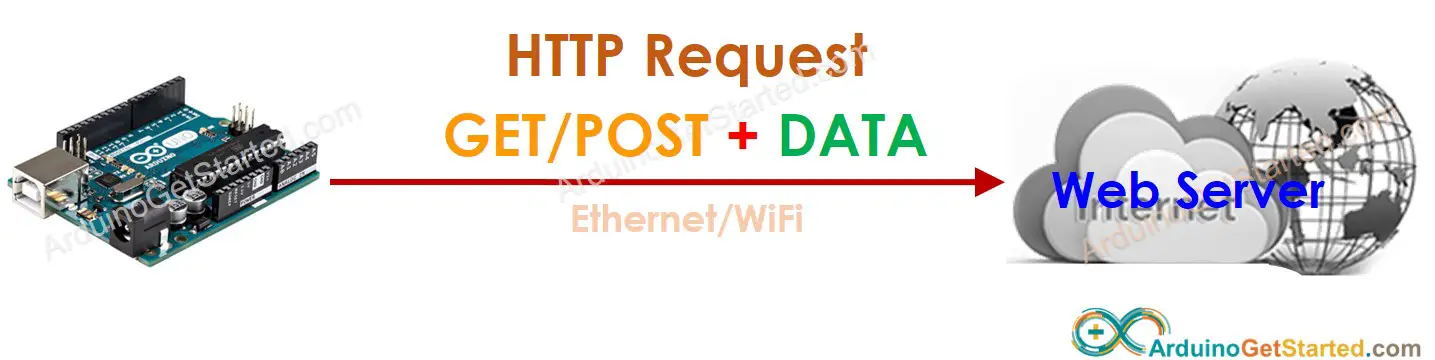
Arduino can play a role as a web client to make HTTP to a web server. Web Server can be a website, Web API or REST API, Web service ...
In this tutorial, we are going to learn:
- Basic knowledge of web client and web server
- How to make an HTTP request (GET and POST)
- How to send data to a web server (a website, WEB API or REST API)
- Arduino code:
- Make HTTP GET/POST request using Arduino Uno/Mega + Ethernet Shield
- Make HTTP GET request and send data using Arduino Uno/Mega + Ethernet Shield
- Make HTTP POST request and send data using Arduino Uno/Mega + Ethernet Shield
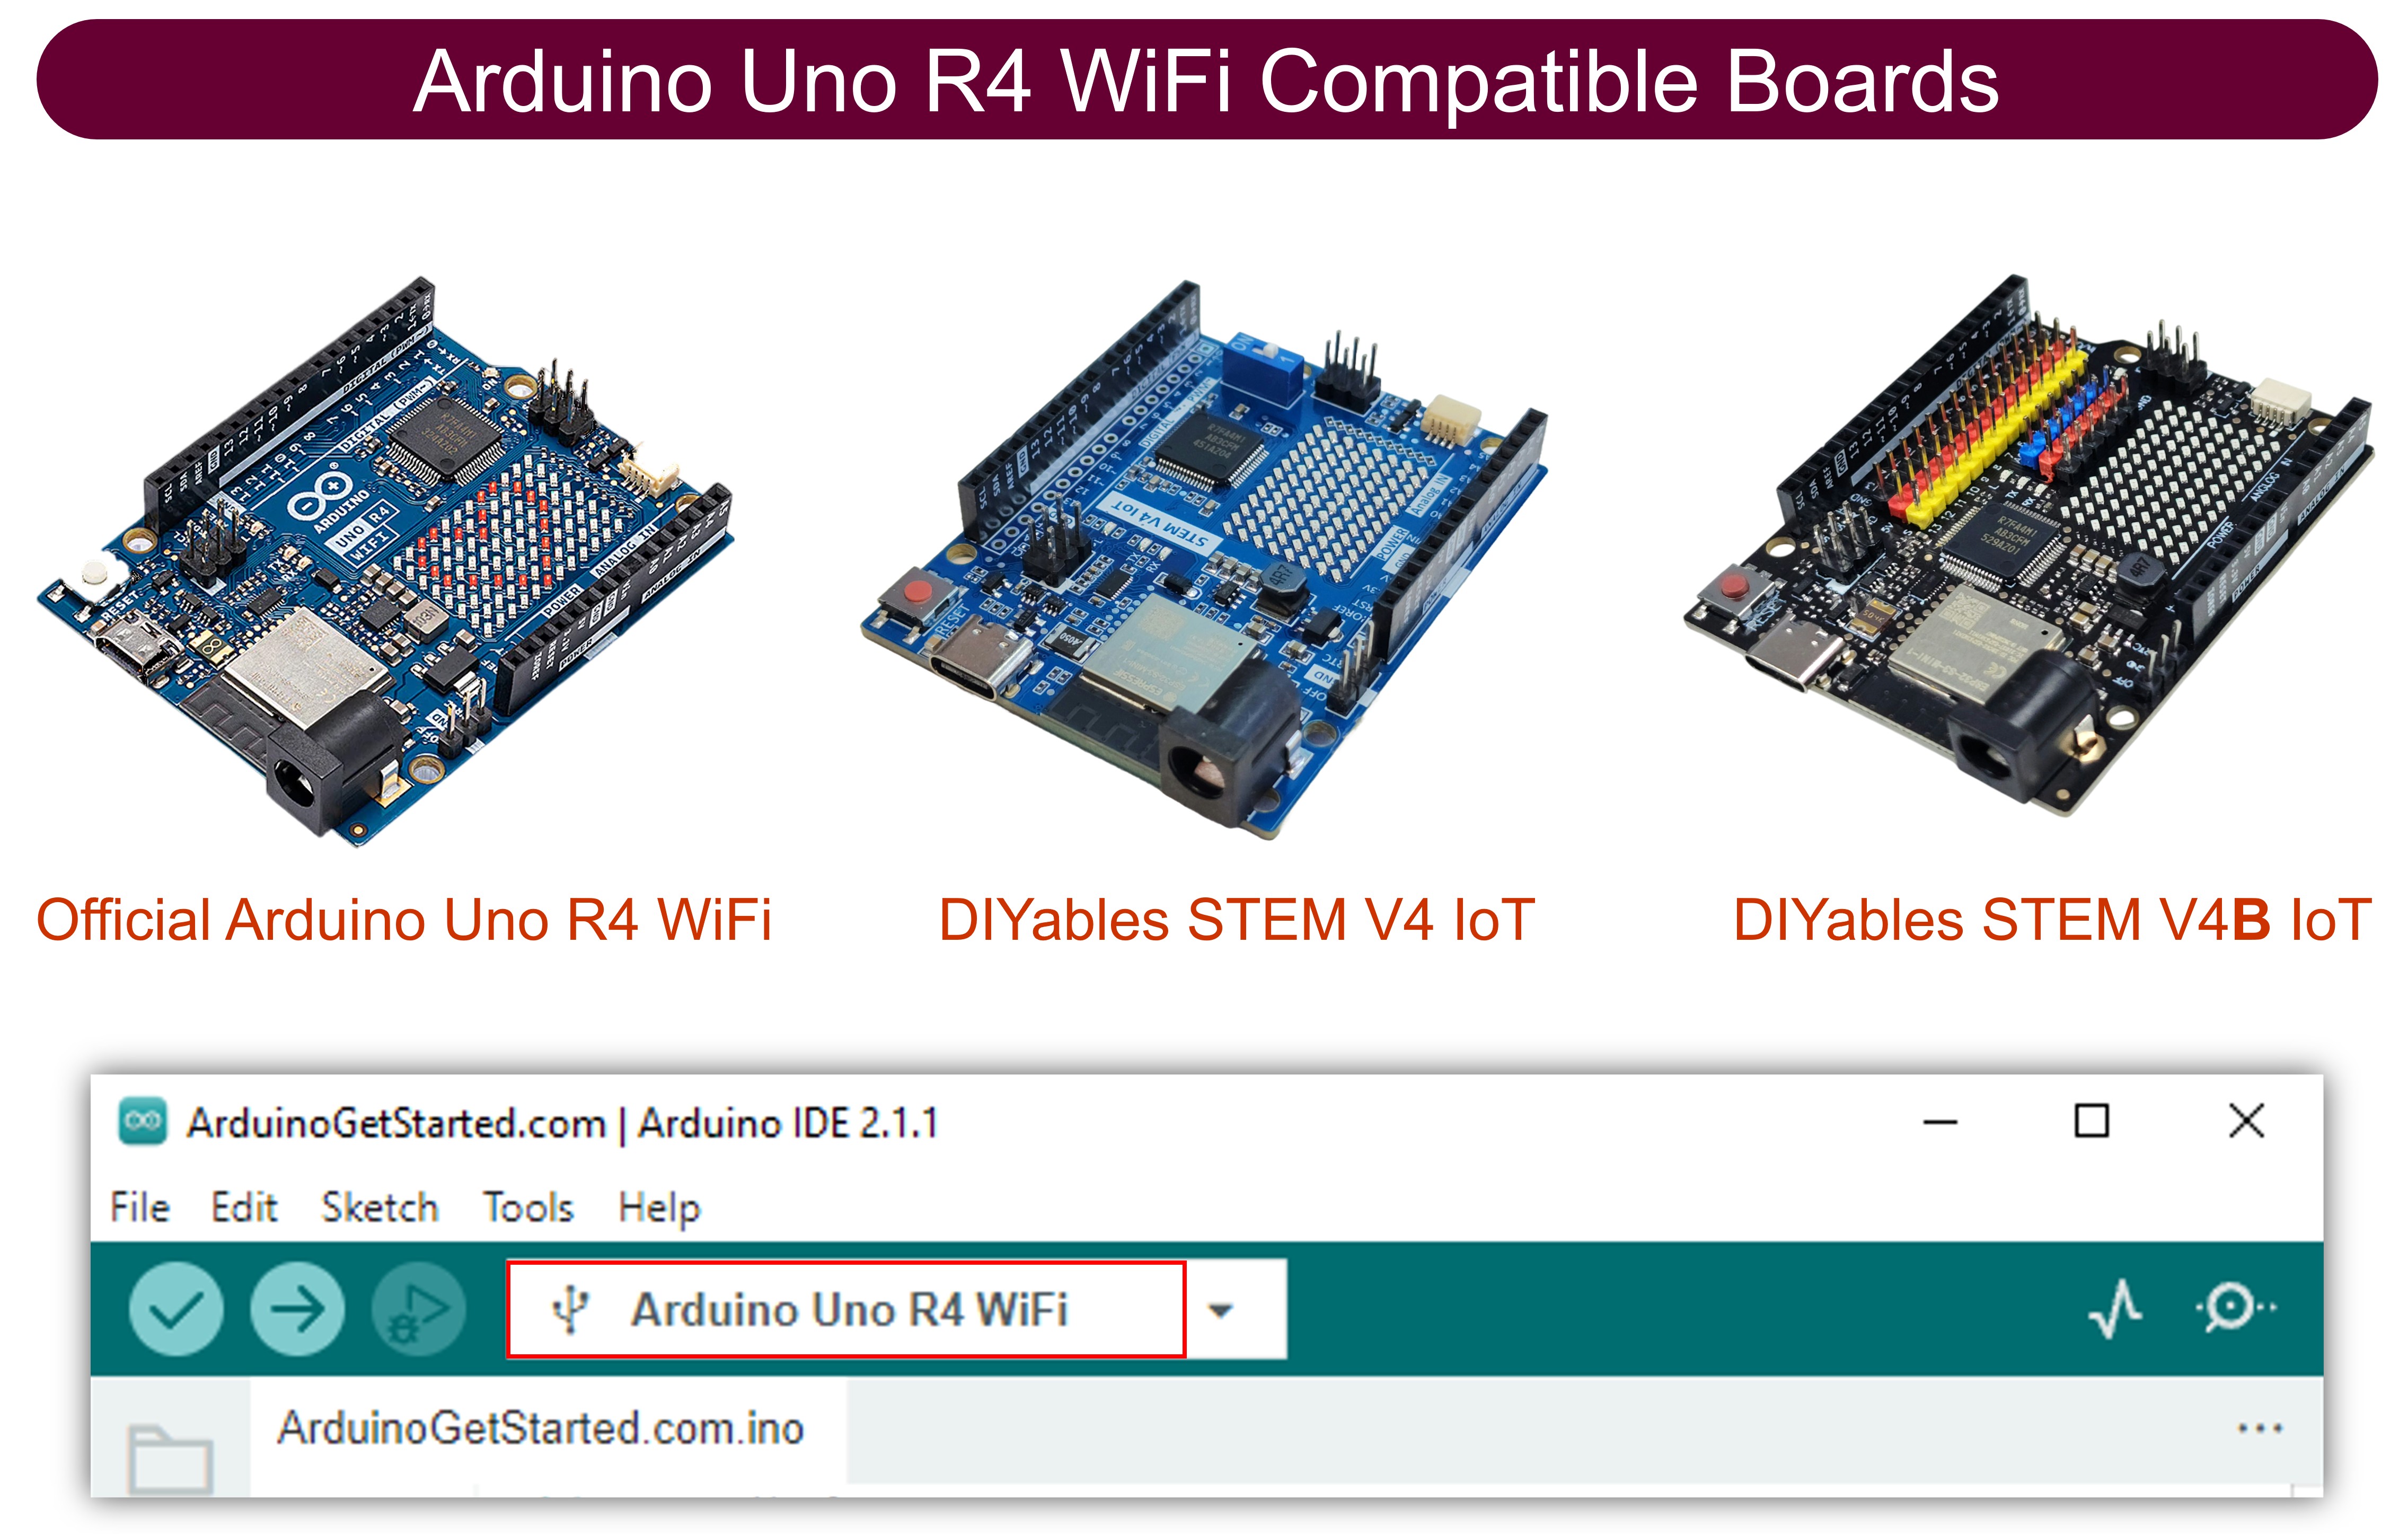
- Arduino Uno R4 WiFi
- Arduino Uno/Mega with Ethernet Shield
- Your PC/smartphone (as a web client) makes an HTTP request to a web server
- The web server returns an HTTP response to your PC/smartphone
- Your PC/smartphone receives the HTTP response and visualizes HTTP response on your screen
- HTTP request header
- (Optional) HTTP request body
- Web Address (URL)
- Request method (POST or GET)
- HTTP port that web server uses (most of web server uses port 80 for HTTP)
- (Optional) Data to be sent to web server (query string). In this tutorial, we suppose that we send temperature and humidity to a web server with format ?temperature={t-value}&humidity={h-value}.
- Declare request method, HTTP port, hostname, pathname, query string
- Declare a web client object
- Connect to web server
- If connected to server, send HTTP request
- Read the response data from web server
- HTTP GET request
- Can only send data in query string format.
- Data is attached to the pathname.
- HTTP POST request
- Can send data NOT ONLY in query string format BUT ALSO any other format such as Json, XML, image ...
- Data is HTTP request body.
- Build query string
- Modify the code for sending Data in the HTTP request
- HTTP GET: append query string to pathname
- HTTP POST: send query string as HTTP body
- Read the response data from web server
- For Ethernet Shield, you need to modify Arduino code. See Arduino Ethernet Shield with static IP address
The code for other WiFi or Ethernet Shield/Board are similar. The difference is only in library
The tutorial provides the Arduino code for two cases:
Hardware Required
| 1 | × | Arduino UNO R4 WiFi | |
| 1 | × | Alternatively, DIYables STEM V4 IoT | |
| 1 | × | Alternatively, DIYables STEM V4B IoT | |
| 1 | × | USB Cable Type-A to Type-C (for USB-A PC) | |
| 1 | × | USB Cable Type-C to Type-C (for USB-C PC) |
Alternatively if using Ethernet:
Or you can buy the following kits:
| 1 | × | DIYables STEM V3 Starter Kit (Arduino included) | |
| 1 | × | DIYables Sensor Kit (18 sensors/displays) |
Additionally, some links direct to products from our own brand, DIYables .
Basic Knowledge of Web Client and Web Server
When you access a website from your PC or smartphone, you just type the web address (URL) on a web browser, waits for a second, and then the webpage is displayed on your PC/smartphone. You do not know what your PC/smartphone does behind the screen. So, what happens behind the screen:
In this tutorial, We will make Arduino become a web client to do something similar to your PC/smartphone.
Web Address (URL)
An URL includes two parts: hostname and pathname. The hostname can be replaced by the IP address of the web server. For example: example.com/test
In HTTP GET request, URL can includes the query string. For example: example.com/test?temperature=20&humidity=70.
Query String
The query string is a set of name-value pairs, which are included in HTTP request to send data from web client to web server.
The name and value is separated by "=" character. The name-value pairs are separated by "&" character.
For example: temperature=26&humidity=70&state=2
HTTP Request
The HTTP request is composed of:
HTTP request header and HTTP request body is seperated by two pair of a carriage return character (ASCII 13, or '\r') and a newline character (ASCII 10, or '\n').
There are many request method. Among them, there are two popular methods: GET and POST.
Usually, we use GET method when we want to get data from web server, and use POST method to send data to web server. However, GET method can be used for either get and send data from/to webserver
Prerequisite
We need to determine the following values:
Web Address (URL) is splitted into hostname and pathname
How to Make an HTTP Request
This part presents only code related to HTTP. Full code for each shield will be presents in the last part.
| Arduino Ethernet Shield | EthernetClient client; |
| Arduino Uno WiFi | WiFiClient client; |
How to Send Data to a Web Server
We can include data into HTTP request. data format is depended on HTTP request method:
We just need to modify the code for sending the HTTP request:
Complete Arduino Code for Making HTTP Request
The blow is the complete arduino code for making HTTP GET/POST request
Arduino HTTP GET/POST request using Arduino Uno R4 Wifi
Arduino HTTP GET/POST request using Arduino Ethernet Shield
Complete Arduino Code for Making HTTP GET Request with data
Arduino HTTP GET request with data using Arduino Uno R4 Wifi
Arduino HTTP GET request with data using Arduino Ethernet Shield
Complete Arduino Code for Making HTTP POST Request with data
Arduino HTTP POST request with data using Arduino Uno R4 Wifi
Arduino HTTP POST request with data using Arduino Ethernet Shield
※ NOTE THAT:
This tutorial used the dynamic IP address (via DHCP). If you want to use the static IP address:
WARNING
Note that this tutorial is incomplete. We will post on our Facebook Page when the tutorial is complete. Like it to get updated.