Arduino Uno R4 LED Matrix displays Number Character
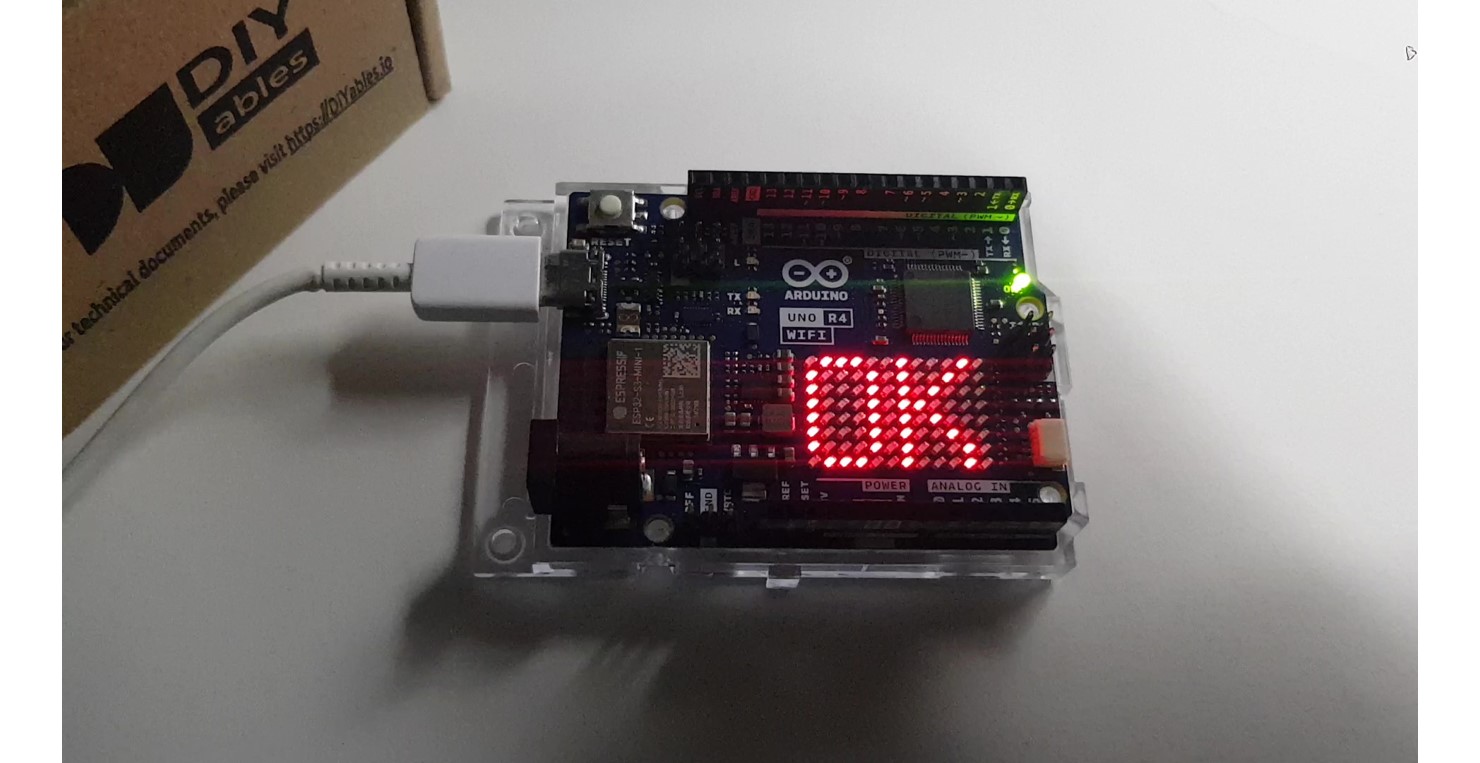
The Arduino Uno R4 WiFi comes with a 12x8 LED Matrix. In this tutorial, we will explore how to use the built-in LED matrix to display numbers and characters. Specifically, we will cover the following:
- Programming the Arduino Uno R4 WiFi to display single digits (0-9) or characters (A-Z) at a adjustable position.
- Programming the Arduino Uno R4 WiFi to display two digits or characters simultaneously.
Hardware Required
Or you can buy the following kits:
| 1 | × | DIYables STEM V4 IoT Starter Kit (Arduino included) | |
| 1 | × | DIYables Sensor Kit (18 sensors/displays) |
Disclosure: Some links in this section are Amazon affiliate links. If you make a purchase through these links, we may earn a commission at no extra cost to you.
Additionally, some links direct to products from our own brand, DIYables .
Additionally, some links direct to products from our own brand, DIYables .
Demonstration
Arduino Code - Displays digits (0-9) or characters (A-Z)
The code below sequentially displays digits from 0 to 9 and characters from A to Z, one by one, in the center of the LED matrix.
/*
* Created by ArduinoGetStarted.com
*
* This example code is in the public domain
*
* Tutorial page: https://arduinogetstarted.com/tutorials/arduino-uno-r4-led-matrix-displays-number-character
*/
#include "Arduino_LED_Matrix.h"
#include "fonts.h"
ArduinoLEDMatrix matrix;
uint8_t frame[8][12] = {
{ 0, 0, 0, 0, 0, 0, 0, 0, 0, 0, 0, 0 },
{ 0, 0, 0, 0, 0, 0, 0, 0, 0, 0, 0, 0 },
{ 0, 0, 0, 0, 0, 0, 0, 0, 0, 0, 0, 0 },
{ 0, 0, 0, 0, 0, 0, 0, 0, 0, 0, 0, 0 },
{ 0, 0, 0, 0, 0, 0, 0, 0, 0, 0, 0, 0 },
{ 0, 0, 0, 0, 0, 0, 0, 0, 0, 0, 0, 0 },
{ 0, 0, 0, 0, 0, 0, 0, 0, 0, 0, 0, 0 },
{ 0, 0, 0, 0, 0, 0, 0, 0, 0, 0, 0, 0 }
};
void setup() {
// put your setup code here, to run once:
Serial.begin(115200);
delay(1500);
matrix.begin();
}
void loop() {
for (char c = '0'; c <= '9'; c++) {
clear_frame();
add_to_frame(c, 4);
display_frame();
delay(1000);
}
for (char c = 'A'; c <= 'Z'; c++) {
clear_frame();
add_to_frame(c, 4);
display_frame();
delay(1000);
}
}
void clear_frame() {
for (int row = 0; row < 8; row++) {
for (int col = 0; col < 12; col++) {
frame[row][col] = 0;
}
}
}
void display_frame() {
matrix.renderBitmap(frame, 8, 12);
}
void add_to_frame(char c, int pos) {
int index = -1;
if (c >= '0' && c <= '9')
index = c - '0';
else if (c >= 'A' && c <= 'Z')
index = c - 'A' + 10;
else {
Serial.println("WARNING: unsupported character");
return;
}
for (int row = 0; row < 8; row++) {
uint32_t temp = fonts[index][row] << (7 - pos);
for (int col = 0; col < 12; col++) {
frame[row][col] |= (temp >> (11 - col)) & 1;
}
}
}
Quick Steps
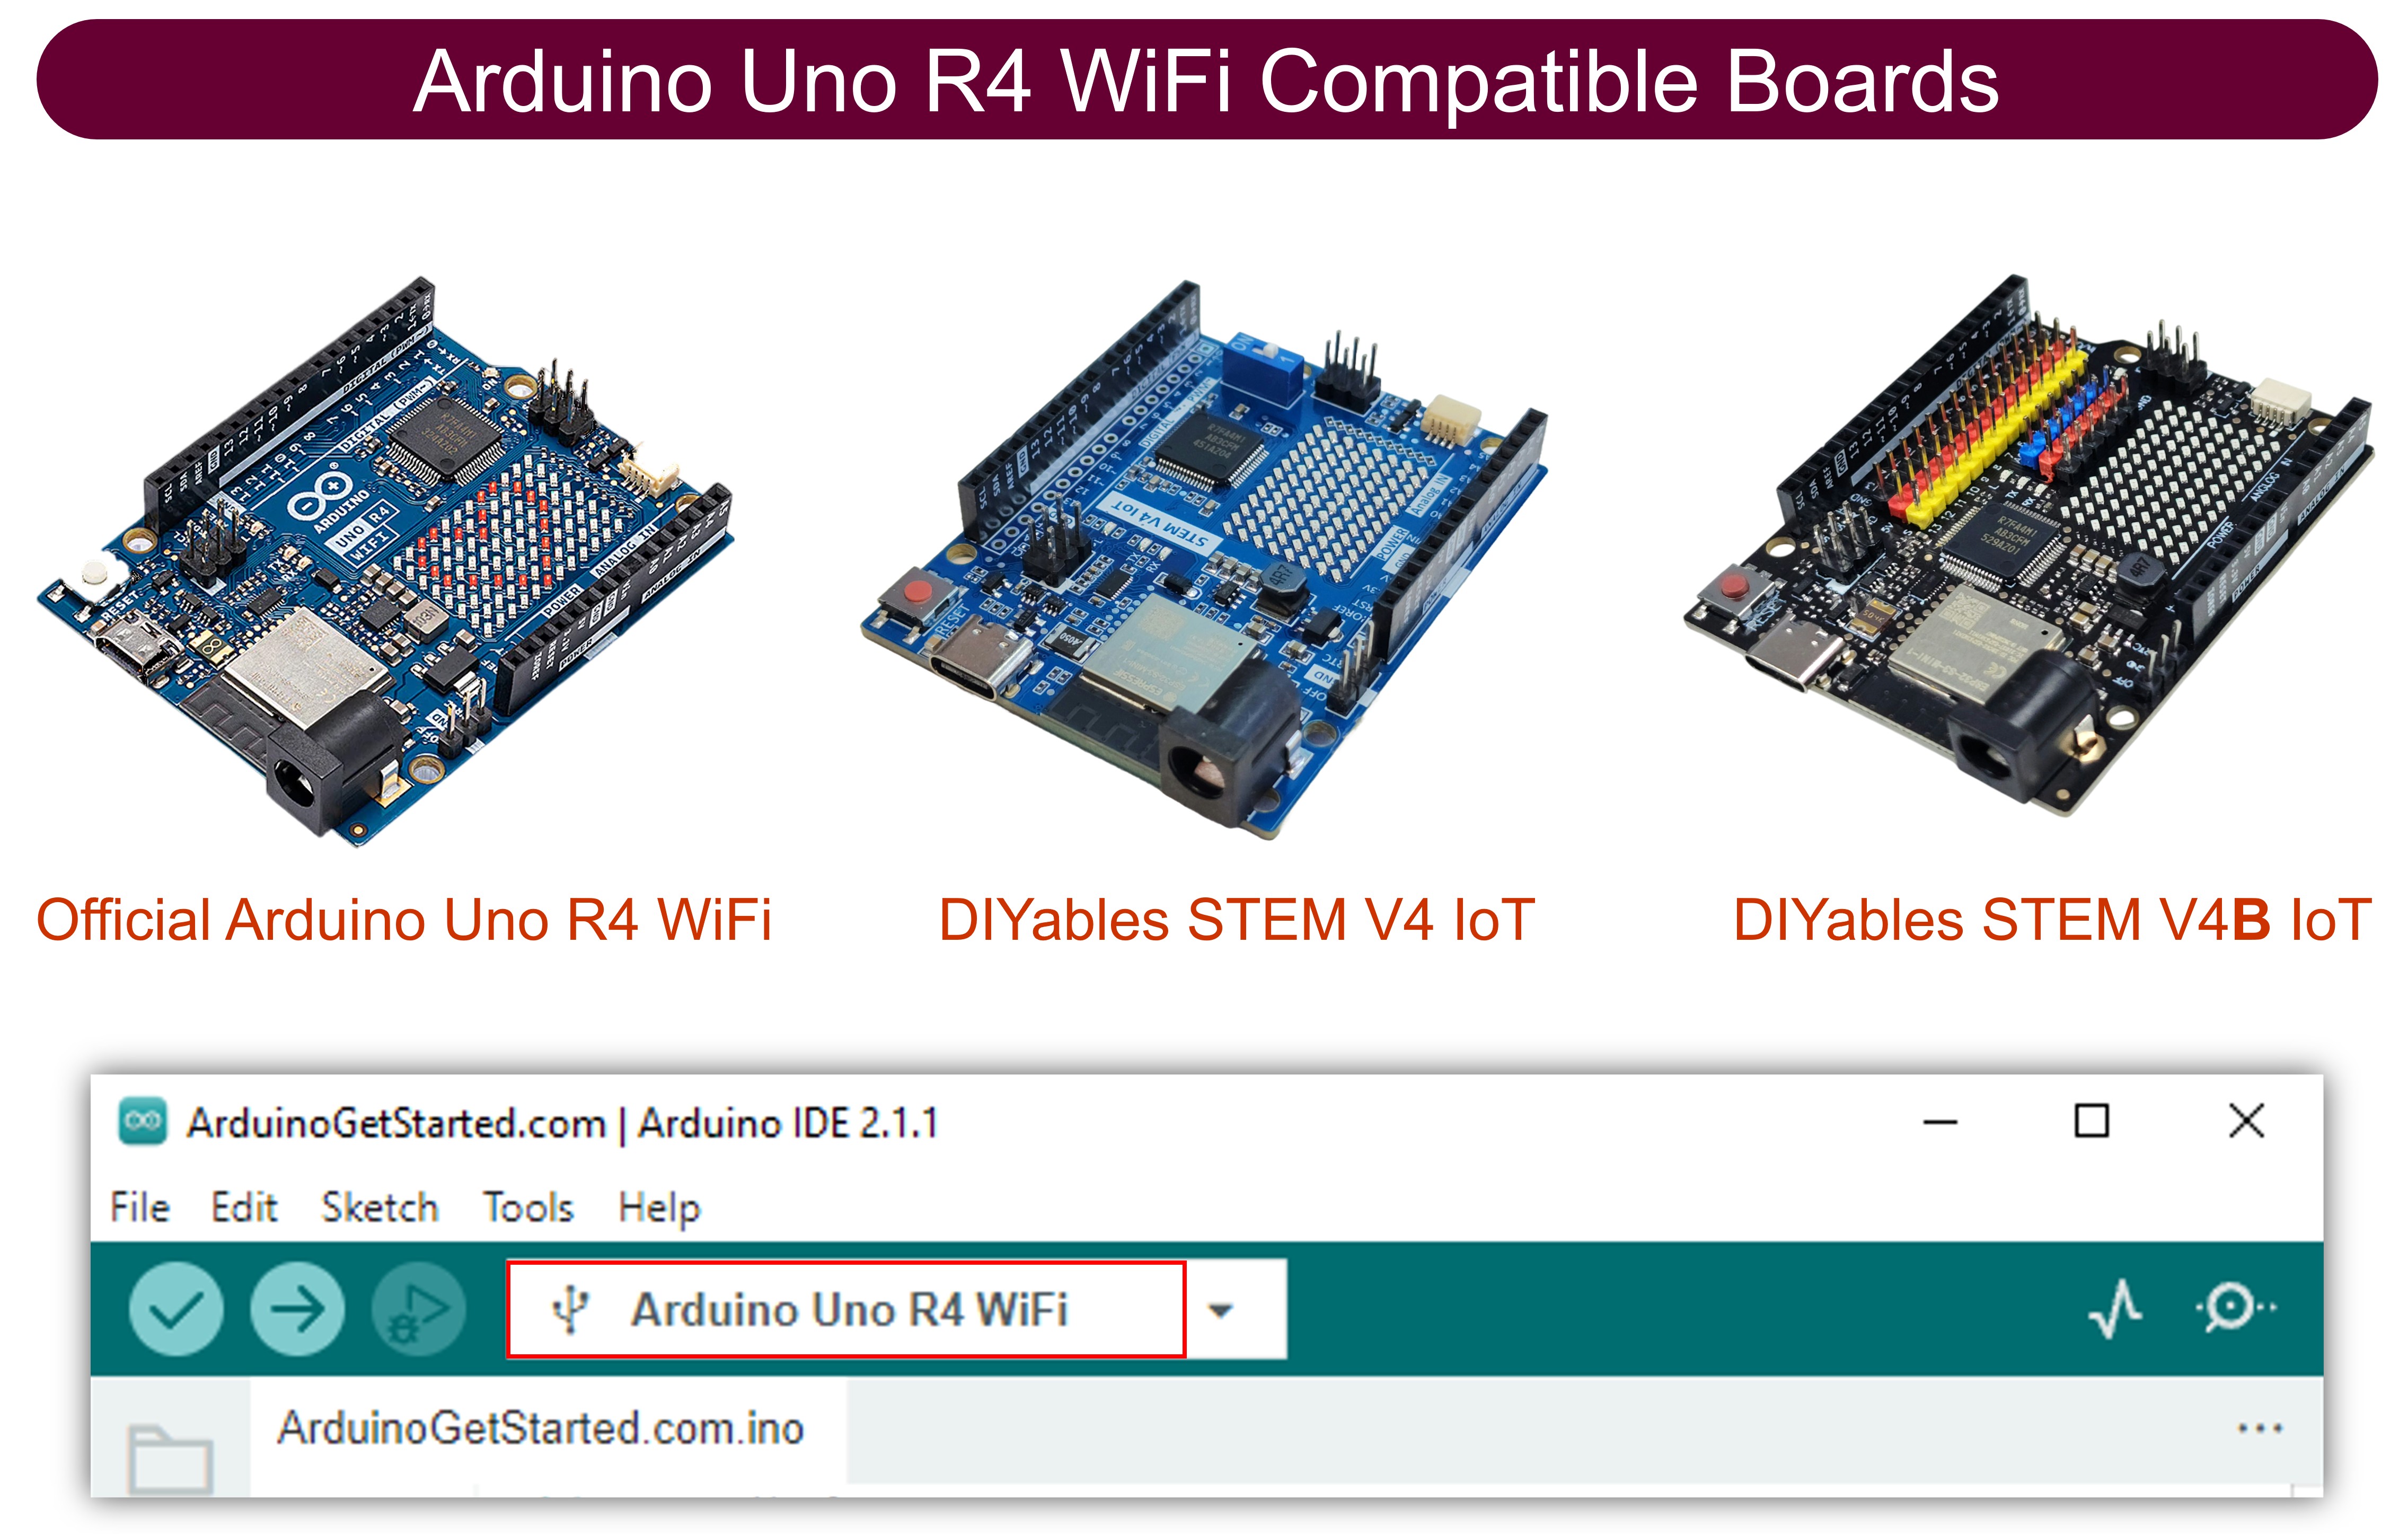
- If this is the first time you use Arduino Uno R4, see how to setup environment for Arduino Uno R4 on Arduino IDE.
- Copy the above code and open with Arduino IDE
- Create the fonts.h file On Arduino IDE by:
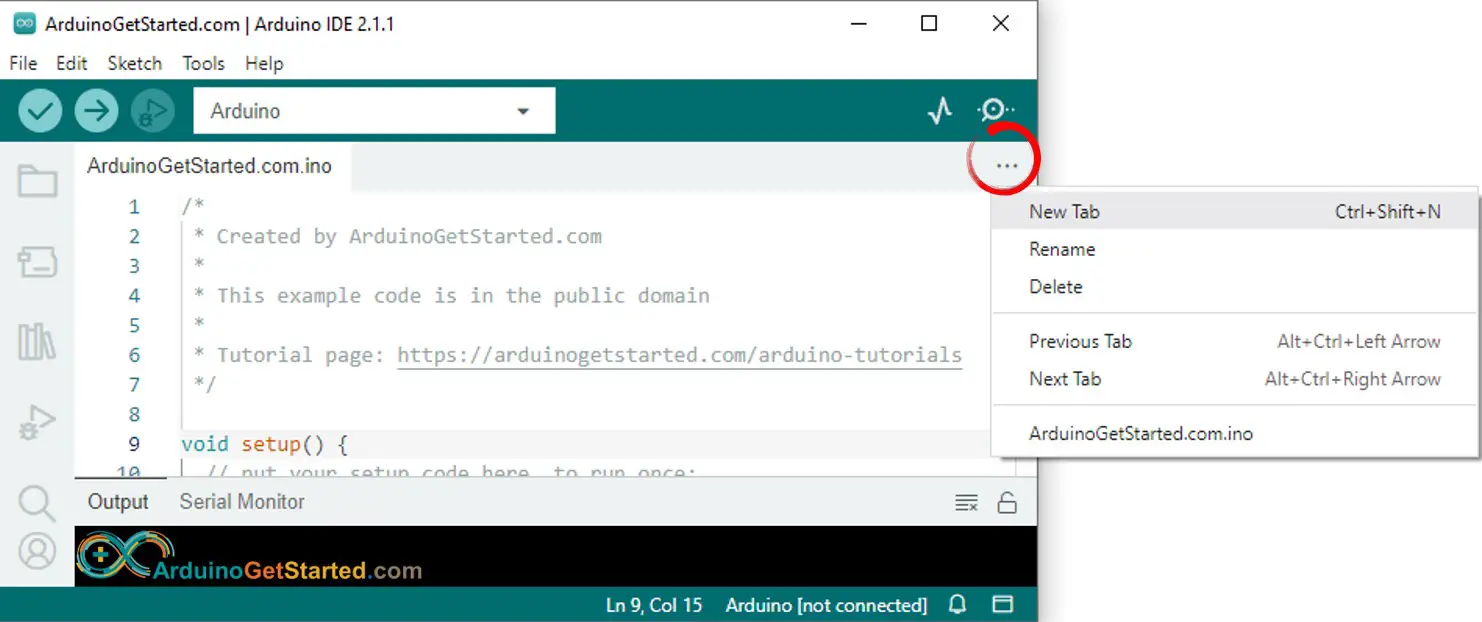
- Either click on the button just below the serial monitor icon and choose "New Tab", or use Ctrl+Shift+N.
- Give file's name fonts.h and click OK button
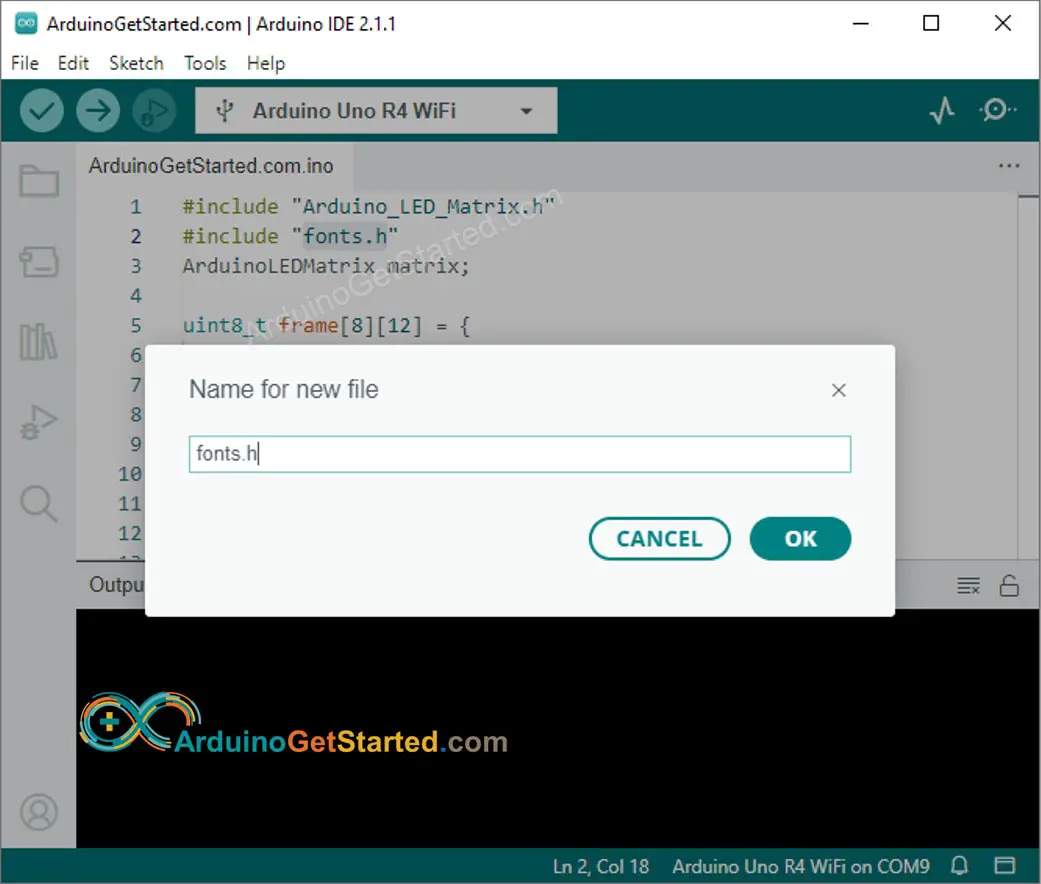
- Copy the below code and paste it to that file.
/*
* Created by ArduinoGetStarted.com
*
* This example code is in the public domain
*
* Tutorial page: https://arduinogetstarted.com/tutorials/arduino-uno-r4-led-matrix-displays-number-character
*/
uint8_t fonts[36][8] = {
{
// 0
0b01110,
0b10001,
0b10001,
0b10001,
0b10001,
0b10001,
0b10001,
0b01110,
},
{
// 1
0b00110,
0b01110,
0b10110,
0b00110,
0b00110,
0b00110,
0b00110,
0b11111,
},
{
// 2
0b11110,
0b00001,
0b00010,
0b00100,
0b01000,
0b10000,
0b10000,
0b11111,
},
{
// 3
0b11110,
0b00001,
0b00010,
0b00100,
0b00110,
0b00001,
0b00001,
0b11110,
},
{
// 4
0b00010,
0b00110,
0b01010,
0b10010,
0b11111,
0b00010,
0b00010,
0b00010,
},
{
// 5
0b11111,
0b10000,
0b10000,
0b11110,
0b00001,
0b00001,
0b10001,
0b01110,
},
{
// 6
0b01110,
0b10000,
0b10000,
0b11110,
0b10001,
0b10001,
0b10001,
0b01110,
},
{
// 7
0b11111,
0b00001,
0b00010,
0b00100,
0b01000,
0b01000,
0b10000,
0b10000,
},
{
// 8
0b01110,
0b10001,
0b10001,
0b01110,
0b10001,
0b10001,
0b10001,
0b01110,
},
{
// 9
0b01110,
0b10001,
0b10001,
0b10001,
0b11110,
0b00001,
0b00001,
0b11110,
},
{
// A
0b00100,
0b01010,
0b10001,
0b11111,
0b10001,
0b10001,
0b10001,
0b10001,
},
{
// B
0b11110,
0b10001,
0b10001,
0b11110,
0b10001,
0b10001,
0b10001,
0b11110,
},
{
// C
0b01110,
0b10001,
0b10000,
0b10000,
0b10000,
0b10000,
0b10001,
0b01110,
},
{
// D
0b11110,
0b10001,
0b10001,
0b10001,
0b10001,
0b10001,
0b10001,
0b11110,
},
{
// E
0b11111,
0b10000,
0b10000,
0b11110,
0b10000,
0b10000,
0b10000,
0b11111,
},
{
// F
0b11111,
0b10000,
0b10000,
0b11110,
0b10000,
0b10000,
0b10000,
0b10000,
},
{
// G
0b01110,
0b10001,
0b10000,
0b10000,
0b10111,
0b10001,
0b10001,
0b01110,
},
{
// H
0b10001,
0b10001,
0b10001,
0b11111,
0b10001,
0b10001,
0b10001,
0b10001,
},
{
// I
0b11111,
0b00100,
0b00100,
0b00100,
0b00100,
0b00100,
0b00100,
0b11111,
},
{
// J
0b11111,
0b00010,
0b00010,
0b00010,
0b00010,
0b00010,
0b10010,
0b01100,
},
{
// K
0b10001,
0b10010,
0b10100,
0b11000,
0b10100,
0b10010,
0b10001,
0b10001,
},
{
// L
0b10000,
0b10000,
0b10000,
0b10000,
0b10000,
0b10000,
0b10000,
0b11111,
},
{
// M
0b10001,
0b11011,
0b10101,
0b10101,
0b10001,
0b10001,
0b10001,
0b10001,
},
{
// N
0b10001,
0b10001,
0b11001,
0b10101,
0b10011,
0b10001,
0b10001,
0b10001,
},
{
// O
0b01110,
0b10001,
0b10001,
0b10001,
0b10001,
0b10001,
0b10001,
0b01110,
},
{
// P
0b11110,
0b10001,
0b10001,
0b11110,
0b10000,
0b10000,
0b10000,
0b10000,
},
{
// Q
0b01110,
0b10001,
0b10001,
0b10001,
0b10001,
0b10101,
0b10010,
0b01101,
},
{
// R
0b11110,
0b10001,
0b10001,
0b11110,
0b10010,
0b10001,
0b10001,
0b10001,
},
{
// S
0b01110,
0b10001,
0b10000,
0b01110,
0b00001,
0b00001,
0b10001,
0b01110,
},
{
// T
0b11111,
0b00100,
0b00100,
0b00100,
0b00100,
0b00100,
0b00100,
0b00100,
},
{
// U
0b10001,
0b10001,
0b10001,
0b10001,
0b10001,
0b10001,
0b10001,
0b01110,
},
{
// V
0b10001,
0b10001,
0b10001,
0b10001,
0b01010,
0b01010,
0b00100,
0b00100,
},
{
// W
0b10001,
0b10001,
0b10001,
0b10101,
0b10101,
0b11011,
0b11011,
0b10001,
},
{
// X
0b10001,
0b10001,
0b01010,
0b00100,
0b00100,
0b01010,
0b10001,
0b10001,
},
{
// Y
0b10001,
0b10001,
0b01010,
0b00100,
0b00100,
0b00100,
0b00100,
0b00100,
},
{
// Z
0b11111,
0b00001,
0b00010,
0b00100,
0b01000,
0b10000,
0b10000,
0b11111,
}
};
- Click Upload button on Arduino IDE to upload code to Arduino
- Check the state of the LED Matrix
Code Explanation
In the provided code, it is crucial to focus on the add_to_frame(char c, int pos) function. This function accepts two arguments:
- char c: The character to be displayed. Valid values range from 0 to 9 and A to Z.
- int pos: The column position where the character should be displayed. Valid values range from 0 to 11.
Arduino Code - Displays two characters simultaneously
The following Arduino code simultaneously displays two characters on the LED matrix.
/*
* Created by ArduinoGetStarted.com
*
* This example code is in the public domain
*
* Tutorial page: https://arduinogetstarted.com/tutorials/arduino-uno-r4-led-matrix-displays-number-character
*/
#include "Arduino_LED_Matrix.h"
#include "fonts.h"
ArduinoLEDMatrix matrix;
uint8_t frame[8][12] = {
{ 0, 0, 0, 0, 0, 0, 0, 0, 0, 0, 0, 0 },
{ 0, 0, 0, 0, 0, 0, 0, 0, 0, 0, 0, 0 },
{ 0, 0, 0, 0, 0, 0, 0, 0, 0, 0, 0, 0 },
{ 0, 0, 0, 0, 0, 0, 0, 0, 0, 0, 0, 0 },
{ 0, 0, 0, 0, 0, 0, 0, 0, 0, 0, 0, 0 },
{ 0, 0, 0, 0, 0, 0, 0, 0, 0, 0, 0, 0 },
{ 0, 0, 0, 0, 0, 0, 0, 0, 0, 0, 0, 0 },
{ 0, 0, 0, 0, 0, 0, 0, 0, 0, 0, 0, 0 }
};
void setup() {
// put your setup code here, to run once:
Serial.begin(115200);
delay(1500);
matrix.begin();
}
void loop() {
clear_frame();
add_to_frame('A', 0);
add_to_frame('5', 6);
display_frame();
delay(1000);
clear_frame();
add_to_frame('7', 0);
add_to_frame('F', 6);
display_frame();
delay(1000);
}
void clear_frame() {
for (int row = 0; row < 8; row++) {
for (int col = 0; col < 12; col++) {
frame[row][col] = 0;
}
}
}
void display_frame() {
matrix.renderBitmap(frame, 8, 12);
}
void add_to_frame(char c, int pos) {
int index = -1;
if (c >= '0' && c <= '9')
index = c - '0';
else if (c >= 'A' && c <= 'Z')
index = c - 'A' + 10;
else {
Serial.println("WARNING: unsupported character");
return;
}
for (int row = 0; row < 8; row++) {
uint32_t temp = fonts[index][row] << (7 - pos);
for (int col = 0; col < 12; col++) {
frame[row][col] |= (temp >> (11 - col)) & 1;
}
}
}