Arduino - Automatic Irrigation System
The automatic irrigation system is a part of the smart garden. In this tutorial, We are going to learn how to make an automatic irrigation system for the garden using Arduino, a soil moisture sensor, relay, and pump. In detail:
- When soil moisture is dry, Arduino automatically controls a relay to turn a pump on to water plants.
- When soil moisture is wet, Arduino automatically controls a relay to turn a pump off.
Hardware Required
Or you can buy the following kits:
| 1 | × | DIYables STEM V3 Starter Kit (Arduino included) | |
| 1 | × | DIYables Sensor Kit (18 sensors/displays) |
Additionally, some links direct to products from our own brand, DIYables .
Buy Note: Many capacitive soil moisture sensors on the market are low-quality, regardless of the version. We highly recommend buying the sensor with TLC555I Chip from the DIYables brand using the link above. We tested it, and it worked well.
About soil moisture sensor and Pump
If you do not know about pump and soil moisture sensor (pinout, how it works, how to program ...), learn about them in the following tutorials:
- Arduino - Soil Moisture Sensor tutorial
- Arduino - Controls Pump tutorial
Wiring Diagram
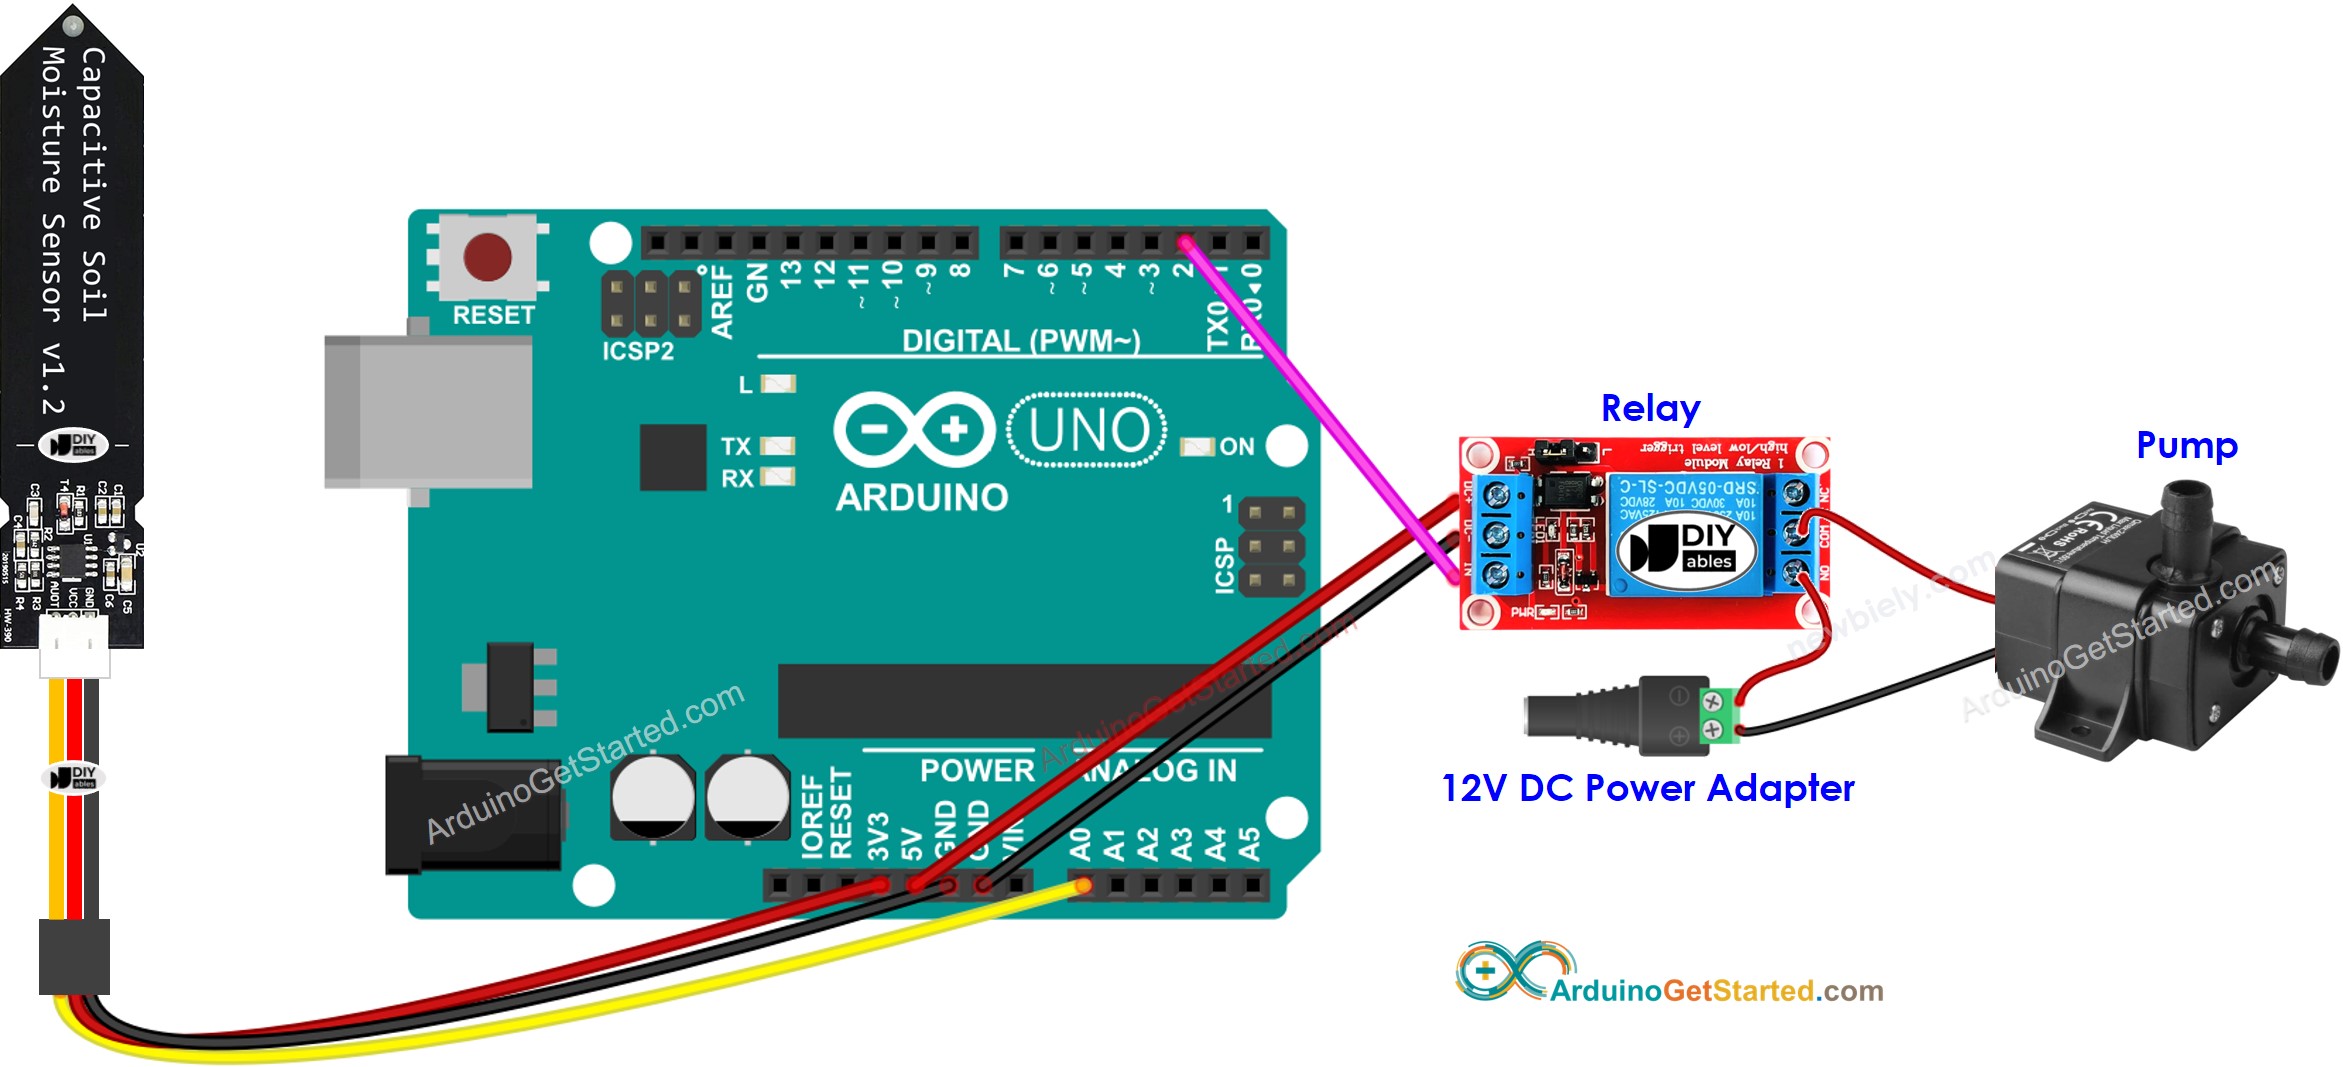
This image is created using Fritzing. Click to enlarge image
Arduino Code
Quick Steps
- Do calibration to determine the wet-dry THRESHOLD, see Arduino - Calibrates Soil Moisture Sensor
- Update the calibrated THRESHOLD value in the code
- Open Serial Monitor on Arduino IDE
- Upload the code to Arduino
- See the result on Serial Monitor.
Code Explanation
Read the line-by-line explanation in the comment lines of the source code!
Video Tutorial
We are considering to make the video tutorials. If you think the video tutorials are essential, please subscribe to our YouTube channel to give us motivation for making the videos.