Arduino - Motion Sensor Email Notification
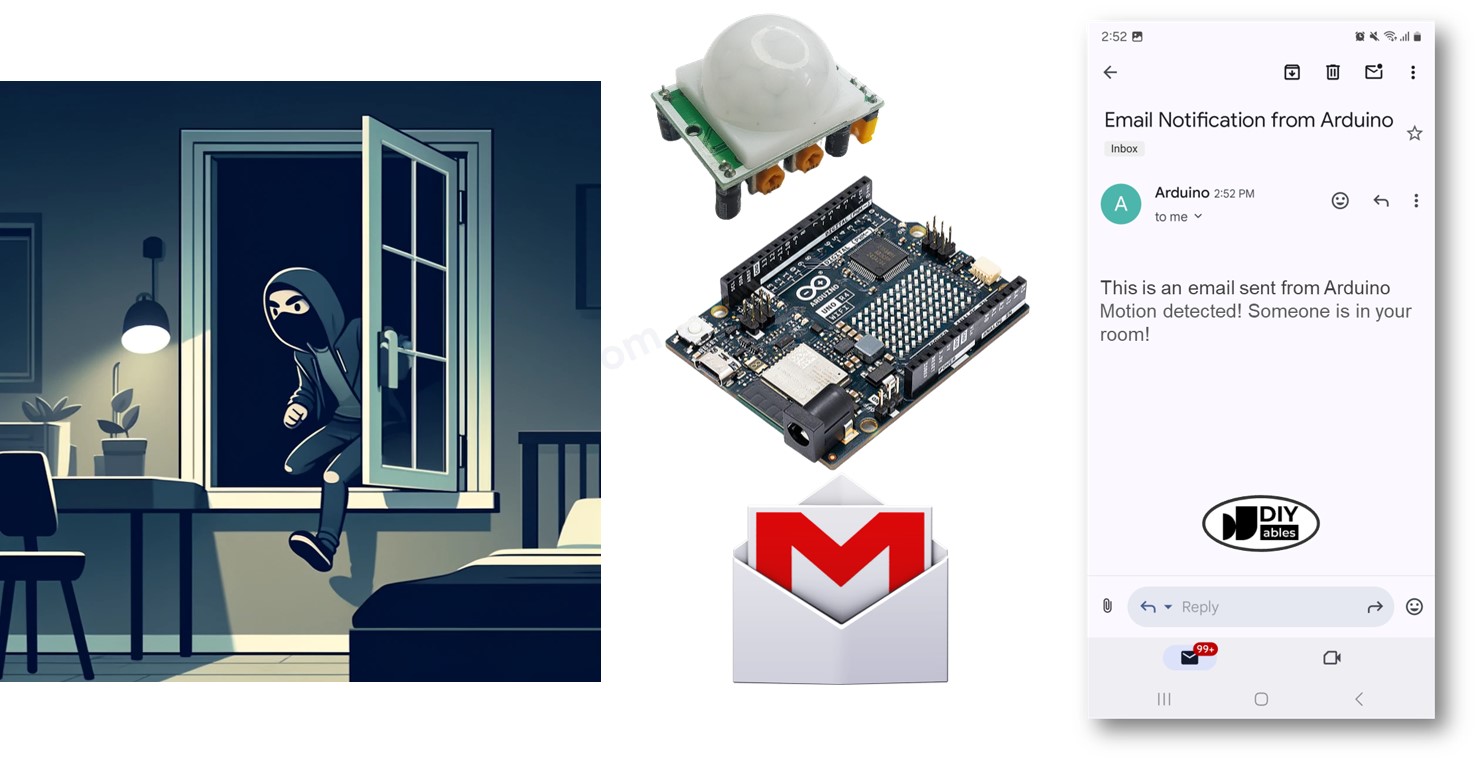
In this guide, we will show you how to use an Arduino and a motion sensor to send emails when someone enters your room without permission. We will cover how to set everything up, what you need, and detailed instructions on connecting an Arduino and motion sensor to an email system. Improve your home security by receiving instant email notifications through the Arduino.
Or you can buy the following kits:
Disclosure: Some links in this section are Amazon affiliate links. If you make a purchase through these links, we may earn a commission at no extra cost to you.
Additionally, some links direct to products from our own brand,
DIYables .
We offer detailed guides on Motion Sensor and Gmail. Each guide provides complete information and easy-to-follow steps on hardware setup, how it works, and how to connect and program Arduino. Find out more by visiting these links:

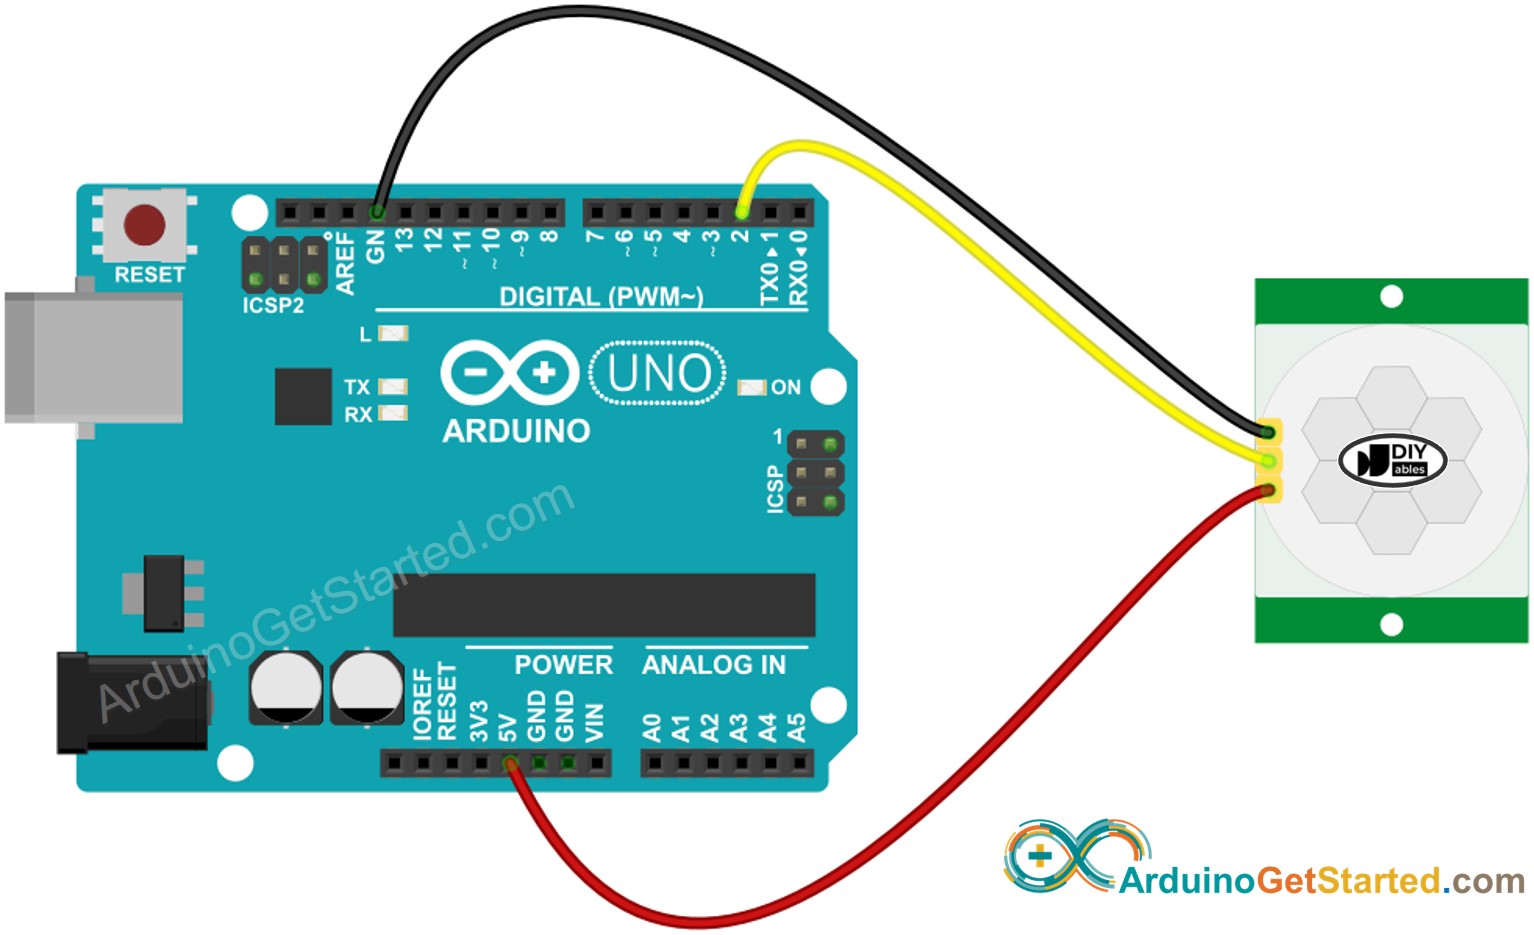
This image is created using Fritzing. Click to enlarge image
#include <WiFiS3.h>
#include <ESP_Mail_Client.h>
#define WIFI_SSID "YOUR_WIFI_SSID"
#define WIFI_PASSWORD "YOUR_WIFI_PASSWORD"
#define SENDER_EMAIL "xxxxxx@gmail.com"
#define SENDER_PASSWORD "xxxx xxxx xxxx xxxx"
#define RECIPIENT_EMAIL "xxxxxx@gmail.com"
#define SMTP_HOST "smtp.gmail.com"
#define SMTP_PORT 587
#define MOTION_SENSOR_PIN 2
int motion_state;
int prev_motion_state;
SMTPSession smtp;
void setup() {
Serial.begin(9600);
WiFi.begin(WIFI_SSID, WIFI_PASSWORD);
Serial.print("Connecting to Wi-Fi");
while (WiFi.status() != WL_CONNECTED) {
Serial.print(".");
delay(300);
}
Serial.println();
Serial.print("Connected with IP: ");
Serial.println(WiFi.localIP());
Serial.println();
pinMode(MOTION_SENSOR_PIN, INPUT);
motion_state = digitalRead(MOTION_SENSOR_PIN);
}
void loop() {
prev_motion_state = motion_state;
motion_state = digitalRead(MOTION_SENSOR_PIN);
if (prev_motion_state == LOW && motion_state == HIGH) {
Serial.println("Motion detected! Someone is in your room!");
String subject = "Email Notification from ESP32";
String textMsg = "This is an email sent from ESP32.\n";
textMsg += "Motion detected! Someone is in your room!";
gmail_send(subject, textMsg);
}
}
void gmail_send(String subject, String textMsg) {
MailClient.networkReconnect(true);
smtp.debug(1);
smtp.callback(smtpCallback);
Session_Config config;
config.server.host_name = SMTP_HOST;
config.server.port = SMTP_PORT;
config.login.email = SENDER_EMAIL;
config.login.password = SENDER_PASSWORD;
config.login.user_domain = F("127.0.0.1");
config.time.ntp_server = F("pool.ntp.org,time.nist.gov");
config.time.gmt_offset = 3;
config.time.day_light_offset = 0;
SMTP_Message message;
message.sender.name = F("ESP32");
message.sender.email = SENDER_EMAIL;
message.subject = subject;
message.addRecipient(F("To Whom It May Concern"), RECIPIENT_EMAIL);
message.text.content = textMsg;
message.text.transfer_encoding = "base64";
message.text.charSet = F("utf-8");
message.priority = esp_mail_smtp_priority::esp_mail_smtp_priority_low;
message.addHeader(F("Message-ID: <abcde.fghij@gmail.com>"));
if (!smtp.connect(&config)) {
Serial.println("Connection error");
return;
}
if (!smtp.isLoggedIn()) {
Serial.println("Not yet logged in.");
} else {
if (smtp.isAuthenticated())
Serial.println("Successfully logged in.");
else
Serial.println("Connected with no Auth.");
}
if (!MailClient.sendMail(&smtp, &message)) {
Serial.println("Connection error: ");
Serial.print("- Status Code: ");
Serial.println(smtp.statusCode());
Serial.print("- Error Code: ");
Serial.println(smtp.errorCode());
Serial.print("- Reason: ");
Serial.println(smtp.errorReason().c_str());
}
}
void smtpCallback(SMTP_Status status) {
Serial.println(status.info());
if (status.success()) {
for (size_t i = 0; i < smtp.sendingResult.size(); i++) {
SMTP_Result result = smtp.sendingResult.getItem(i);
Serial.print("Status: ");
if (result.completed)
Serial.println("success");
else
Serial.println("failed");
Serial.print("Recipient: ");
Serial.println(result.recipients.c_str());
Serial.print("Subject: ");
Serial.println(result.subject.c_str());
}
Serial.println("----------------\n");
smtp.sendingResult.clear();
}
}
Plug the Arduino board into the motion sensor.
Connect the Arduino board to your computer using a micro USB cable.
Start the Arduino IDE on your computer.
Choose the correct Arduino board option, for example, Arduino Dev Module, and the COM port.
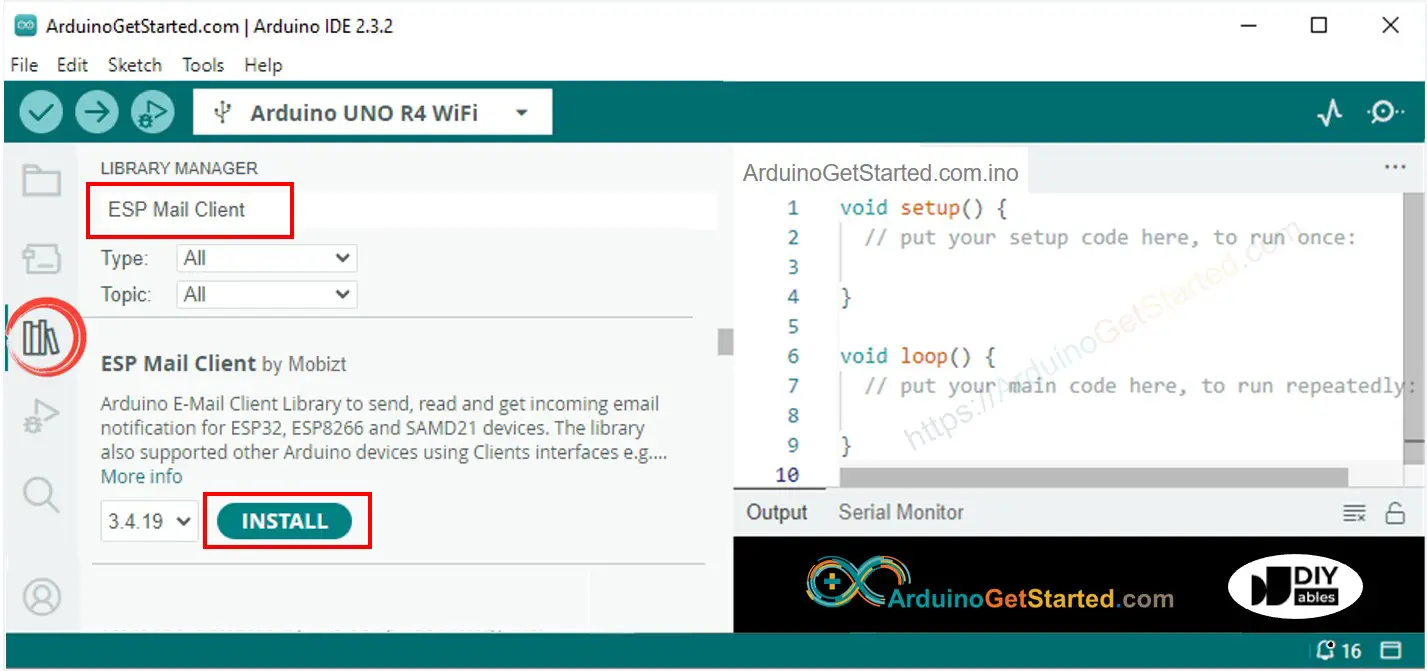
Access the Library Manager by clicking the Library Manager icon on the left side of the Arduino IDE.
Look for "ESP Mail Client" and find the version by Mobizt.
Press the Install button to add the ESP Mail Client library.

Copy the provided code and open it in the Arduino IDE.
Change the WiFi details (network name and password) in the code by updating WIFI_SSID and WIFI_PASSWORD with your network information.
Change the sender's email and password in the code by updating SENDER_EMAIL and SENDER_PASSWORD with your email details.
Change the recipient's email in the code by updating RECIPIENT_EMAIL with the email address where you want to receive messages. This can be the same as the sender's email.
※ NOTE THAT:
The email you use to send must be a Gmail.
Use the App password you received in the previous step for the sender's password.
The email address you are sending to can be any kind of email.
Press the Upload button in Arduino IDE to send the code to Arduino.
Open the Serial Monitor.
Move in front of the motion sensor.
Look at the Serial Monitor to see the results.
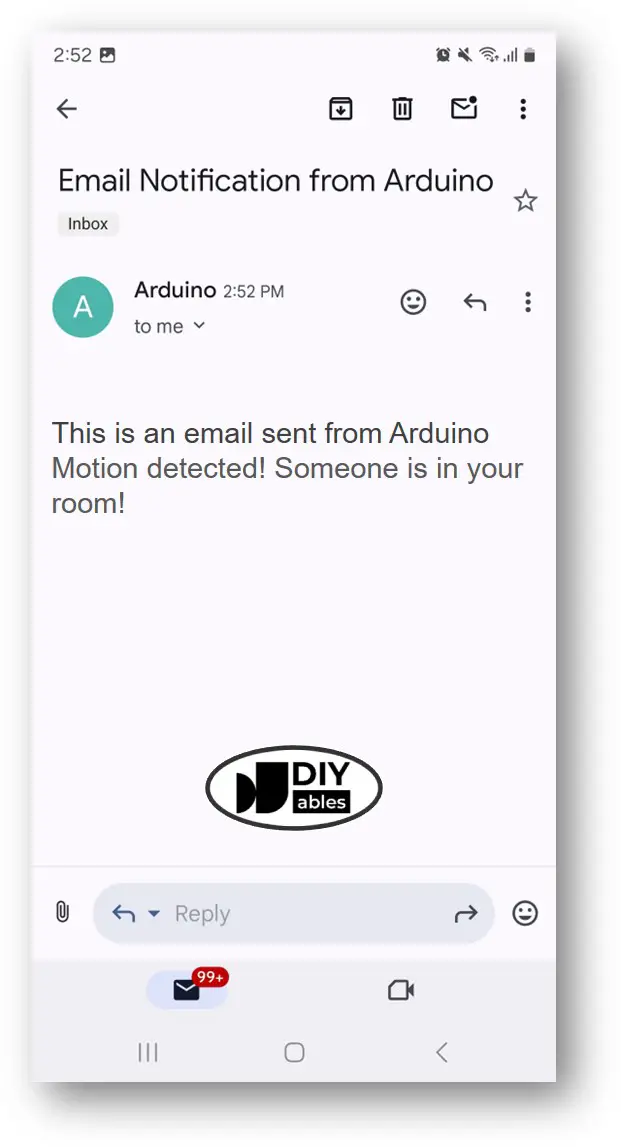
Motion detected! Someone is in your room!
#### Email sent successfully
> C: Email sent successfully
----------------
Message sent success: 1
Message sent failed: 0
----------------
Message No: 1
Status: success
Date/Time: May 27, 2024 04:42:50
Recipient: xxxxxx@gmail.com
Subject: Email Notification from Arduino
----------------
We are considering to make the video tutorials. If you think the video tutorials are essential, please subscribe to our YouTube channel to give us motivation for making the videos.
※ OUR MESSAGES
You can share the link of this tutorial anywhere. Howerver, please do not copy the content to share on other websites. We took a lot of time and effort to create the content of this tutorial, please respect our work!


