Arduino - Water Leak Detector
In this guide, we will learn to use the Arduino and a water leak sensor to find water leaks.
Hardware Required
Or you can buy the following kits:
| 1 | × | DIYables STEM V3 Starter Kit (Arduino included) | |
| 1 | × | DIYables Sensor Kit (18 sensors/displays) |
Additionally, some links direct to products from our own brand, DIYables .
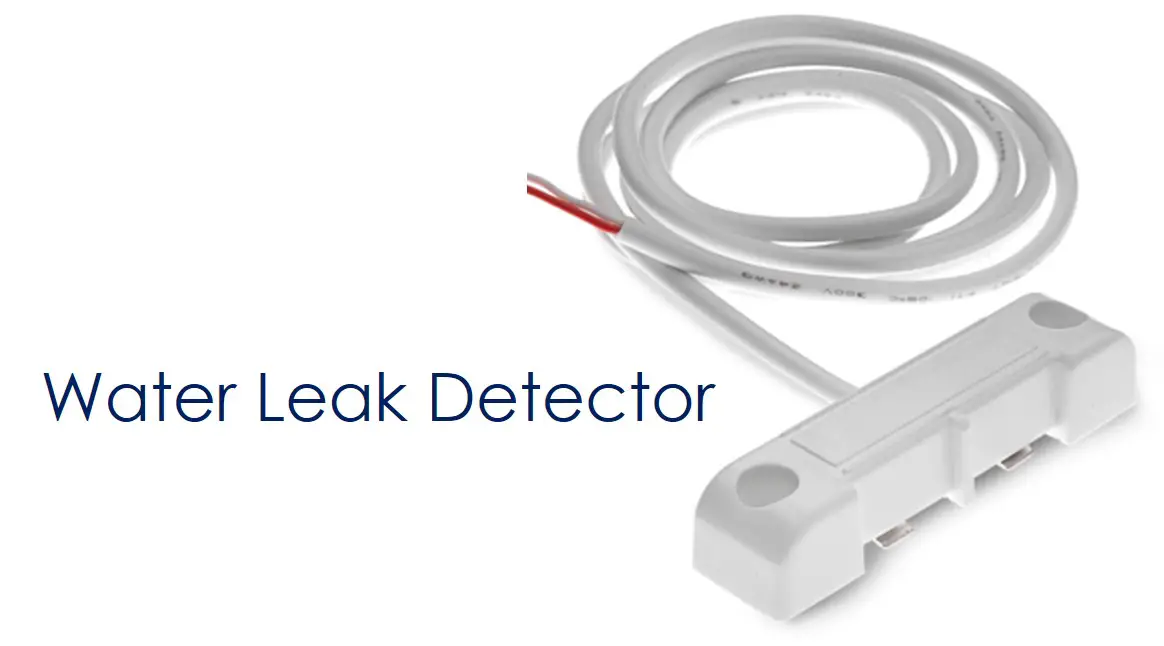
About Water Leak Detector
The water leak detector, or water leak sensor, helps us find any unwanted water early to avoid possible damage.
Water Leak Detector Pinout
The water leak detector comes with two wires:
Just like a switch or button, we don't need to tell the difference between the two wires of the water leak detector.
How the Water Leak Detector Works
When there is water, the circuit closes. When there is no water, the circuit stays open.
To set up the water leak detector with an Arduino, connect one wire to GND and the other wire to an input pin on the Arduino configured as a digital input pull-up. If there is water, the Arduino pin will show a LOW value. If there is no water, the pin will show a HIGH value.
※ NOTE THAT:
The water leak detector cannot detect "non-conductive" water like pure water. To make it work, scatter some salt near the sensor. The water will mix with the salt, making the water conductive.
Wiring Diagram between Water Leak Detector and Arduino
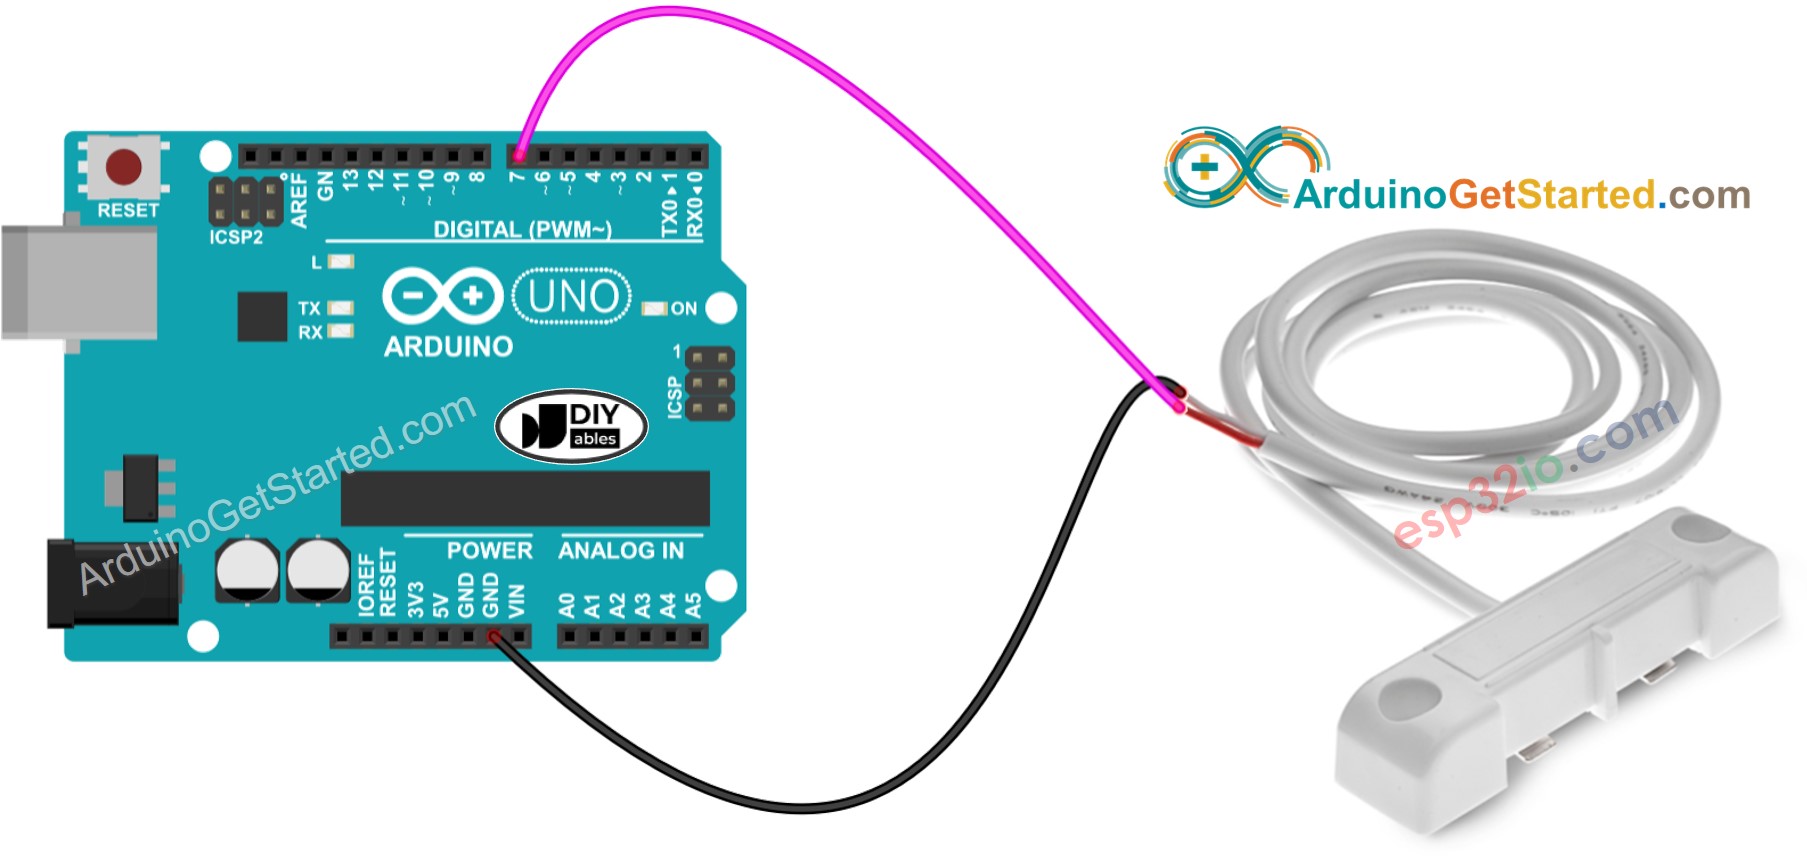
This image is created using Fritzing. Click to enlarge image
How To Program Arduino to read value from Water Leak Detector
- Set the Arduino pin as a digital input by using the pinMode() function. For instance, for pin D7, use this function.
- Uses the digitalRead() function to check the condition of the Arduino pin.
Arduino Code - Detecting Water Leakage
Quick Steps
- Copy the code above and paste it into the Arduino IDE.
- To upload the code to your Arduino board, click the Upload button in Arduino IDE.
- Pour water near the water leak detector.
- Check the results on the Serial Monitor. It appears as follows:.
Video Tutorial
We are considering to make the video tutorials. If you think the video tutorials are essential, please subscribe to our YouTube channel to give us motivation for making the videos.