Arduino - Control Servo Motor via Web

This tutorial will show you how to use an Arduino to control a servo motor from a web browser on your smartphone or PC. We'll utilize WebSocket technology to enable smooth and dynamic control of the servo motor through a graphical web user interface.

Arduino controls servo motor via web

Now, why should we use WebSocket? Here’s why:

Let’s get started!

About Servo Motor and WebSocket

We have specific tutorials about servo motor and WebSocket. Each tutorial contains detailed information and step-by-step instructions about hardware pinout, working principle, wiring connection to Arduino, Arduino code... Learn more about them at the following links:

How It Works

The Arduino code sets up both a web server and a WebSocket server. Here's the step-by-step process:

  • When you type the Arduino's IP address into a web browser, it sends a request for the webpage (User Interface) hosted on the Arduino.
  • The Arduino's web server responds by sending back the content of the webpage (HTML, CSS, JavaScript).
  • Your web browser then displays the webpage.
  • The JavaScript code embedded in the webpage initiates a WebSocket connection with the WebSocket server on the Arduino.
  • Once the WebSocket connection is active, if you adjust the handle on the webpage, the JavaScript code discreetly transmits the angle value to the Arduino via this WebSocket connection in the background.
  • The WebSocket server on the Arduino, upon receiving this angle value, adjusts the servo motor accordingly.

In essence, the WebSocket connection facilitates smooth, real-time control of the servo motor's angle.

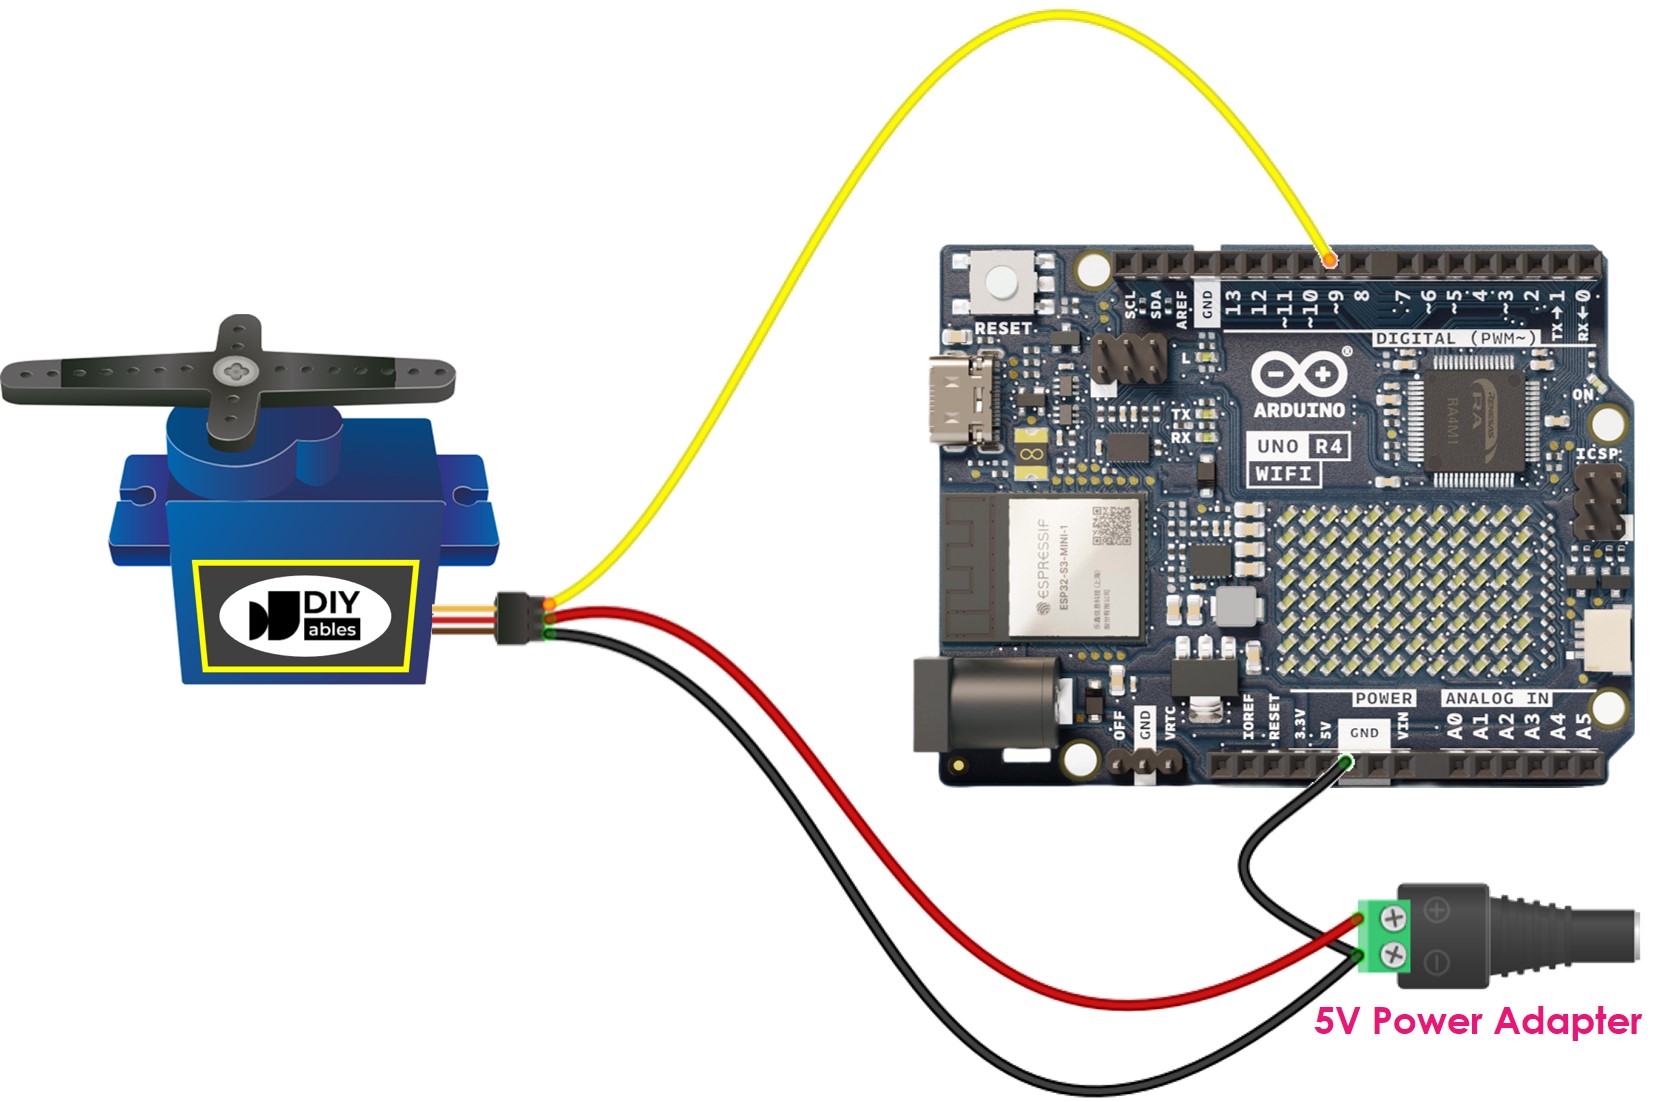
Wiring Diagram between Servo Motor and Arduino

Arduino Servo Motor Wiring Diagram

This image is created using Fritzing. Click to enlarge image

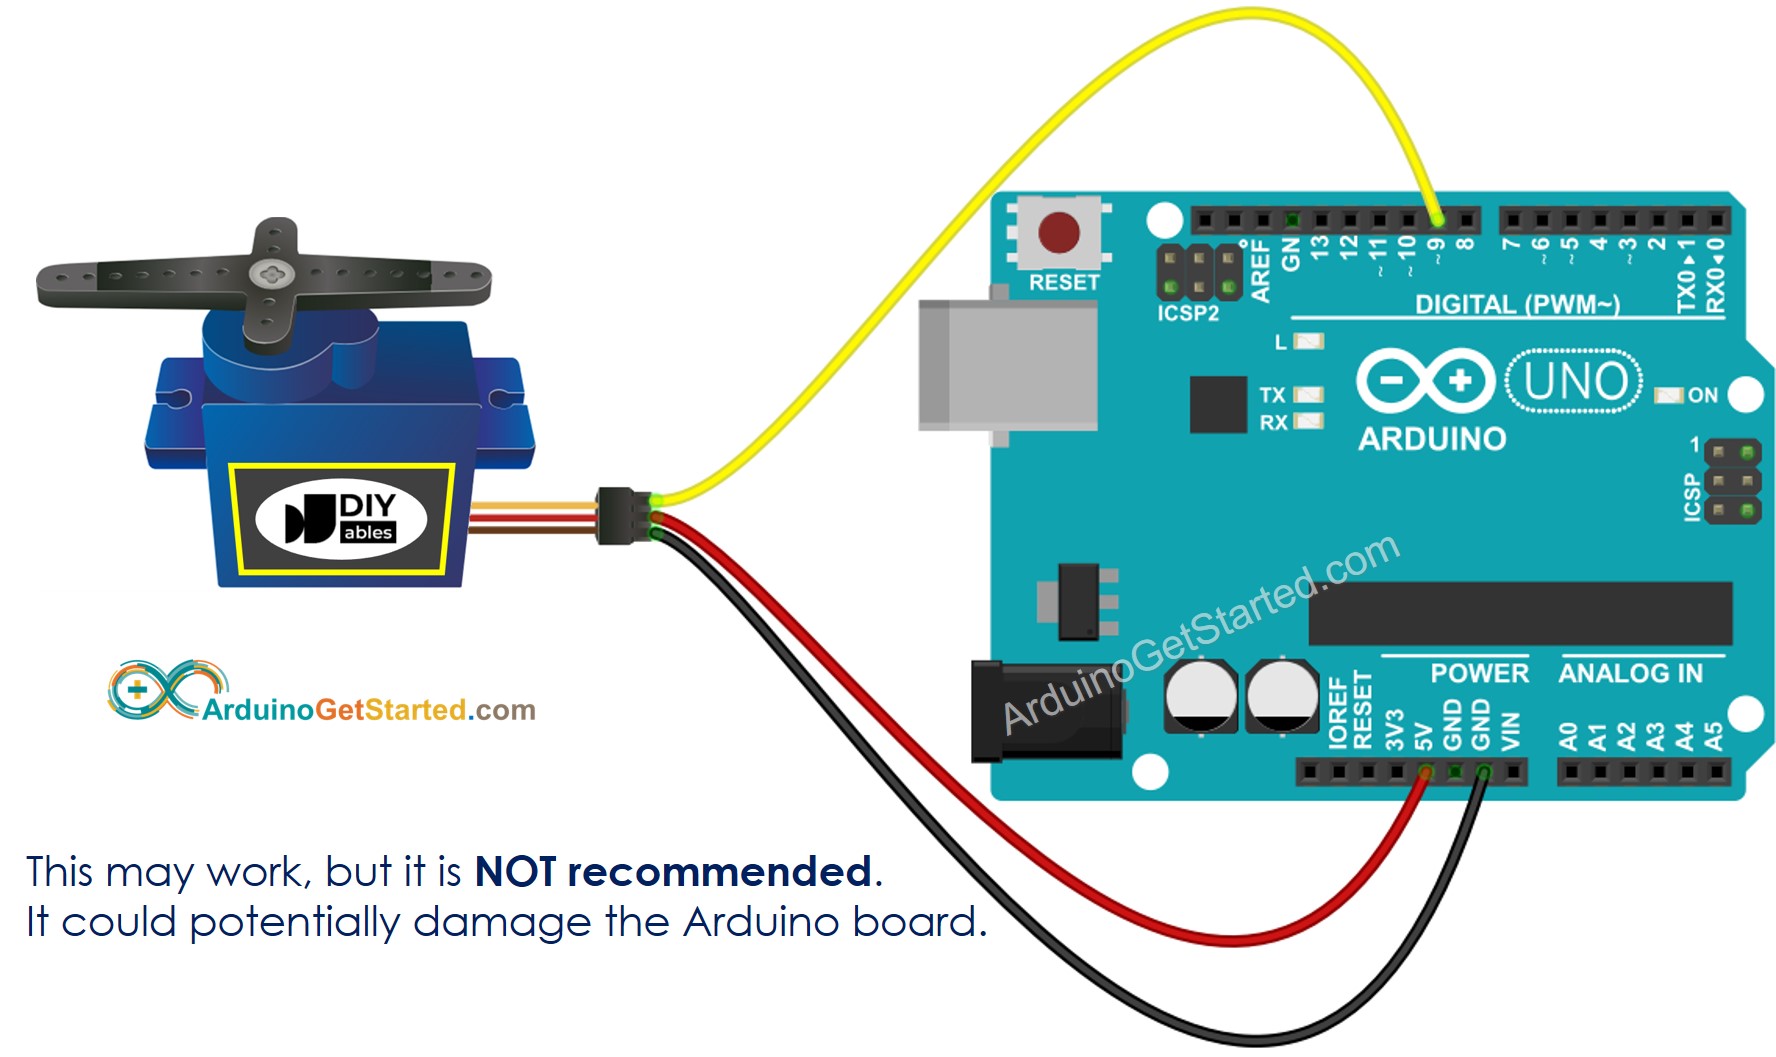
For the sake of simplicity, the above wiring diagram is used for the testing or learning purposes, and for small-torque servo motor. In practice, we highly recommend using the external power supply for the servo motor. The below wiring diagram shows how to connect servo motor to an external power source.

Arduino servo motor power supply wiring diagram

Arduino Code

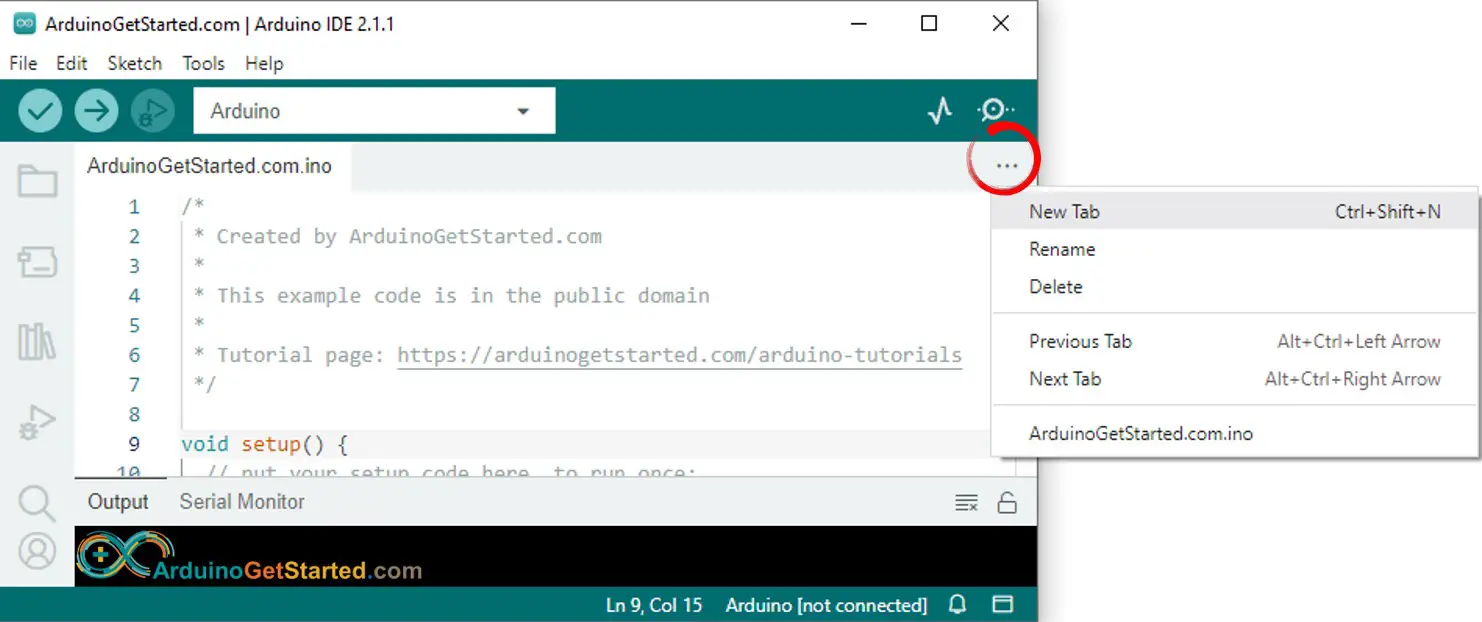
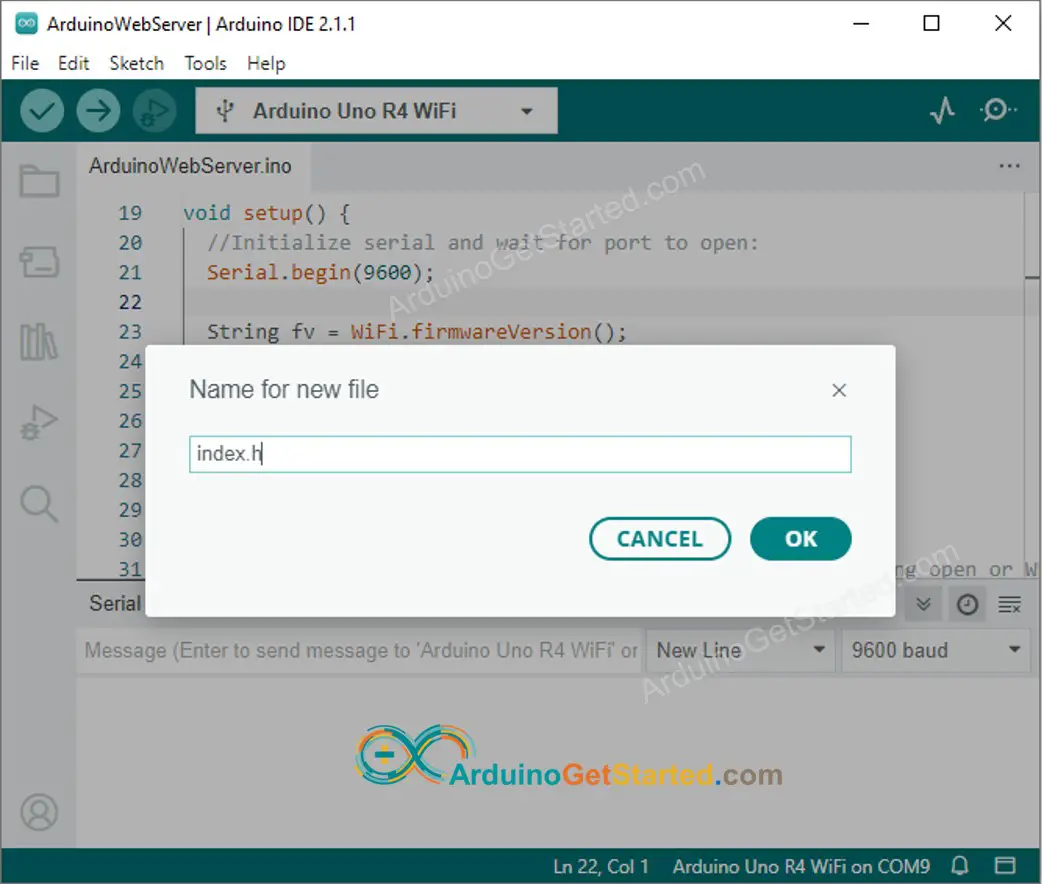
The webpage's content (HTML, CSS, JavaScript) are stored separately on an index.h file. So, we will have two code files on Arduino IDE:

  • An .ino file that is Arduino code, which creates a web sever and WebSocket Server, and control servo motor
  • An .h file, which contains the webpage's content.

Quick Steps

  • If this is the first time you use Arduino Uno R4, see how to setup environment for Arduino Uno R4 on Arduino IDE.
  • Do the wiring as above image.
  • Connect the Arduino board to your PC via a micro USB cable
  • Open Arduino IDE on your PC.
  • Select the right Arduino board (e.g. Arduino Uno R4 WiFi) and COM port.
  • Open the Library Manager by clicking on the Library Manager icon on the left navigation bar of Arduino IDE.
  • Search for Web Server for Arduino Uno R4 WiFi and locate the Web Server library created by DIYables.
  • Click Install button to install the Web Server library.
Arduino UNO R4 Web Server library
  • On Arduino IDE, create new sketch, Give it a name, for example, ArduinoGetStarted.com.ino
  • Copy the below code and open with Arduino IDE
/* * Created by ArduinoGetStarted.com * * This example code is in the public domain * * Tutorial page: https://arduinogetstarted.com/tutorials/arduino-controls-servo-motor-via-web */ #include <Servo.h> #include <UnoR4WiFi_WebServer.h> #include "index.h" #define SERVO_PIN 9 // Arduino pin 9 connected to servo motor // WiFi credentials const char WIFI_SSID[] = "YOUR_WIFI_SSID"; const char WIFI_PASSWORD[] = "YOUR_WIFI_PASSWORD"; // Create web server instance UnoR4WiFi_WebServer server(80); UnoR4WiFi_WebSocket *webSocket; Servo servo; // Page handlers void handleHome(WiFiClient& client, const String& method, const String& request, const QueryParams& params, const String& jsonData) { server.sendResponse(client, HTML_CONTENT); } // WebSocket event handlers void onWebSocketOpen(net::WebSocket& ws) { Serial.println("New WebSocket connection"); } void onWebSocketMessage(net::WebSocket& ws, const net::WebSocket::DataType dataType, const char* message, uint16_t length) { String angle = String(message); int angle_value = angle.toInt(); servo.write(angle_value); Serial.print(F("Rotate Servo Motor to ")); Serial.println(angle_value); } void onWebSocketClose(net::WebSocket& ws, const net::WebSocket::CloseCode code, const char* reason, uint16_t length) { Serial.println("WebSocket client disconnected"); } void setup() { Serial.begin(9600); delay(1000); servo.attach(SERVO_PIN); // attaches the servo on Arduino pin Serial.println("Arduino Uno R4 WiFi - WebSocket Server controls Servo Motor"); // Configure web server routes server.addRoute("/", handleHome); // Start web server with WiFi connection server.begin(WIFI_SSID, WIFI_PASSWORD); // Enable WebSocket functionality webSocket = server.enableWebSocket(81); if (webSocket != nullptr) { // Set up WebSocket event handlers webSocket->onOpen(onWebSocketOpen); webSocket->onMessage(onWebSocketMessage); webSocket->onClose(onWebSocketClose); } else { Serial.println("Failed to start WebSocket server"); } } void loop() { // Handle HTTP requests and WebSocket connections using the library server.handleClient(); server.handleWebSocket(); delay(10); }
  • Modify the WiFi information (SSID and password) in the code to match your own network credentials.
  • Create the index.h file On Arduino IDE by:
    • Either click on the button just below the serial monitor icon and choose New Tab, or use Ctrl+Shift+N keys.
    Arduino IDE 2 adds file
    • Give the file's name index.h and click OK button
    Arduino IDE 2 adds file index.h
    • Copy the below code and paste it to the index.h.
    /* * Created by ArduinoGetStarted.com * * This example code is in the public domain * * Tutorial page: https://arduinogetstarted.com/tutorials/arduino-controls-servo-motor-via-web */ const char *HTML_CONTENT = R"=====( <!DOCTYPE html> <html> <head> <title>Arduino Controls Servo Motor via Web</title> <meta name="viewport" content="width=device-width, initial-scale=0.7"> <style> body { text-align: center; } canvas { background-color: #ffffff; } </style> <script> var canvas_width = 401, canvas_height = 466; var pivot_x = 200, pivot_y = 200; var bracket_radius = 160, bracket_angle = 0; var bracket_img = new Image(); var click_state = 0; var last_angle = 0; var mouse_xyra = {x:0, y:0, r:0.0, a:0.0}; var ws; bracket_img.src = "https://esp32io.com/images/tutorial/servo-bracket.png"; function init() { var servo = document.getElementById("servo"); servo.width = canvas_width; servo.height = canvas_height; servo.style.backgroundImage = "url('https://esp32io.com/images/tutorial/servo-body.png')"; servo.style.backgroundPosition = "center"; servo.style.backgroundSize = "contain"; servo.addEventListener("touchstart", mouse_down); servo.addEventListener("touchend", mouse_up); servo.addEventListener("touchmove", mouse_move); servo.addEventListener("mousedown", mouse_down); servo.addEventListener("mouseup", mouse_up); servo.addEventListener("mousemove", mouse_move); var ctx = servo.getContext("2d"); ctx.translate(pivot_x, pivot_y); rotate_bracket(0); ws = new WebSocket("ws://" + window.location.host + ":81"); document.getElementById("ws_state").innerHTML = "CONNECTING"; ws.onopen = function(){ document.getElementById("ws_state").innerHTML = "CONNECTED" }; ws.onclose = function(){ document.getElementById("ws_state").innerHTML = "CLOSED"}; ws.onerror = function(){ alert("websocket error " + this.url) }; ws.onmessage = ws_onmessage; } function ws_onmessage(e_msg) { e_msg = e_msg || window.event; // MessageEvent alert("msg : " + e_msg.data); } function rotate_bracket(angle) { var servo = document.getElementById("servo"); var ctx = servo.getContext("2d"); ctx.clearRect(-pivot_x, -pivot_y, canvas_width, canvas_height); ctx.rotate(angle / 180 * Math.PI); ctx.drawImage(bracket_img, -pivot_x, -pivot_y); ctx.rotate(-angle / 180 * Math.PI); } function check_range_xyra(event, mouse_xyra) { var x, y, r, a, rc_x, rc_y, radian; var min_r, max_r, width; if(event.touches) { var touches = event.touches; x = (touches[0].pageX - touches[0].target.offsetLeft) - pivot_x; y = pivot_y - (touches[0].pageY - touches[0].target.offsetTop); min_r = 60; max_r = pivot_x; width = 40; } else { x = event.offsetX - pivot_x; y = pivot_y - event.offsetY; min_r = 60; max_r = bracket_radius; width = 20; } /* cartesian to polar coordinate conversion */ r = Math.sqrt(x * x + y * y); a = Math.atan2(y, x); mouse_xyra.x = x; mouse_xyra.y = y; mouse_xyra.r = r; mouse_xyra.a = a; radian = bracket_angle / 180 * Math.PI; /* rotate coordinate */ rc_x = x * Math.cos(radian) - y * Math.sin(radian); rc_y = x * Math.sin(radian) + y * Math.cos(radian); if((r < min_r) || (r > max_r)) return false; if((rc_y < -width) || (rc_y > width)) return false; return true; } function mouse_down() { if(event.touches && (event.touches.length > 1)) click_state = event.touches.length; if(click_state > 1) return; if(check_range_xyra(event, mouse_xyra)) { click_state = 1; last_angle = mouse_xyra.a / Math.PI * 180.0; } } function mouse_up() { click_state = 0; } function mouse_move() { var angle; if(event.touches && (event.touches.length > 1)) click_state = event.touches.length; if(click_state > 1) return; if(!click_state) return; if(!check_range_xyra(event, mouse_xyra)) { click_state = 0; return; } angle = mouse_xyra.a / Math.PI * 180.0; if((Math.abs(angle) > 90) && (angle * last_angle < 0)) { if(last_angle > 0) last_angle = -180; else last_angle = 180; } bracket_angle += (last_angle - angle); last_angle = angle; if(bracket_angle > 90) bracket_angle = 90; if(bracket_angle < -90) bracket_angle = -90; rotate_bracket(bracket_angle); if(ws.readyState == 1) ws.send(Math.floor(90 - bracket_angle) + "\r\n"); debug = document.getElementById("debug"); debug.innerHTML = Math.floor(90 - bracket_angle); event.preventDefault(); } window.onload = init; </script> </head> <body> <h2> Arduino - Servo Motor via Web<br> <canvas id="servo"></canvas> <p> WebSocket : <span id="ws_state" style="color:blue">null</span><br> Angle : <span id="debug" style="color:blue">90</span> </p> </h2> <div class="sponsor">Sponsored by <a href="https://amazon.com/diyables">DIYables</a></div> </body> </html> )=====";
    • Now you have the code in two files: ArduinoGetStarted.com.ino and index.h
    • Click Upload button on Arduino IDE to upload code to Arduino.
    • Open the Serial Monitor
    • Check out the result on Serial Monitor.
    COM6
    Send
    Arduino Uno R4 WiFi - WebSocket Server controls Servo Motor Connected! IP Address: 192.168.0.254 SSID: YOUR_WIFI_SSID IP Address: 192.168.0.254 Signal strength (RSSI): -44 dBm WebSocket server started on port 81 WebSocket URL: ws://192.168.0.254:81 WebSocket server enabled successfully
    Autoscroll Show timestamp
    Clear output
    9600 baud  
    Newline  
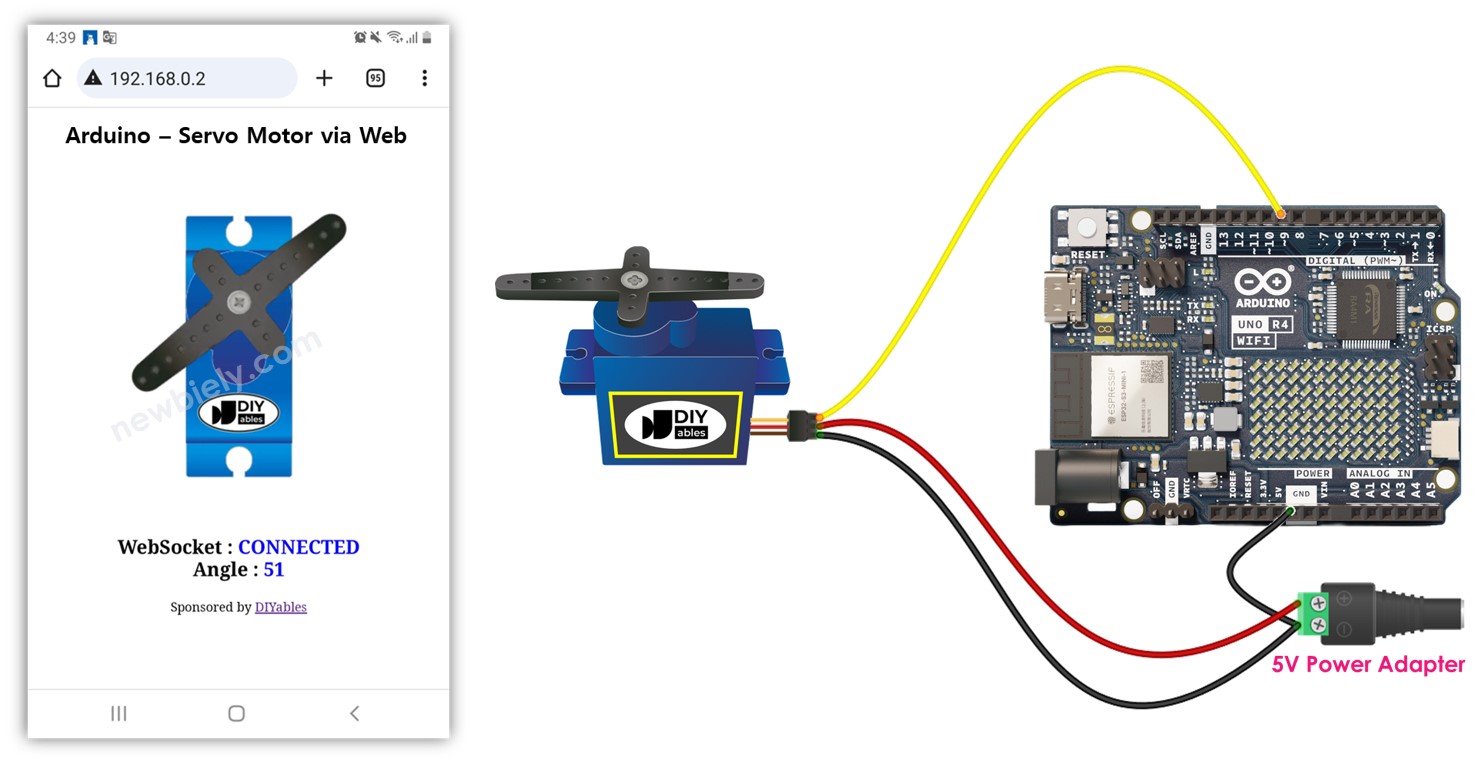
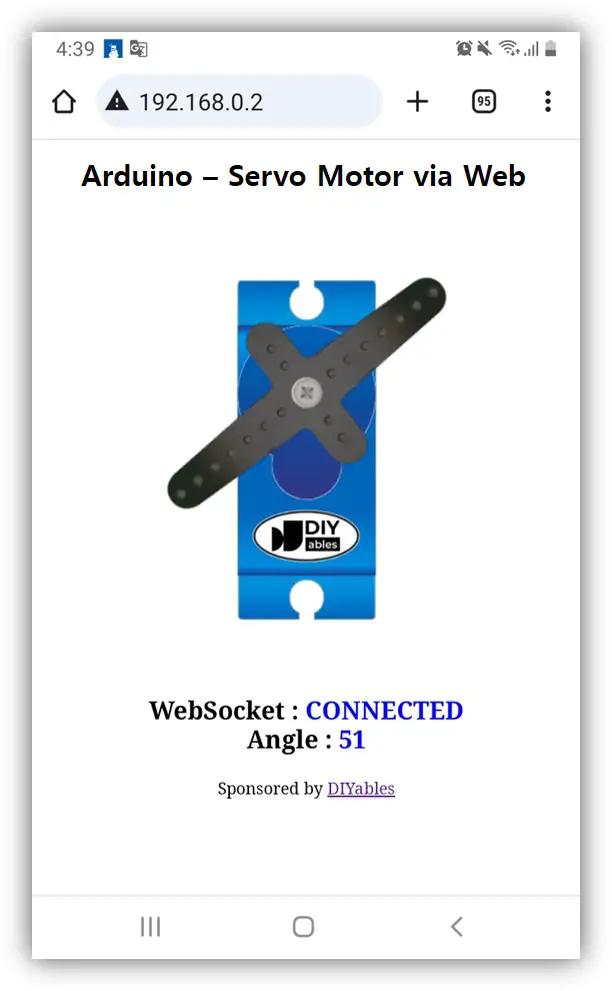
    • Take note of the IP address displayed, and enter this address into the address bar of a web browser on your smartphone or PC.
    • You will see the webpage it as below:
    Arduino controls servo motor via web browser
    • The JavaScript code of the webpage automatically creates the WebSocket connection to Arduino.
    • Now you can control the servo motor's angle by rotating the motor's handle on the web interface.
    • Check out the result on Serial Monitor, you will also see the angle values from web.
    COM6
    Send
    WebSocket server enabled successfully WebSocket client connected from: 192.168.0.7 New WebSocket connection Rotate Servo Motor to 90 Rotate Servo Motor to 89 Rotate Servo Motor to 88 Rotate Servo Motor to 87
    Autoscroll Show timestamp
    Clear output
    9600 baud  
    Newline  

    To save the memory of Arduino, the images of servo motor are NOT stored on Arduino. Instead, they are stored on the internet, so, your phone or PC need to have internet connection to load images for the web control page.

    ※ NOTE THAT:

    • If you modify the HTML content in the index.h and does not touch anything in ArduinoGetStarted.com.ino file, when you compile and upload code to Arduino, Arduino IDE will not update the HTML content.
    • To make Arduino IDE update the HTML content in this case, make a change in the ArduinoGetStarted.com.ino file (e.g. adding empty line, add a comment....)

    Line-by-line Code Explanation

    The above Arduino code contains line-by-line explanation. Please read the comments in the code!

The Best Arduino Starter Kit

※ OUR MESSAGES