Communication between two Arduino
In this tutorial, we are going to learn:
- Communication between two Arduino - Overview
- Communication between two Arduino via Ethernet/WiFi
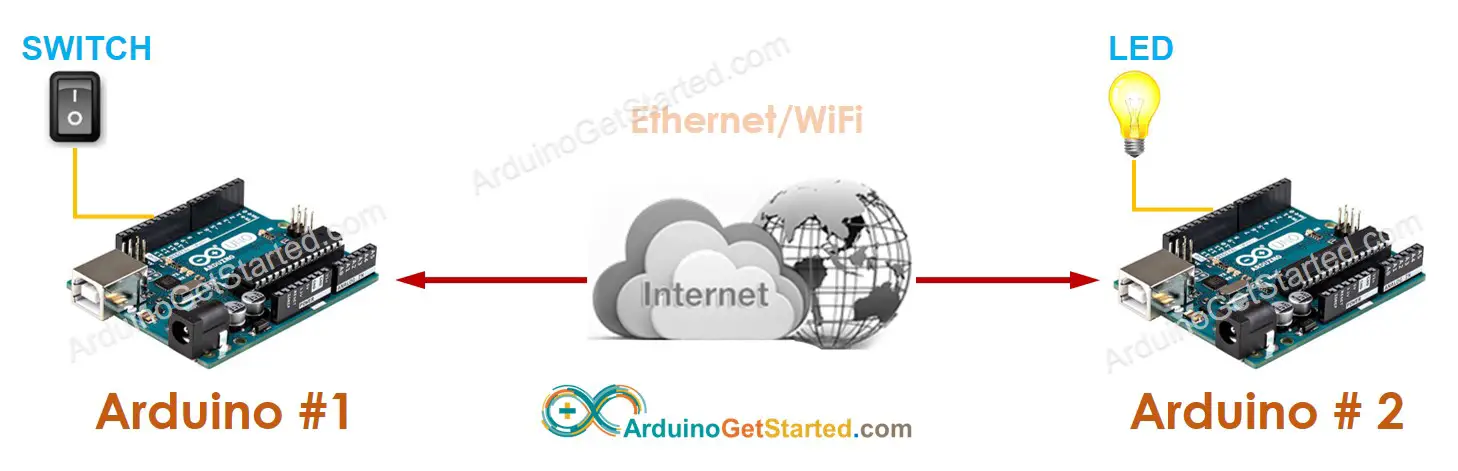
- Example application: A button/switch connected to Arduino #1 controls an LED connected to Arduino #2 via Ethernet/WiFi
- How to connect two Arduino via Internet
The tutorial provides the Arduino code for two cases:
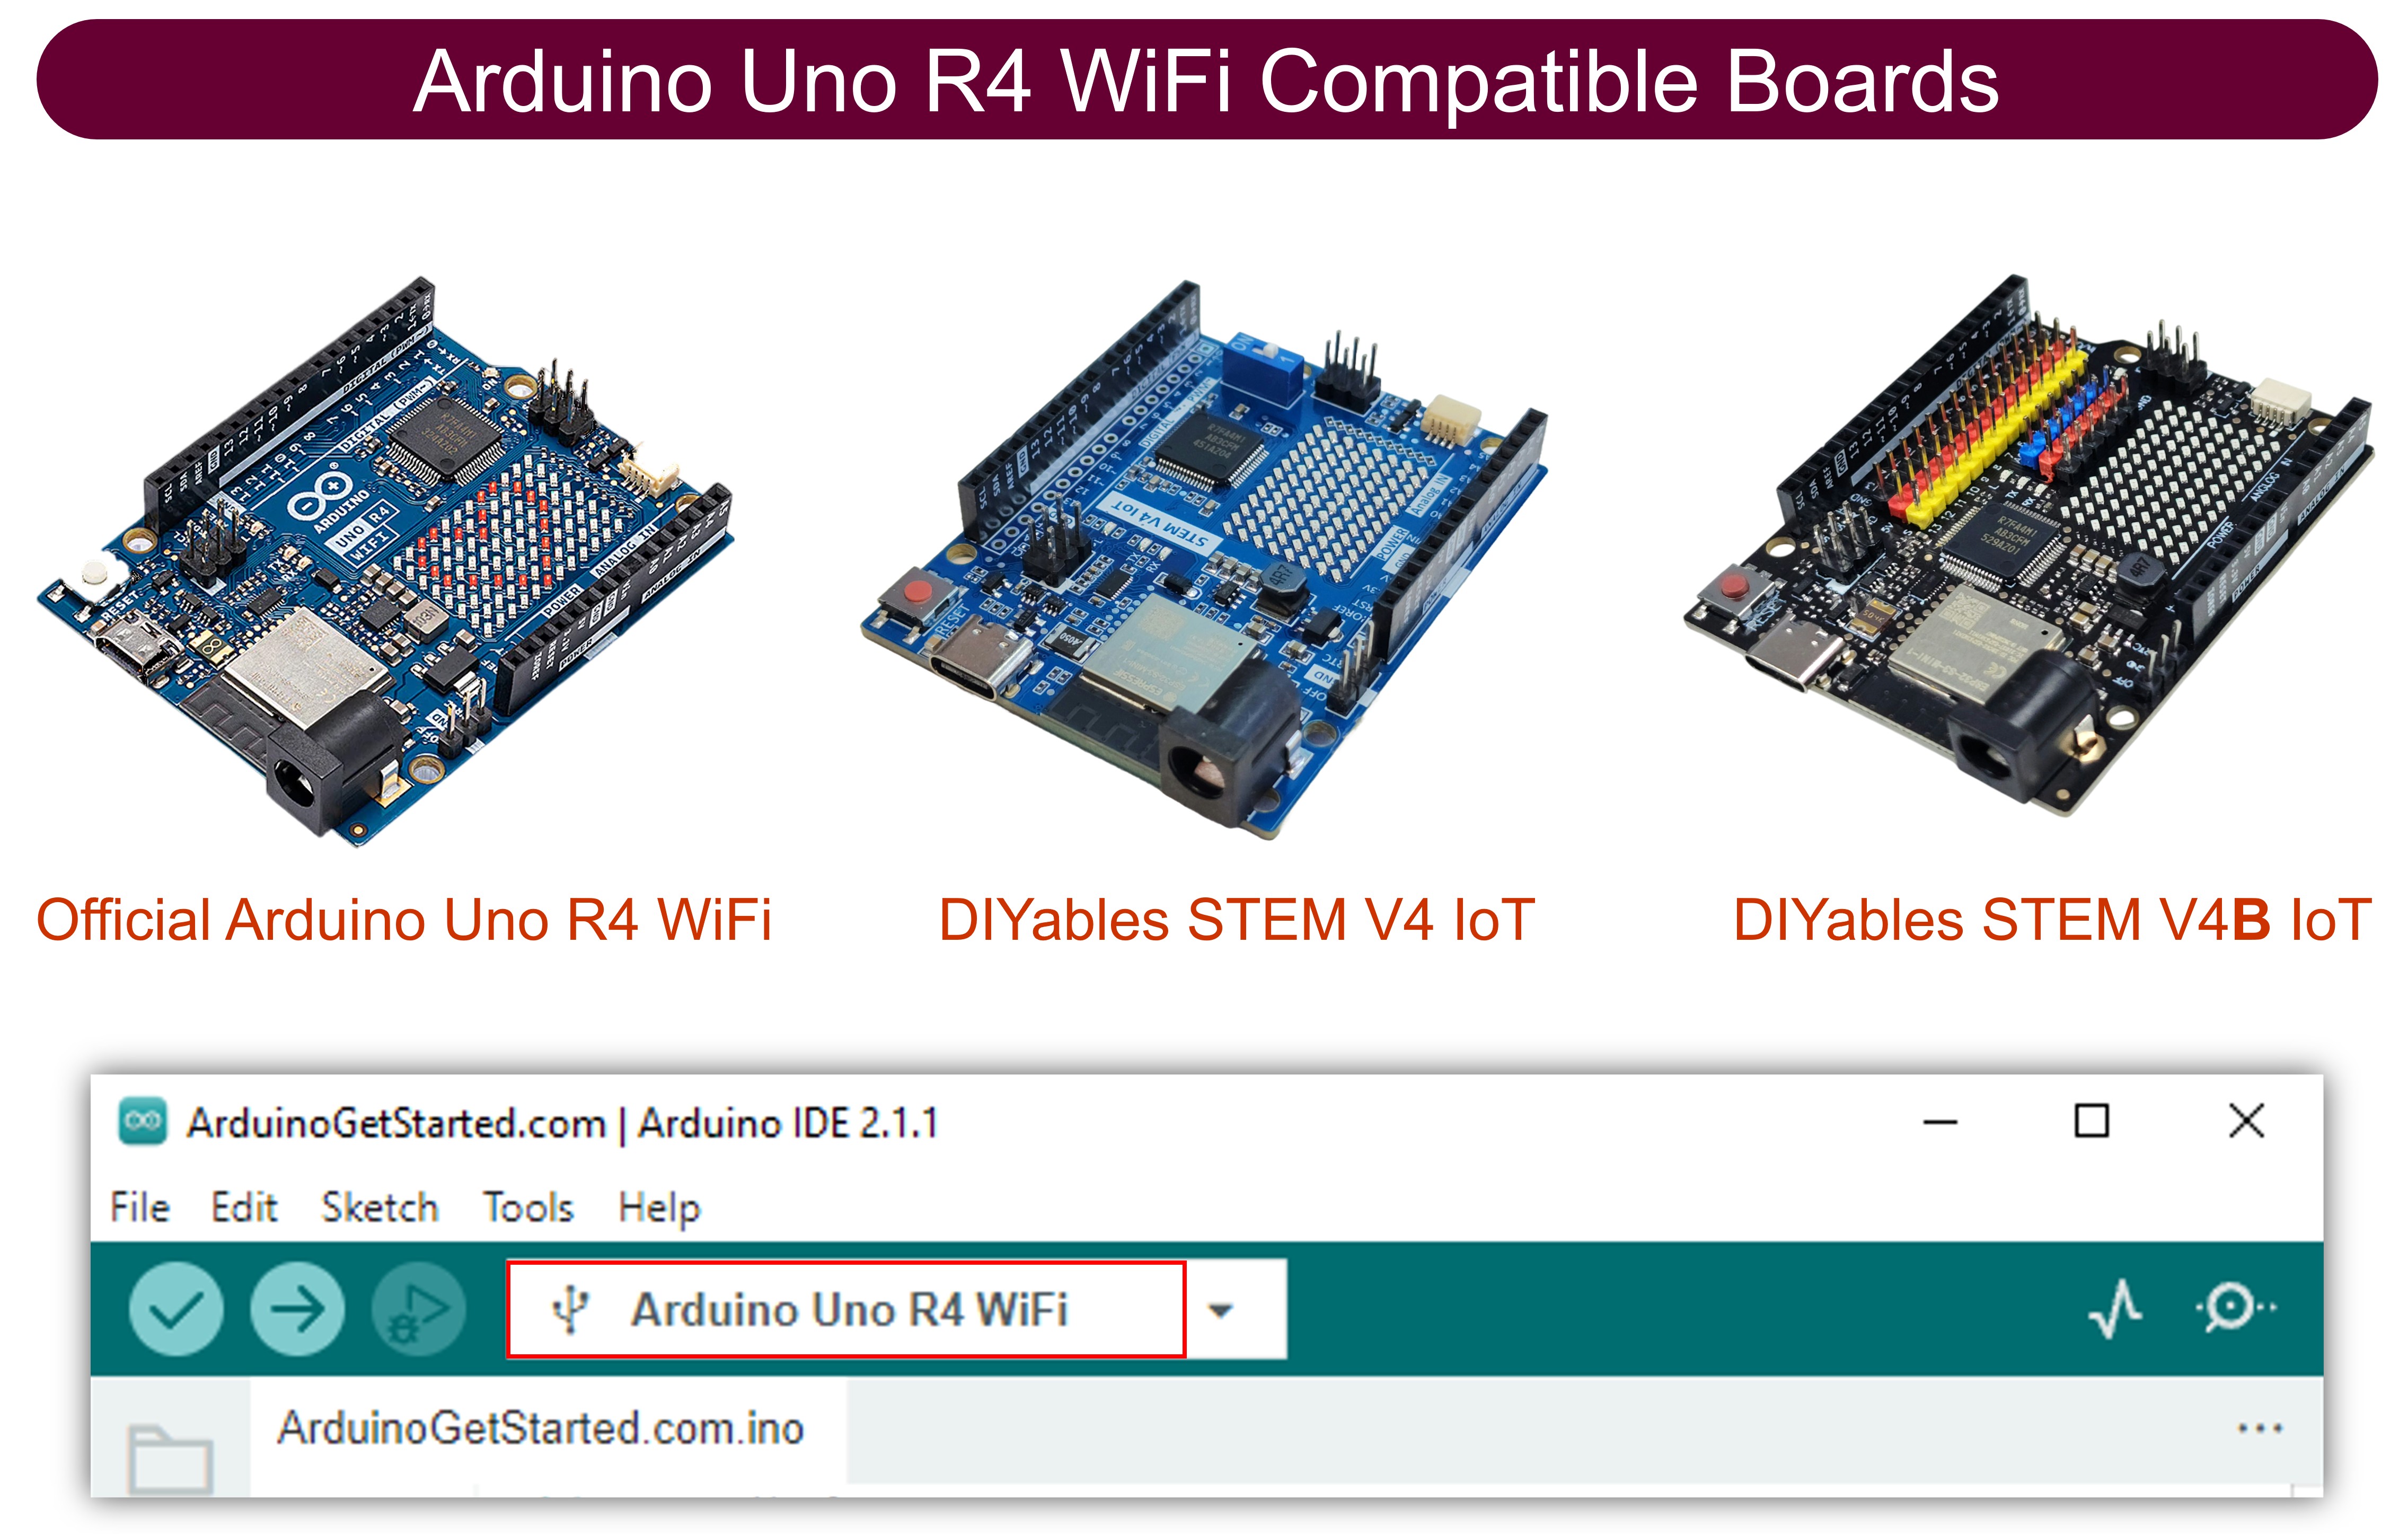
- Arduino Uno R4 WiFi
- Arduino Uno/Mega with Ethernet Shield
Hardware Required
| 2 | × | Arduino UNO R4 WiFi | |
| 2 | × | USB Cable Type-C |
Alternatively if using Ethernet:
Or you can buy the following kits:
| 1 | × | DIYables STEM V3 Starter Kit (Arduino included) | |
| 1 | × | DIYables Sensor Kit (18 sensors/displays) |
Additionally, some links direct to products from our own brand, DIYables .
Communication between two Arduino - Overview
Let's consider a specific case: Arduino #1 communicates with Arduino #2. There are many methods to enable communication between two Arduino. We can choose one of them depending on the communication range. The below table shows some methods and their communication range.
| Methods | Range |
|---|---|
| I2C | very short |
| SPI | very short |
| UART (TTL) | very short |
| UART (RS-232/485/422) | short |
| Bluetooth | short |
| LoRa | long |
| Ethernet/WiFi | unlimited(*) |
※ NOTE THAT:
(*):
- If two Arduino are connected to the Internet, the communication range is unlimited
- If two Arduino are not connected to the Internet, but they are connected in the same LAN network, they can still communicate with each other. The communication range is limited within the LAN network.
Among the above methods, this tutorial uses Ethernet/WiFi to enable communication between two Arduino because it allows two Arduino to communicate over the unlimited distance.
Communication between two Arduino via Ethernet/WiFi
Two Arduino can communicate with each other via Ethernet/WiFi if:
- Two Arduino in the same LAN network, the Internet connectivity is NOT required
- Two Arduino in the different LAN networks, the Internet connectivity is required
No matter two Arduino connects with each other within a local LAN network or via the Internet, there are two types of communication:
- Two Arduino communicate directly to each other
- Two Arduino communicate through a centralized server (e.g MQTT server). See Communication between two Arduino via MQTT
In the case of communicating directly, in most cases, one Arduino plays the role of TCP client, the other plays the role of TCP server.
In the case of communicating through a centralized server, in most cases, both Arduino play the role of TCP client.
Depending on the application, We need to choose an application protocol for communicating between two Arduino. Below are some of the application protocols we can use:
- Self-defined protocol over raw TCP (directly)
- Modbus TCP (directly)
- HTTP (directly)
- Telnet (directly)
- SSH (directly)
- MQTT (via a centralized server)
※ NOTE THAT:
It does NOT matter if:
- Both of Arduino uses Ethernet
- Both of Arduino uses WiFi
- One Arduino uses Ethernet, the other use WiFi
UDP protocol is beyond the scope of this tutorial.
Example Application
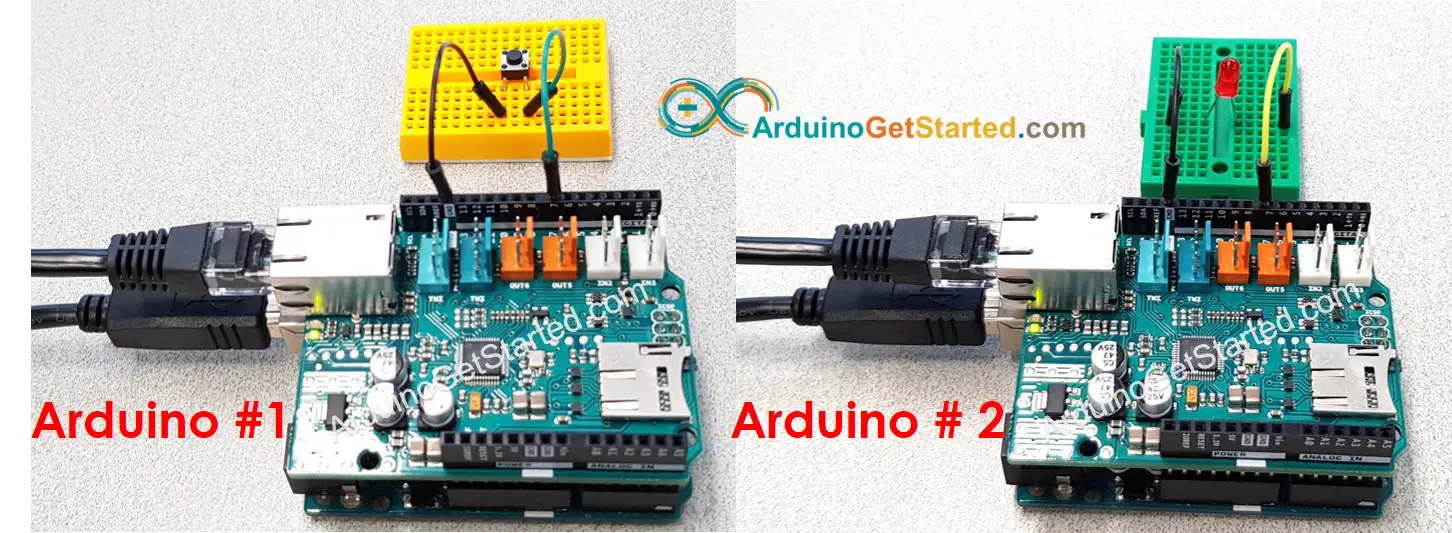
Let's realize the following application: A button/switch connected to Arduino #1 controls an LED connected to Arduino #2 via Ethernet/WiFi.
This tutorial uses two Arduino Ethernet Shield. You can use another WiFi Shield or Ethernet Shield instead. If you use another shield it just needs to modify the code a little bit.
As mentioned above, there are some application protocols we can use. In this example, to make it simple, we will define a protocol by ourself (a self-defined protocol)
Self-defined Protocol
Let's define a simple protocol:
- A TCP connection is created between Arduino #1 and Arduino #2
- Arduino #1:
- Act as TCP client, actively makes TCP connection request to Arduino #2
- When the switch is switched to ON, Arduino #1 sends a byte (command) with value 1 to Arduino #2.
- When the switch is switched to OFF, Arduino #1 sends a byte (command) with value 0 to Arduino #2.
- Arduino #2:
- Act as TCP server, listens to TCP connection request from Arduino #1
- If the received byte is 1, Turn ON LED
- If the received byte is 0, Turn OFF LED
Wiring Diagram
※ NOTE THAT:
you need to add a resistor for LED if LED does not have a built-in resistor. You can learn more in Arduino - LED and Arduino - Button tutorials
Communication between two Arduino via WiFi
Arduino Code for Arduino Uno R4 WiFi #1
Arduino Code for Arduino Uno R4 WiFi #2
Communication between two Arduino via Ethernet
Arduino Code for Arduino Ethernet #1
Arduino Code for Arduino Ethernet #2
Quick Steps
- If using the Ethernet Shield, Stack Ethernet Shields on Arduino #1 and Arduino #2
- Wire a button/switch to Arduino #1
- Wire an LED to Arduino #2
- Open Arduino IDE (called Arduino IDE #1)
- Install ezButton library on Arduino IDE
- Connect Arduino #1 to PC via USB cable and select COM port of Arduino #1 on Arduino IDE #1
- Open another Arduino IDE window (called Arduino IDE #2) by clicking on Arduino IDE icon on your PC (important!())
- Connect Arduino #2 to PC via USB cable and select COM port of Arduino #2 on Arduino IDE #2
- Copy Arduino #1 code, paste to Arduino IDE #1 and save it (named Arduino1)
- Copy Arduino #2 code, paste to Arduino IDE #2 and save it (named Arduino2)
- Upload Arduino #2 code to Arduino #2 first
- Open Serial Monitor on Arduino IDE #2, get TCP Server IP address
- Update TCP Server IP address in Arduino #1 code
- Upload Arduino #1 code to Arduino #1
- Open Serial Monitor on Arduino IDE #1
- Press and hold the button on Arduino #1 → see LED's state on Arduino #2 (ON)
- Release button on Arduino #1 → see LED's state on Arduino #2 (OFF)
- Press, hold, and release the button several times.
- See output on both Serial Monitors
- Serial Monitor of Arduino #1
- Serial Monitor of Arduino #2
- (): If you open Arduino IDE #2 window via "File" → "New" or "Open" from Arduino IDE #2 window, you will NOT be able to open two Serial Monitors for two Arduino in the same PC at the same time.
- There is an alternative to this self-defined protocol. It is the Modbus TCP. The Modbus protocol is standardized, it has many advantages over the self-defined protocol. See more in Arduino - Modbus tutorial
※ NOTE THAT:
Video Tutorial
We are considering to make the video tutorials. If you think the video tutorials are essential, please subscribe to our YouTube channel to give us motivation for making the videos.
How to connect two Arduino via Internet
There are two kinds of IP address: private IP address and public IP address. The IP address you are using in the home network is usually a private IP address.
You can easily identify the private IP address. The private IP address has three pattern: 10.x.x.x, 172.16.x.x, 192.168.x.x
It does NOT matter to use the private IP address in the following case:
- If two Arduino are in the same LAN network, regardless of communicating directly or via a centralized server, regardless of your LAN network connects to the Internet or not.
- If two Arduino are in the different LAN networks and communicating with each other via a centralized server
In the case of two Arduino are in the different LAN networks and communicating with each other directly. The Arduino TCP client can use the private IP address. However, the Arduino TCP server MUST use either:
- A public IP address
- A private IP address with "Port Forwarding" on Router/AP
The process of doing "Port Forwarding" is different from each router/AP. It is out of the scope of this tutorial.