Arduino - Keypad
The keypad is widely used in many devices such as door lock, ATM, calculator...
In this tutorial, we will learn:
- How to use keypad 3x4 and keypad 4x4 with Arduino.
- How to read value from keypad 3x4 and keypad 4x4 with Arduino.
- How to verify the password inputted from keypad
Hardware Required
Or you can buy the following kits:
| 1 | × | DIYables STEM V3 Starter Kit (Arduino included) | |
| 1 | × | DIYables Sensor Kit (18 sensors/displays) |
Additionally, some links direct to products from our own brand, DIYables .
About Keypad
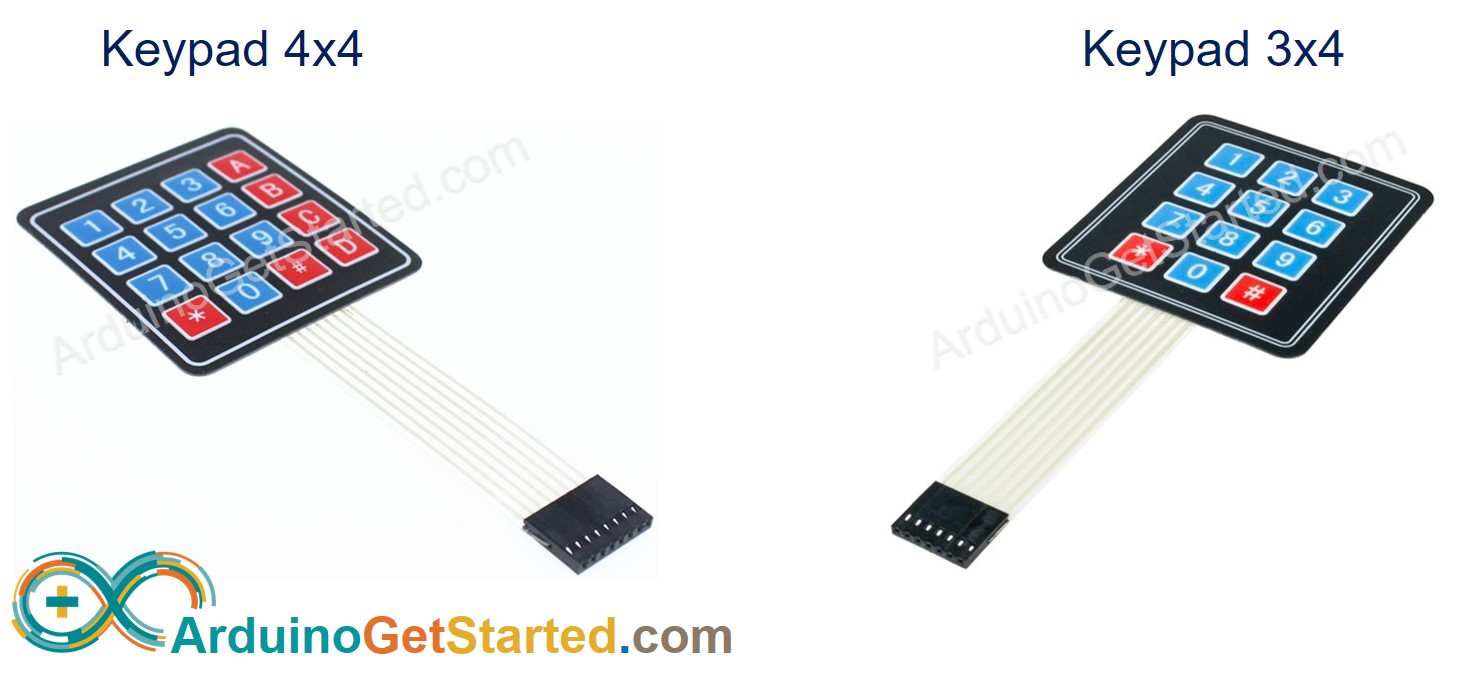
The keypad is a set of buttons arranged in rows and columns (called matrix). Each button is called key
Keypad has various types. Two popular types for DIY projects are keypad 3x4 (12 keys) and keypad 4x4 (16 keys).
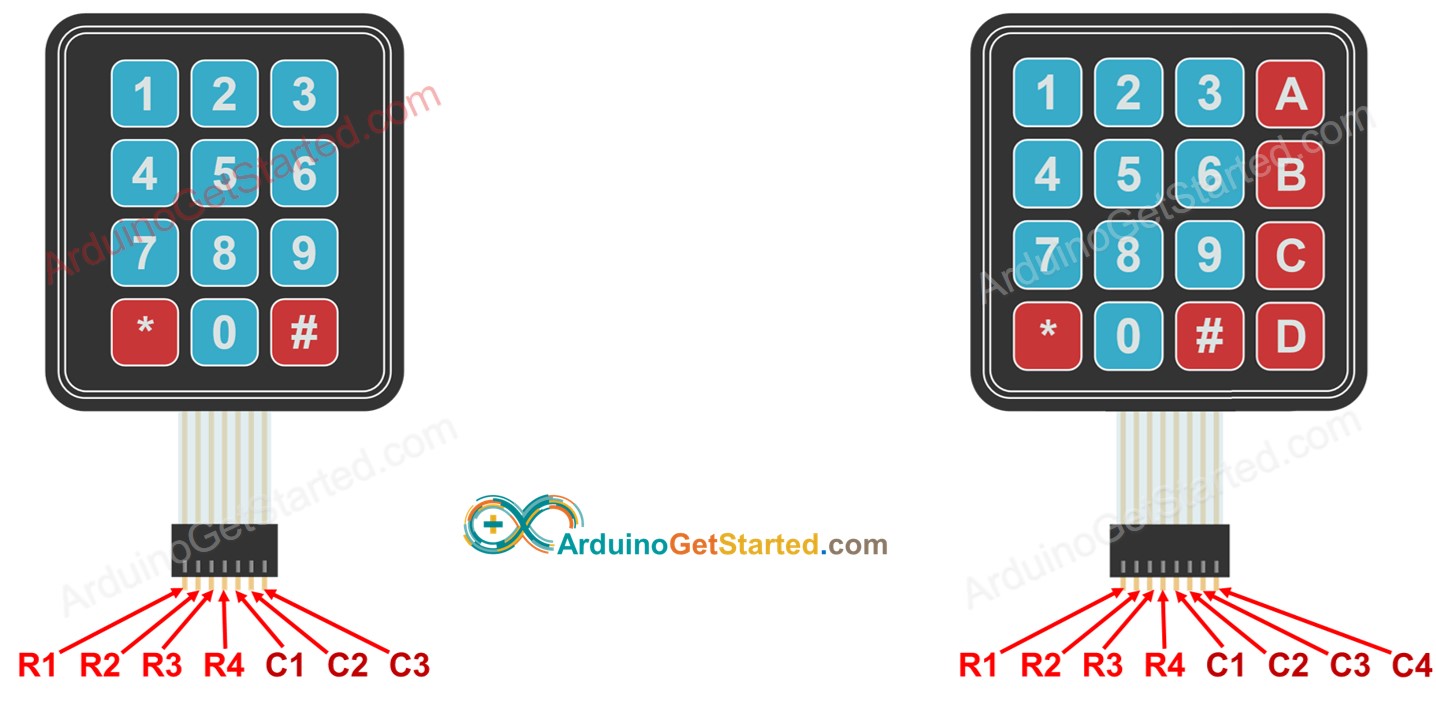
Pinout
Keypad pins are divided into two groups: row and column.
Keypad 3x4 has 7 pins: 4 row-pins (R1, R2, R3, R4) and 3 column-pin (C1, C2, C3).
Keypad 4x4 has 8 pins: 4 row-pins (R1, R2, R3, R4) and 4 column-pin (C1, C2, C3, C4).
How It Works
The process of detecting the key pressing is called scanning keypad.
It is called “scanning” because it checks one key by one key.
Row-pins are connected to Arduino's output pins
Column pins are connected to Arduino's input pins (INPUT_PULLUP, in this state, the value of the input pin is HIGH if the key is not pressed).
For each row:
- Sets all row-pins is HIGH.
- Sets only the current row-pin to LOW.
- Reads the state of each column.
- If a column-pin is HIGH ⇒ key at (row, column) is NOT pressed.
- If a column-pin is LOW ⇒ key at (row, column) is pressed.
- Repeats the above process for the next row-pins.
※ NOTE THAT:
The above is one of the methods to scan keypad. We can invert all HIGH to LOW and all LOW to HIGH to scan keypad.
⇒ As we know, an independent button requires one Arduino's pin and GND. Let's take keypad 4x4 as an example. If we each key as an independent button, it requires 16 Arduino pin for 16 keys plus GND pin. If we arranged a connected key in matrix form, we just need to use 8 Arduino's pin, so we can save Arduino's pin. In short, the answer is: to save the Arduino pins.
Wiring Diagram
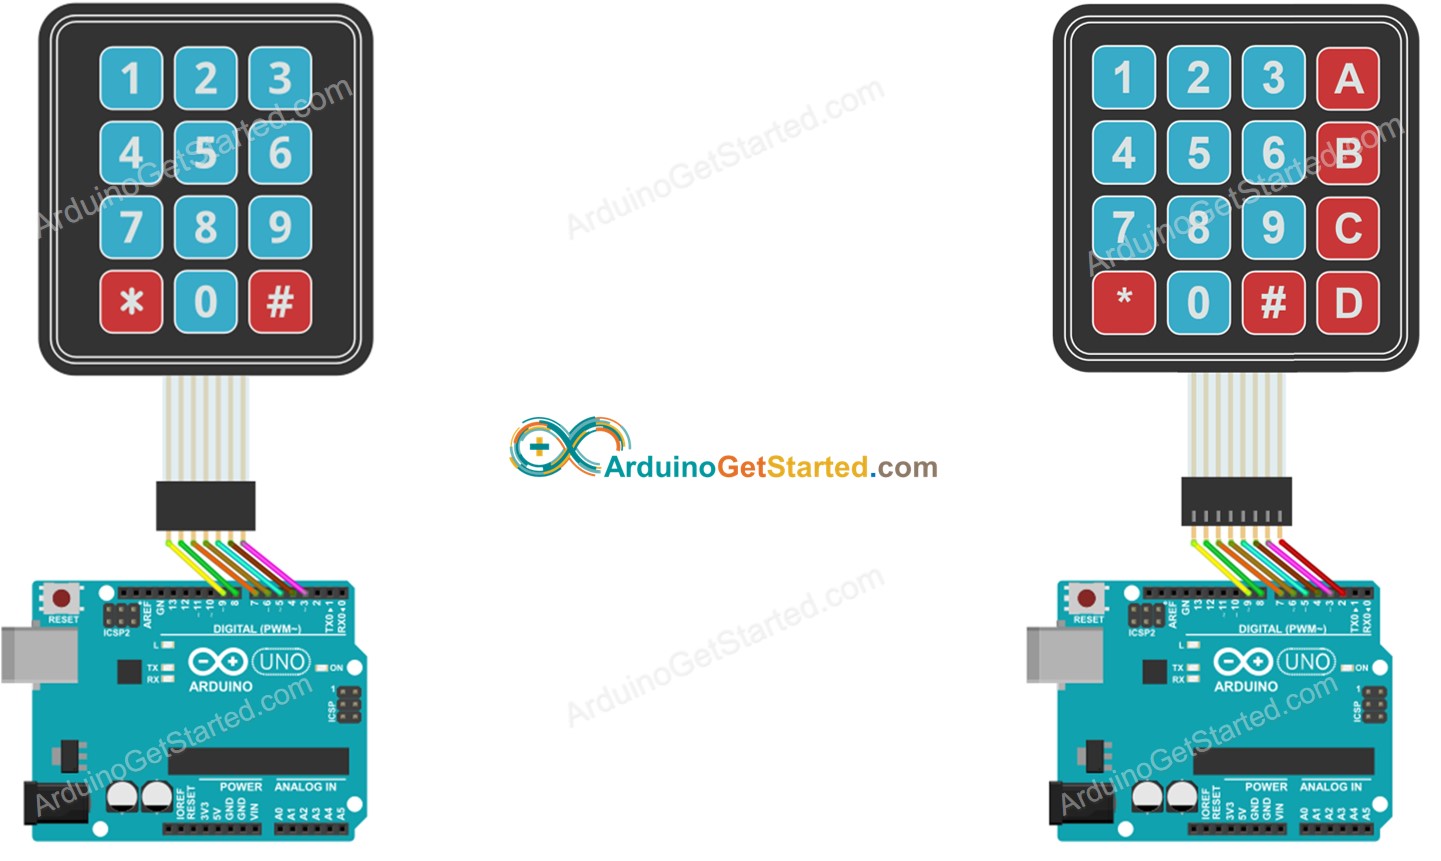
This image is created using Fritzing. Click to enlarge image
How To Program For Keypad
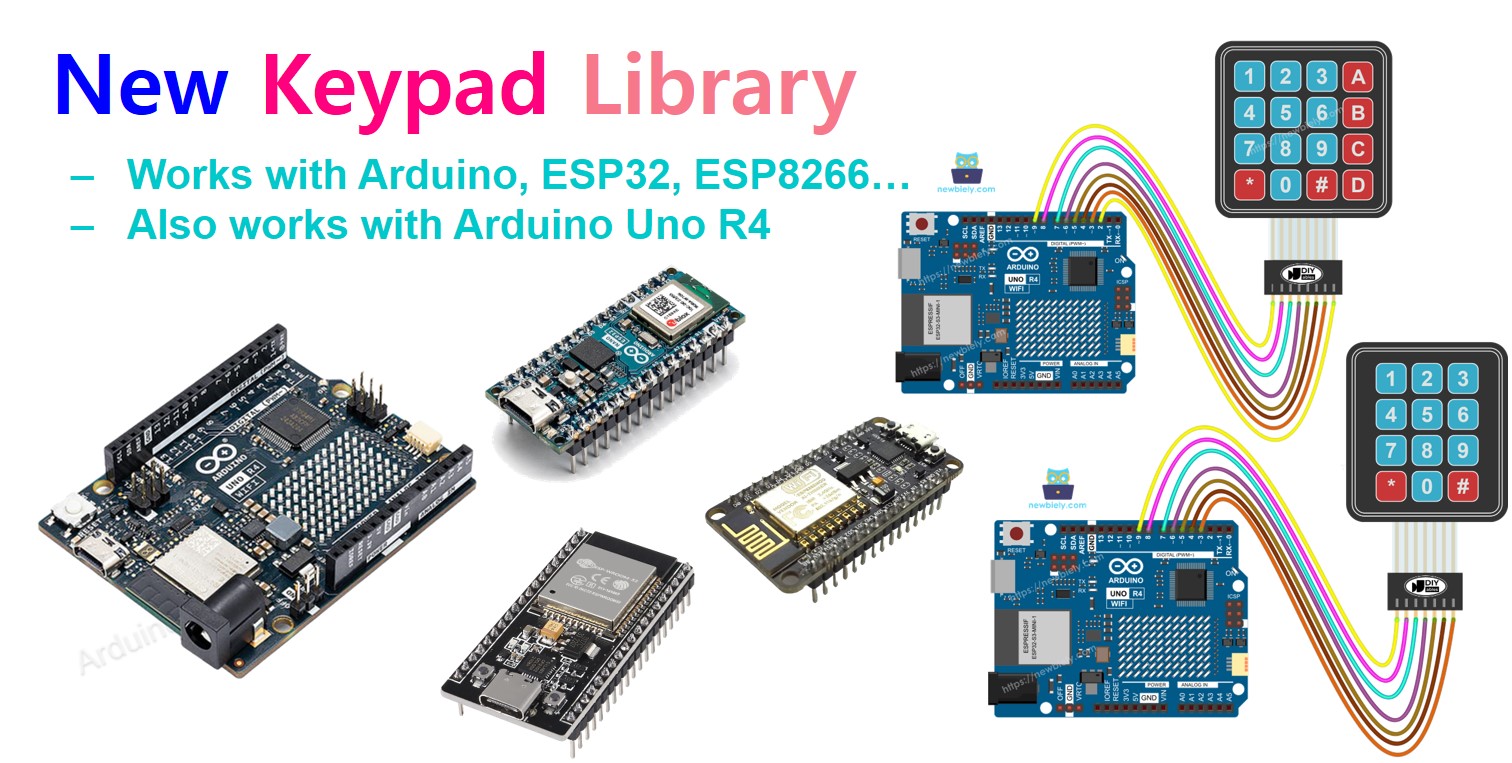
Thanks to Keypad library, using keypad with Arduino is a piece of cake, no matter whether you understand how the keypad works or not.
Arduino Code
Keypad 3x4
Keypad 4x4
Quick Steps
- Navigate to the Libraries icon on the left bar of the Arduino IDE.
- Search “keypad”, then find the keypad library by Mark Stanley, Alexander Brevig
- Click Install button to install keypad library.
- Copy the above code and open with Arduino IDE
- Click Upload button on Arduino IDE to upload code to Arduino
- Open Serial Monitor
- Press some keys on keypad
- See the result in Serial Monitor
Keypad and Password
A popular application of keypad is the password input. In this application, we specify two special keys:
- A key to start/re-start the password input. For example, key "*"
- A key to terminate the password input. For example, key "#"
The password will be a string that contains the remaining keys, except for two selected special keys.
When a key is pressed.
- If the key is NOT neither "*" nor "#", append the key to the user's input password string.
- If the key is "#", compare the user's input password string with the password to determine the input password is correct or not, and then clear the user's input password string
- If the key is "*", clear the user's input password string
Keypad - Password Code
- Run above code
- Open Serial Monitor
- Press "123456" keys and press "#"
- Press "1234" keys and press "#"
- See the result on Serial Monitor
Video Tutorial
We are considering to make the video tutorials. If you think the video tutorials are essential, please subscribe to our YouTube channel to give us motivation for making the videos.
Additional Knowledge
Challenge Yourself
- Display the pressed key of the keypad on LCD. Hint: Refer to Arduino - LCD
- Make a door lock with password protection using the keypad.