Arduino - Hello World
Hardware Required
Or you can buy the following kits:
| 1 | × | DIYables STEM V3 Starter Kit (Arduino included) | |
| 1 | × | DIYables Sensor Kit (18 sensors/displays) |
Disclosure: Some links in this section are Amazon affiliate links. If you make a purchase through these links, we may earn a commission at no extra cost to you.
Additionally, some links direct to products from our own brand, DIYables .
Additionally, some links direct to products from our own brand, DIYables .
Quick Steps
- Connect Arduino to PC via USB cable.
- Open Arduino IDE.
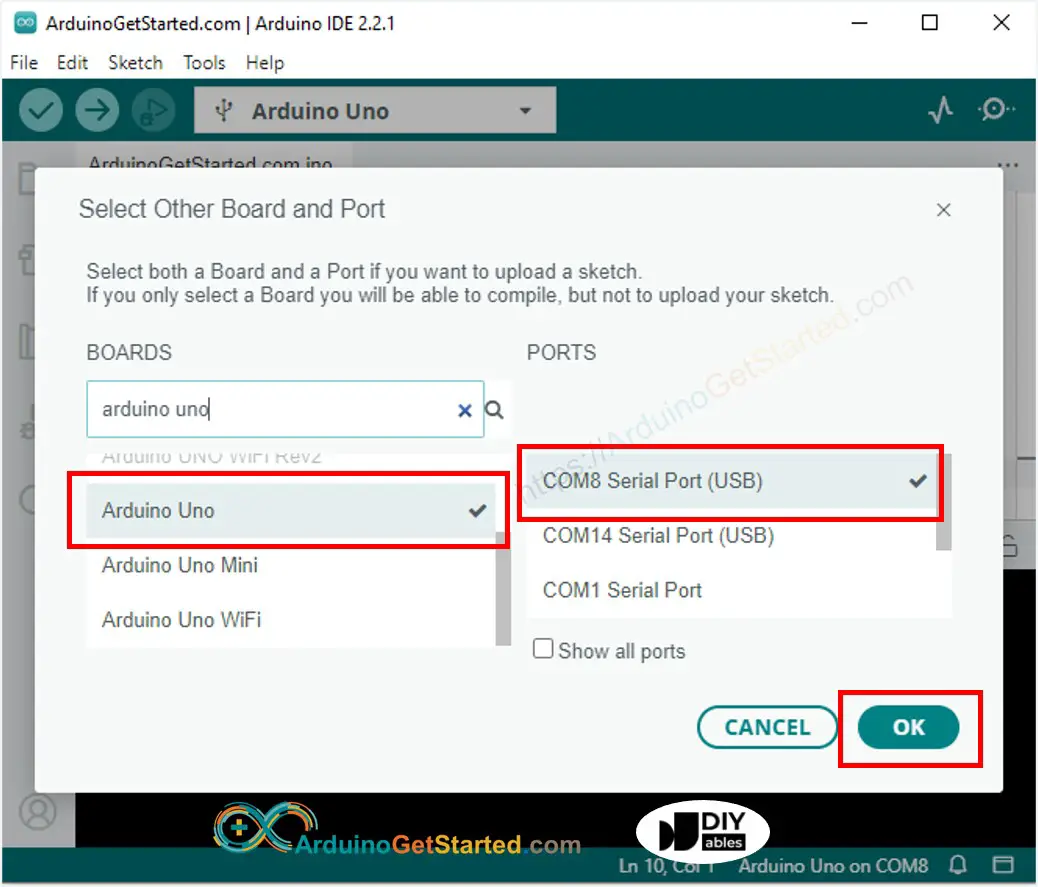
- Select Arduino board
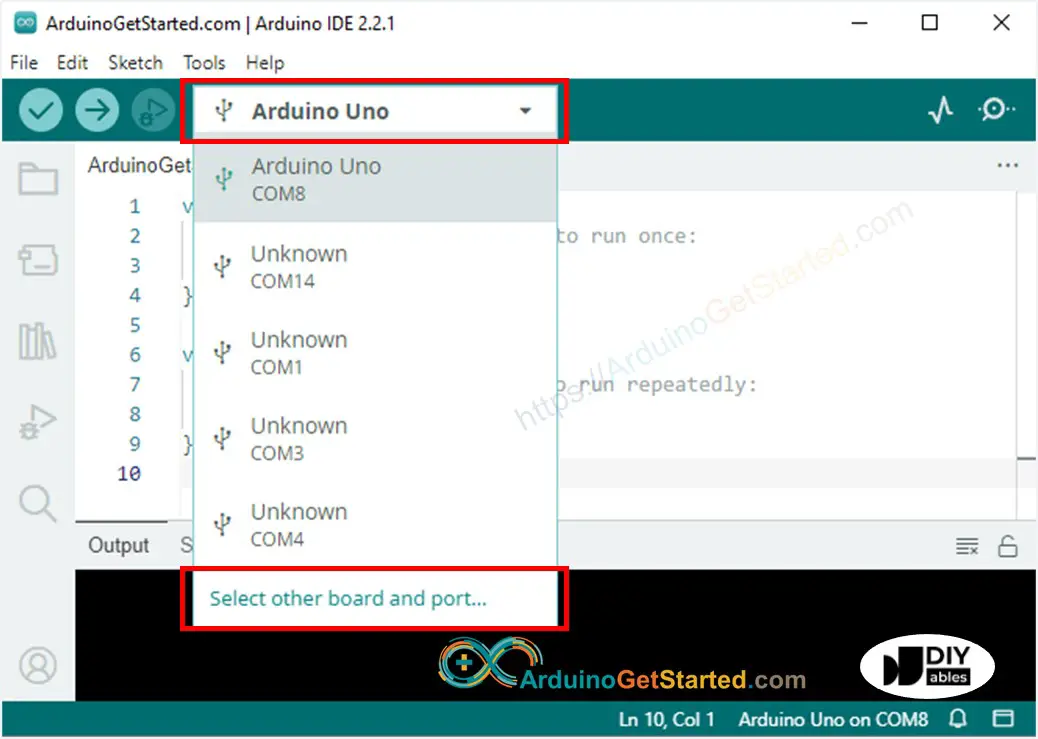
- Select Arduino serial port (number may be different)
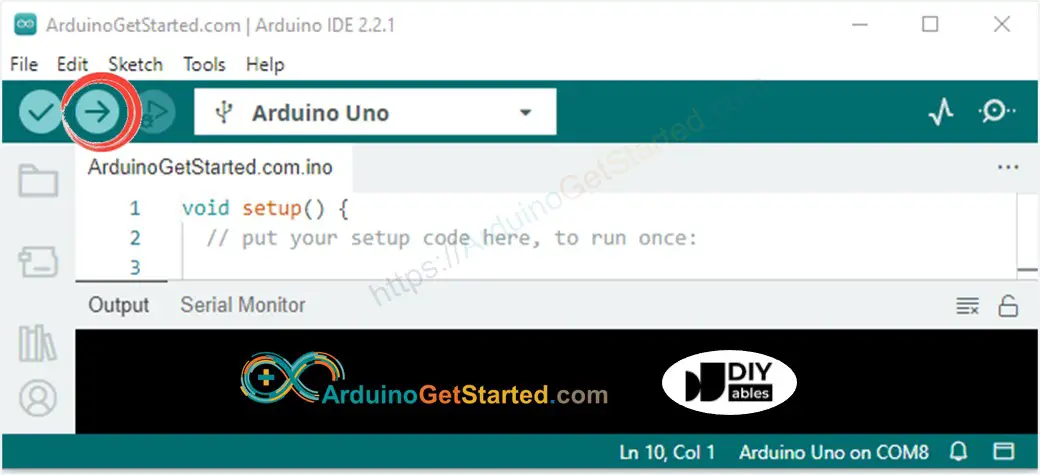
- Type the following code
void setup() {
// put your setup code here, to run once:
Serial.begin(9600);
}
void loop() {
// put your main code here, to run repeatedly:
Serial.println("Hello World!");
delay(1000);
}
- Click Upload button on Arduino IDE to upload code to Arduino
- Open Serial Monitor by clicking the Serial Monitor icon

- See the result on Serial Monitor:
8
Serial.println("Hello World!");
Message (Enter to send message to 'Arduino Uno' on 'COM15')
New Line
9600 baud
Hello World!
Hello World!
Hello World!
Modifying Arduino Code
- Replace “Hello World!” by any text, for example, “Arduino Get Started”.
- Upload the code to Arduino
- See the result on Serial Monitor
8
Serial.println("Hello World!");
Message (Enter to send message to 'Arduino Uno' on 'COM15')
New Line
9600 baud
Arduino Get Started
Video Tutorial
We are considering to make the video tutorials. If you think the video tutorials are essential, please subscribe to our YouTube channel to give us motivation for making the videos.