How to get started with Arduino Uno R4
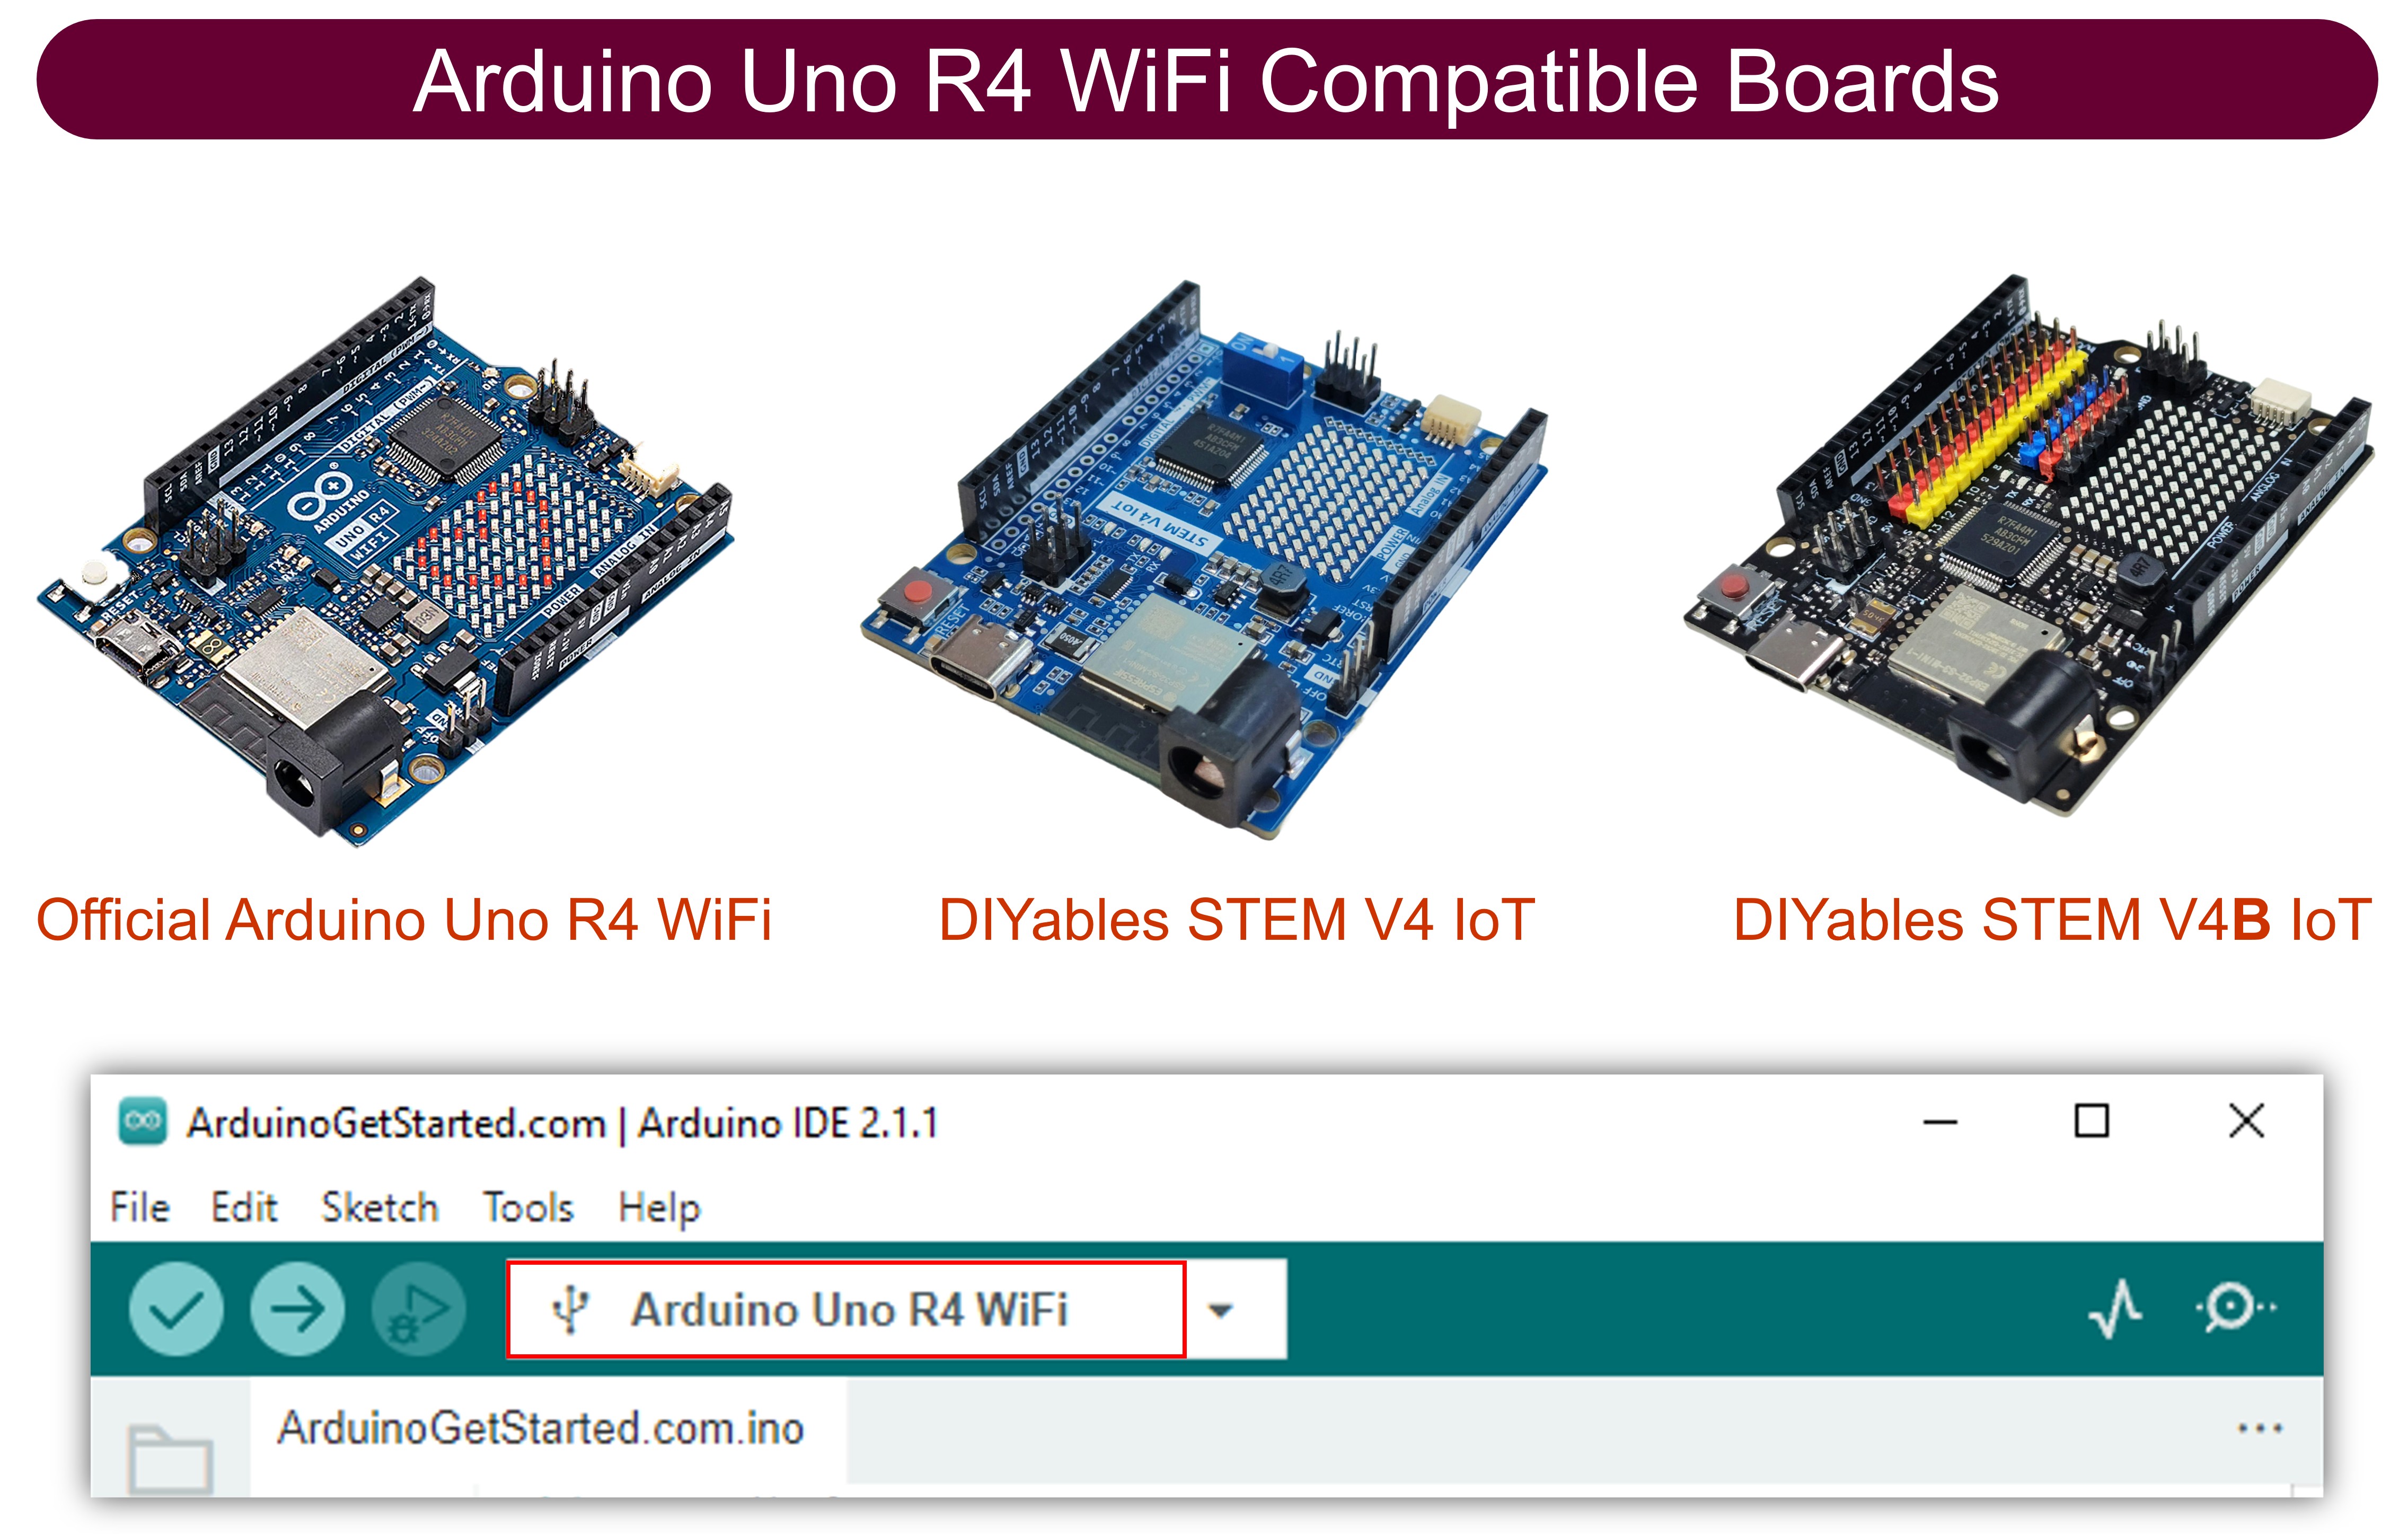
In this tutorial, we are going to learn how to get started with Arduino Uno R4 Minima/WiFi. We will learn through the following steps:
- Installing the package for Arduino Uno R4 Minima/WiFi on Arduino IDE
- Programming Arduino Uno R4 Minima/WiFi to print Hello World to Serial Monitor
- Programming Arduino Uno R4 WiFi to create a very simple web server.
Hardware Required
Or you can buy the following kits:
| 1 | × | DIYables Sensor Kit (18 sensors/displays) |
Disclosure: Some links in this section are Amazon affiliate links. If you make a purchase through these links, we may earn a commission at no extra cost to you.
Additionally, some links direct to products from our own brand, DIYables .
Additionally, some links direct to products from our own brand, DIYables .
Installing Arduino Uno R4 Package
Unlike the Arduino Uno R3, in order to use the Arduino Uno R4 Minima/WiFi with the Arduino IDE, you need to install the Arduino Uno R4 boards on the Arduino IDE. Therefore, first, follow the steps to install the Arduino Uno R4 package on the Arduino IDE:
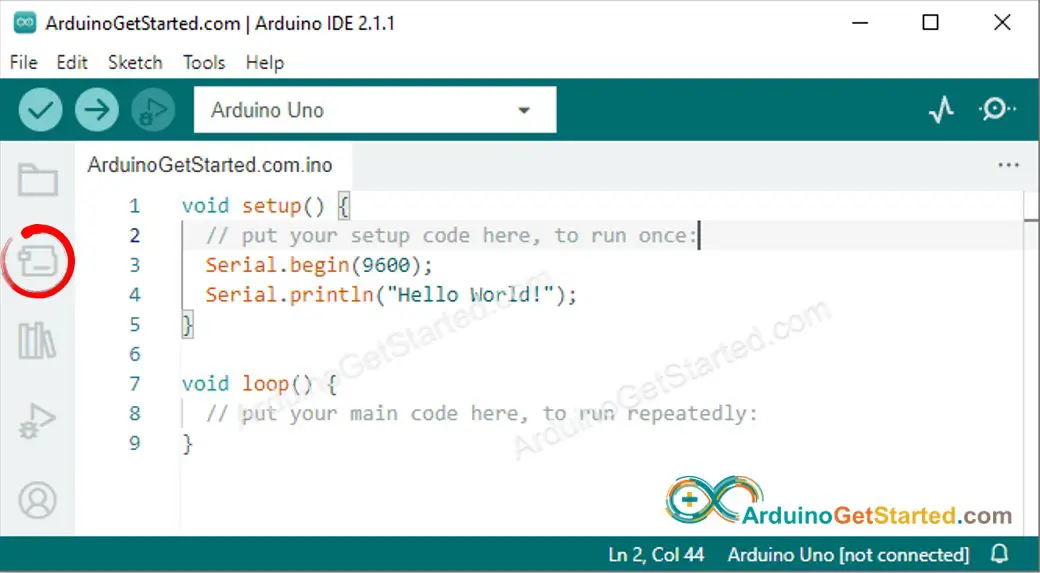
- Open the Arduino IDE
- Navigate to Boards Manager icon as below image:
- Type Arduino Uno R4 to the search box as below image:
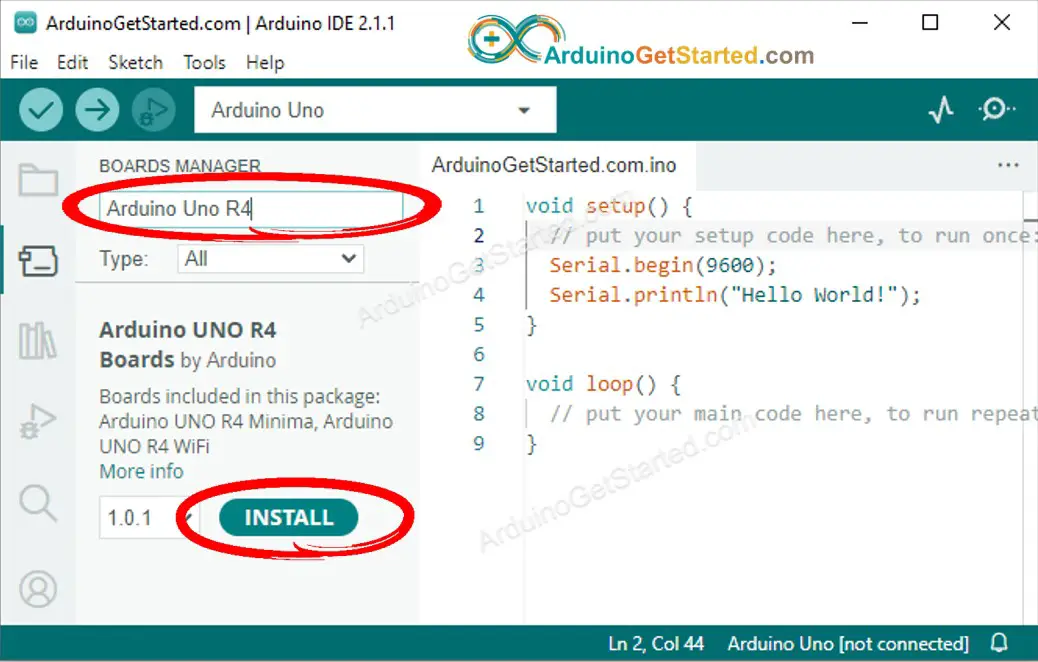
- Click Install button.
This process applies to both the Arduino Uno R4 Minima and WiFi.
Running Hello World Program
- Connect Arduino Uno R4 Minima or WiFi to your PC via USB Type-C cable
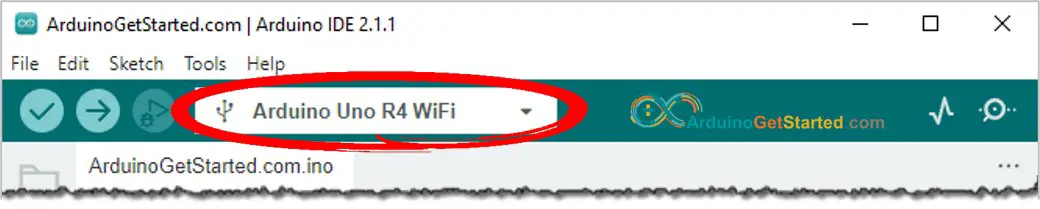
- On Arduino IDE, select a COM port connected to Arduino Uno R4 Minima or WiFi as below image
- Copy the below Hello World code and paste it to Arduino IDE
/*
* Created by ArduinoGetStarted.com
*
* This example code is in the public domain
*
* Tutorial page: https://arduinogetstarted.com/tutorials/how-to-get-started-with-arduino-uno-r4
*/
void setup() {
// put your setup code here, to run once:
Serial.begin(9600);
}
void loop() {
// put your main code here, to run repeatedly:
Serial.println("Hello World!");
delay(1000);
}
- Click Upload button on Arduino IDE to upload code to Arduino

- Open Serial Monitor by clicking the Serial Monitor icon

- Check out the result on Serial Monitor, it looks like below:
8
Serial.println("Hello World!");
Message (Enter to send message to 'Arduino Uno' on 'COM15')
New Line
9600 baud
Hello World!
Hello World!
Hello World!
Hello World!
Hello World!
Hello World!
Running Web Server Example for Arduino Uno R4 Wifi
/*
* Created by ArduinoGetStarted.com
*
* This example code is in the public domain
*
* Tutorial page: https://arduinogetstarted.com/tutorials/how-to-get-started-with-arduino-uno-r4
*/
#include "WiFiS3.h"
char ssid[] = "Your_WiFi"; // change your network SSID (name)
char pass[] = "Your_WiFi_password"; // change your network password (use for WPA, or use as key for WEP)
int keyIndex = 0; // your network key index number (needed only for WEP)
int status = WL_IDLE_STATUS;
WiFiServer server(80);
void setup() {
//Initialize serial and wait for port to open:
Serial.begin(9600);
while (!Serial) {
; // wait for serial port to connect. Needed for native USB port only
}
// check for the WiFi module:
if (WiFi.status() == WL_NO_MODULE) {
Serial.println("Communication with WiFi module failed!");
// don't continue
while (true)
;
}
String fv = WiFi.firmwareVersion();
if (fv < WIFI_FIRMWARE_LATEST_VERSION) {
Serial.println("Please upgrade the firmware");
}
// attempt to connect to WiFi network:
while (status != WL_CONNECTED) {
Serial.print("Attempting to connect to SSID: ");
Serial.println(ssid);
// Connect to WPA/WPA2 network. Change this line if using open or WEP network:
status = WiFi.begin(ssid, pass);
// wait 10 seconds for connection:
delay(10000);
}
server.begin();
// you're connected now, so print out the status:
printWifiStatus();
}
void loop() {
// listen for incoming clients
WiFiClient client = server.available();
if (client) {
Serial.println("new client");
// an HTTP request ends with a blank line
boolean currentLineIsBlank = true;
while (client.connected()) {
if (client.available()) {
char c = client.read();
Serial.write(c);
// if you've gotten to the end of the line (received a newline
// character) and the line is blank, the HTTP request has ended,
// so you can send a reply
if (c == '\n' && currentLineIsBlank) {
// send a standard HTTP response header
client.println("HTTP/1.1 200 OK");
client.println("Content-Type: text/html");
client.println("Connection: close"); // the connection will be closed after completion of the response
client.println("Refresh: 5"); // refresh the page automatically every 5 sec
client.println();
client.println("<!DOCTYPE HTML>");
client.println("<html>");
client.print("Hello from Arduino Web Server");
client.println("</html>");
break;
}
if (c == '\n') {
// you're starting a new line
currentLineIsBlank = true;
} else if (c != '\r') {
// you've gotten a character on the current line
currentLineIsBlank = false;
}
}
}
// give the web browser time to receive the data
delay(1);
// close the connection:
client.stop();
Serial.println("client disconnected");
}
}
void printWifiStatus() {
// print your board's IP address:
IPAddress ip = WiFi.localIP();
Serial.print("IP Address: ");
Serial.println(ip);
// print the received signal strength:
long rssi = WiFi.RSSI();
Serial.print("signal strength (RSSI):");
Serial.print(rssi);
Serial.println(" dBm");
}
- Copy the above code and open with Arduino IDE
- Change the wifi information (SSID and password) in the code to yours
- Click Upload button on Arduino IDE to upload code to Arduino
- Open the Serial Monitor
- See the result on Serial Monitor.
8
Serial.println("Hello World!");
Message (Enter to send message to 'Arduino Uno' on 'COM15')
New Line
9600 baud
Attempting to connect to SSID: Your_WiFi
IP Address: 192.168.0.2
signal strength (RSSI):-39 dBm
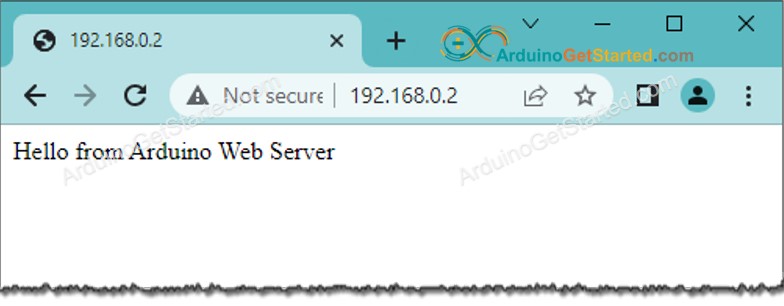
- You will see an IP address. This is the IP address of the Arduino Web Server
- Copy the IP address and paste it into the address bar of a web browser.
- You will see the webpage of Arduino board on the web browser as below
- You will also see the below output on Serial Monitor
8
Serial.println("Hello World!");
Message (Enter to send message to 'Arduino Uno' on 'COM15')
New Line
9600 baud
Attempting to connect to SSID: Your_WiFi
IP Address: 192.168.0.2
signal strength (RSSI):-39 dBm
new client
GET /favicon.ico HTTP/1.1
Host: 192.168.0.2
Connection: keep-alive
User-Agent: Mozilla/5.0 (Windows NT 10.0; Win64; x64) AppleWebKit/537.36 (KHTML, like Gecko) Chrome/114.0.0.0 Safari/537.36
Accept: image/avif,image/webp,image/apng,image/svg+xml,image/*,*/*;q=0.8
Referer: http://192.168.0.2/
Accept-Encoding: gzip, deflate
Accept-Language: en-US,en;q=0.9
client disconnected