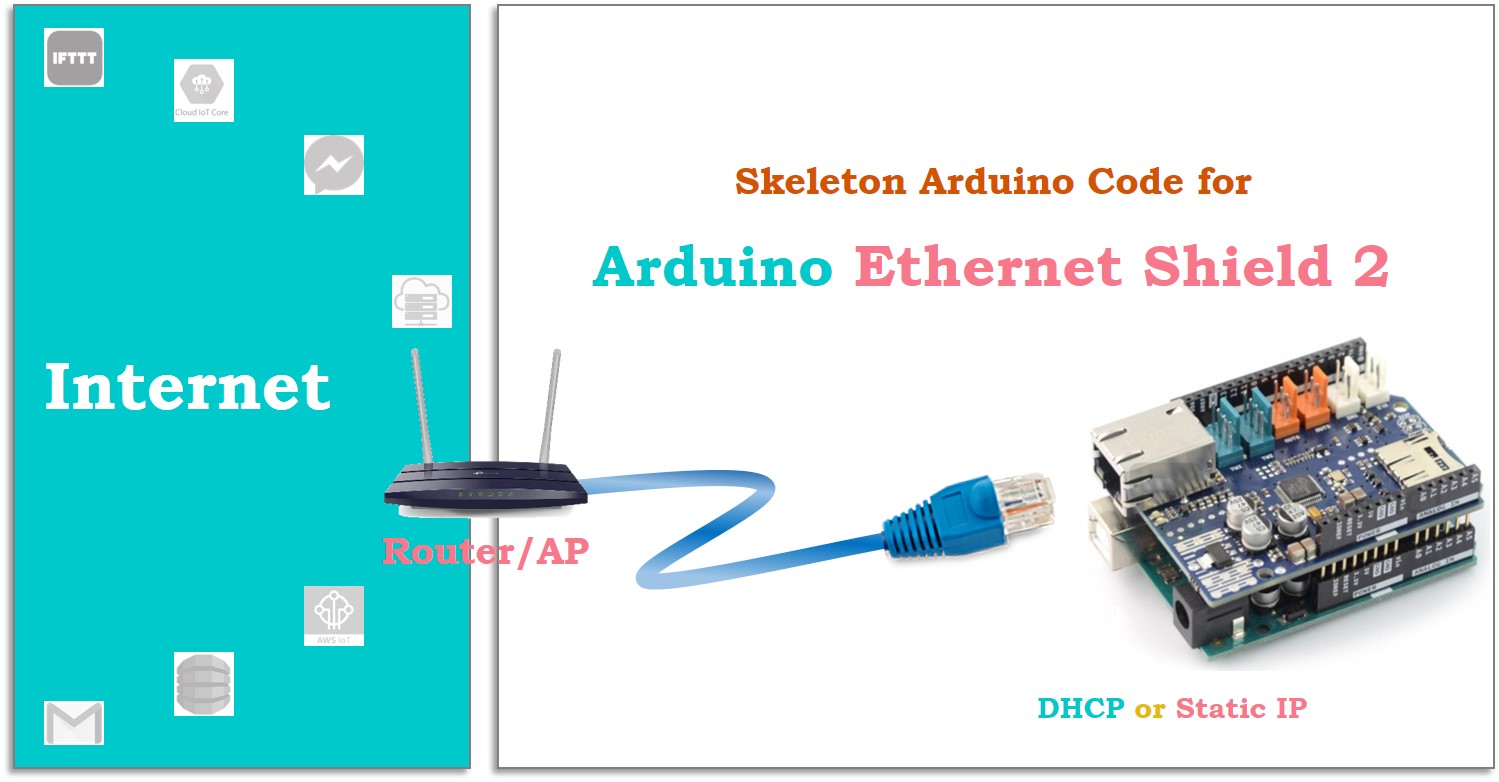
Arduino - Ethernet Shield 2
Using Arduino Ethernet Shield is one of the easiest ways to connect Arduino to the Internet. You can see other options to connect Arduino to Internet via Ethernet in Arduino - Ethernet tutorial
In this tutorial, we are going to learn:
- Basic networking knowledge for beginners
- How to use Arduino Ethernet Shield
- Skeleton Arduino code for Arduino Ethernet Shield when using the dynamic IP address (via DHCP)
- Skeleton Arduino code for Arduino Ethernet Shield when using the static IP address
Hardware Required
Or you can buy the following kits:
| 1 | × | DIYables STEM V3 Starter Kit (Arduino included) | |
| 1 | × | DIYables Sensor Kit (18 sensors/displays) |
Additionally, some links direct to products from our own brand, DIYables .
Basic Networking Knowledge for Beginners
This part provides basic knowledge for beginners, who do not know anything about networking.
When a device connects to the Internet (via Ethernet or WiFi), it MUST connect to a router or an access point. Router and access point are devices that keep a role as the gateway to the Internet. All data between a device and the Internet is passed through the router or access point.
When a device connects to the Internet, it MUST:
- Have a MAC address
- Have an IP address
- Know network's subnet mask
- Know gateway's IP address (IP address of router or access point)
- Know DNS server's IP address (in case of connecting to a domain name)
The device does not work if either:
- There are one or more other devices in the same network uses the same MAC address of the device (called conflict MAC address)
- There are one or more other devices in the same network uses the same IP address of the device (called a conflict IP address)
This tutorial does not overload you with the knowledge of networking. Therefore, the tutorial does not explain these concepts. It is out of the scope of this tutorial. Instead, the tutorial shows how to use them.
The MAC address is usually built-in on devices. We do not need to care about it. However, Arduino Ethernet Shield does not have a built-in MAC address. The MAC address is printed on a sticker stuck on the shield. We need to get it and set the MAC address for Arduino Shield in the Arduino code.
There are two methods to assign the IP address, subnet mask, gateway's IP address, and DNS server's IP address to a device (including Arduino):
- Use the static IP address:
- Need to manage the IP address, subnet mask, gateway's IP address, and DNS server's IP address
- Need to set the IP address, subnet mask, gateway's IP address, and DNS server's IP address manually (for Arduino Ethernet Shield, set this information using Arduino code)
- It will NOT work if:
- Set an IP address that is being used by other devices on the same LAN network → IP conflict
- Set wrong subnet mask, gateway's IP address, and DNS server's IP address
- The device automatically obtains the IP address, subnet mask, gateway's IP address, and DNS server's IP address from the router or access point using DHCP. We do not need to manage the IP address, subnet mask, gateway's IP address, and DNS server's IP address. Router/access point does this work for us.
When you connect your smartphone to your WiFi home network, the second method is used.
When using Arduino, The first method is hard for beginners. The second method is easy and recommended for beginners who do NOT know about networking.
How to use Arduino Ethernet Shield
Arduino communicates with Ethernet Shield via the SPI interface. The following shows how to use Arduino Ethernet Shield.
- Stack Ethernet Shield on Arduino Uno or Mega
- Connect PC to Arduino Uno/Mega via USB cable
- Connect Ethernet Shield to router/access point via Ethernet cable
- Open Arduino IDE and write code
- Upload the code to Arduino Uno/Mega
It is completely simple.
Skeleton Arduino code for Arduino Ethernet Shield when using the dynamic IP address
Prerequisite
- We need to know MAC address of Ethernet Shield (get from a sticker provided by manufacturer)
How to program step by step
- Include library
- Declare MAC address
- Declare other objects depending on your application.
- Start the Ethernet Shield
- (Optional) Print out Arduino's IP address, subnet mask, gateway's IP address, and DNS server's IP address
Note that, Arduino can not get an IP address in the following cases:
- The router or Access Point does not support DHCP
- Ethernet cable is not plugged properly or broken
To dectect these probem, we can modify the Ethernet.begin(mac); to:
※ NOTE THAT:
If you do NOT change the MAC address, it may still work. However, It may NOT work if it conflicts with the MAC address of another device in the same LAN network. In the case of losing the MAC address sticker, just use the above the MAC address for testing.
The complete skeleton code when using the dynamic IP address
Upload the above code to Arduino. If succeeded, Serial Monitor shows something like below:
If the Serial Monitor does NOT show like above, check your Ethernet cable. If it still does NOT work, go to the next part to try using the static IP address.
Skeleton Arduino code for Arduino Ethernet Shield when using the static IP address
Prerequisite
- You need to get MAC address (get from the sticker)
- You need to get an unused IP address (see how to get an unused IP address )
- You need to get the subnet mask of your network (see how to get subnet mask )
- You need to get gateway's IP address (see how to get gateway's IP address )
- You need to get DNS server's IP address (see how to get DNS server's IP address )
How to program step by step
- Include library
- Declare MAC address
- Declare an unused IP address, subnet mask, gateway's IP address, and DNS server's IP address
- Declare other objects depending on your application.
- Start the Ethernet Shield
- Optional, check network link status
※ NOTE THAT:
If you do NOT change the MAC address, it may still work. However, It may NOT work if it conflicts with the MAC address of another device in the same LAN network. In the case of losing the MAC address sticker, just use the above the MAC address for testing.
The complete skeleton code when using the static IP address
Upload the above code to Arduino. If succeeded, Serial Monitor shows something like below:
If the Serial Monitor does NOT show like above:
- Check you Ethernet cable
- Make sure that the IP address belongs to your network
- Make sure that IP address does NOT conflict with other devices on the same network
- Make sure subnet mask, gateway's IP address, and DNS server's IP address is set correctly
Additional Knowledge of Networking for Beginners
In the case of using the static IP, you need to get an unused IP address, subnet mask, gateway's IP address, and DNS server's IP address. The below shows how to get them.
If Arduino and your PC connect to the same network
- Open Command Prompt on your PC
- Type the following command on Command Prompt:
- From above, you can get the subnet mask and gateway's IP address
- You can see your PC's IP address from the above output. We will try to find an unused IP address based on PC's IP address
- Increase or decrease one by one, start from the PC's IP address.
- Send ping command to that IP address on Command Prompt. Repeat these two steps until the IP is unreachable. If the address is unreachable, It is an unused IP address and we can use it for Arduino. For example:
- For DNS server's IP address , we can simply use 8.8.8.8
※ NOTE THAT:
In some case, even IP address is unreachable, it may being used by another device. However, this case usually does not happen in your home network.
Now you can use this shields to connect Arduino to Internet. See other example on See Also part.
WARNING
Note that this tutorial is incomplete. We will post on our Facebook Page when the tutorial is complete. Like it to get updated.