Arduino - OLED
The OLED (Organic Light-Emitting Diode) display is an alternative for LCD display. The OLED is super-light, almost paper-thin, flexible, and produce a brighter and crisper picture.
In this tutorial, we are going to learn:
- How to use OLED display with Arduino.
- How to display text, number on OLED using Arduino
- How to vertical and horizontal center align text, number on OLED
- How to draw on OLED using Arduino
- How to display image on OLED using Arduino
Hardware Required
Or you can buy the following kits:
| 1 | × | DIYables STEM V3 Starter Kit (Arduino included) | |
| 1 | × | DIYables Sensor Kit (18 sensors/displays) |
Additionally, some links direct to products from our own brand, DIYables .
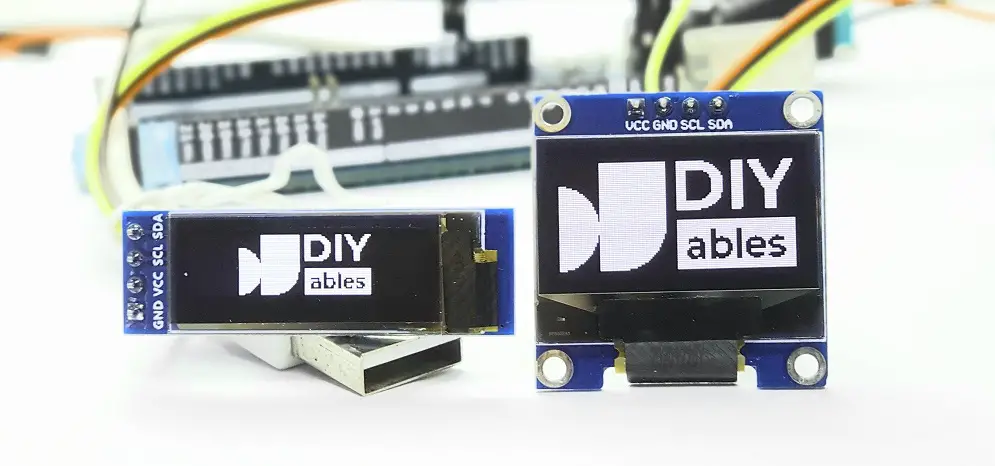
About OLED Display
There are many types of OLED display. They differ from each other in communication interface, sizes and colors:
- Communication interface: I2C, SPI
- Size: 128x64, 128×32...
- Color: white, blue, dual color...
SPI is generally faster than I2C but requires more Arduino pins. While I2C requires only two pins and can be shared with other I2C peripherals. It’s a trade-off between pins and communication speed. The choice is up to you. For OLED with I2C interface, there are several types of driver such as SSD1306, SH1106 driver . This tutorial uses SSD1306 I2C OLED Display 128x64 and 128x32
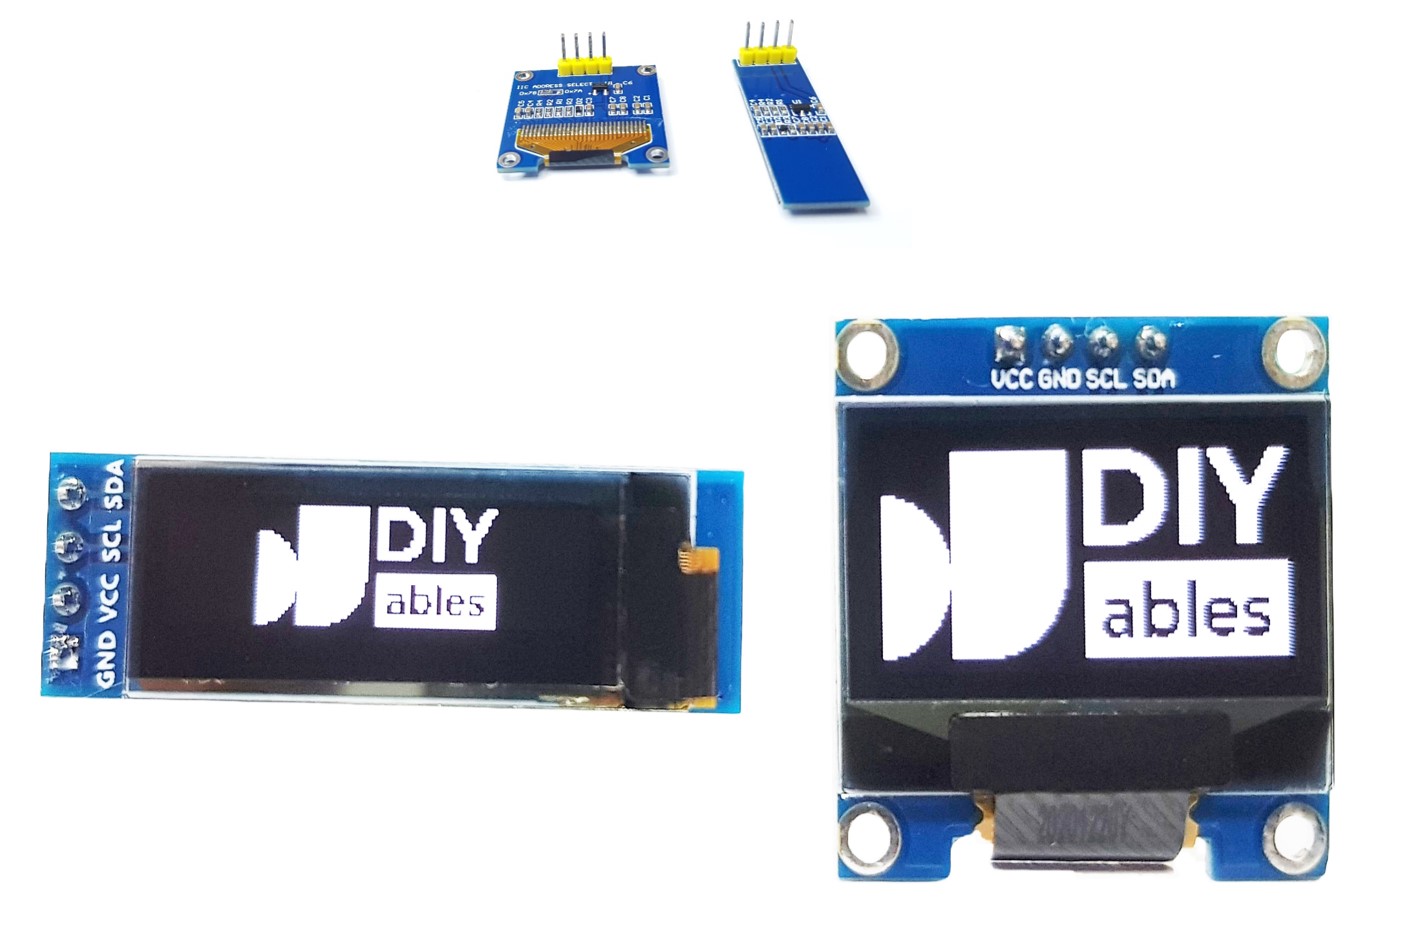
I2C OLED Display Pinout
- GND pin: should be connected to the ground of Arduino
- VCC pin: is the power supply for the display which we connect the 5 volts pin on the Arduino.
- SCL pin: is a serial clock pin for I2C interface.
- SDA pin: is a serial data pin for I2C interface.
※ NOTE THAT:
- The order of the OLED module's pins can vary between manufacturers and module types. ALWAYS use the labels printed on the OLED module. Look closely!
- This tutorial uses the OLED display that uses the SSD1306 I2C driver. We have tested with the OLED display from DIYables. It works without any issues.
Wiring Diagram
- Wiring diagram between Arduino and OLED 128x64
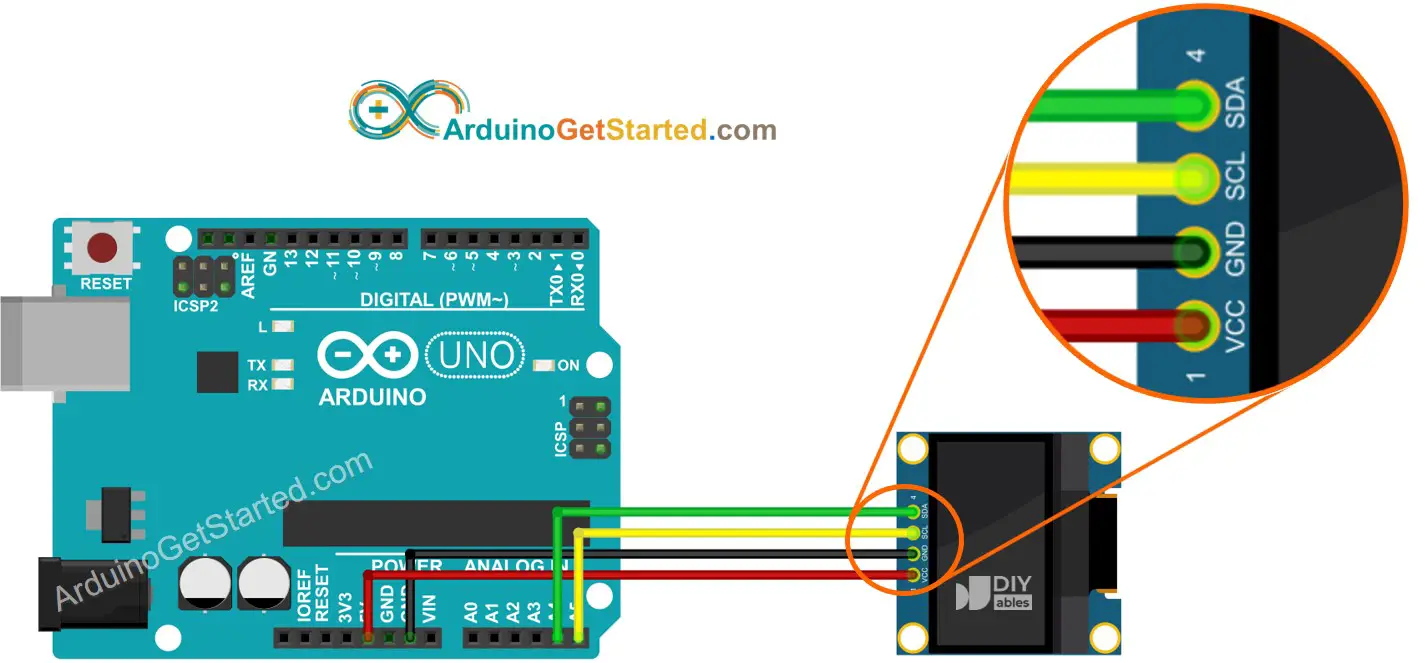
This image is created using Fritzing. Click to enlarge image
- Wiring diagram between Arduino and OLED 128x32

This image is created using Fritzing. Click to enlarge image
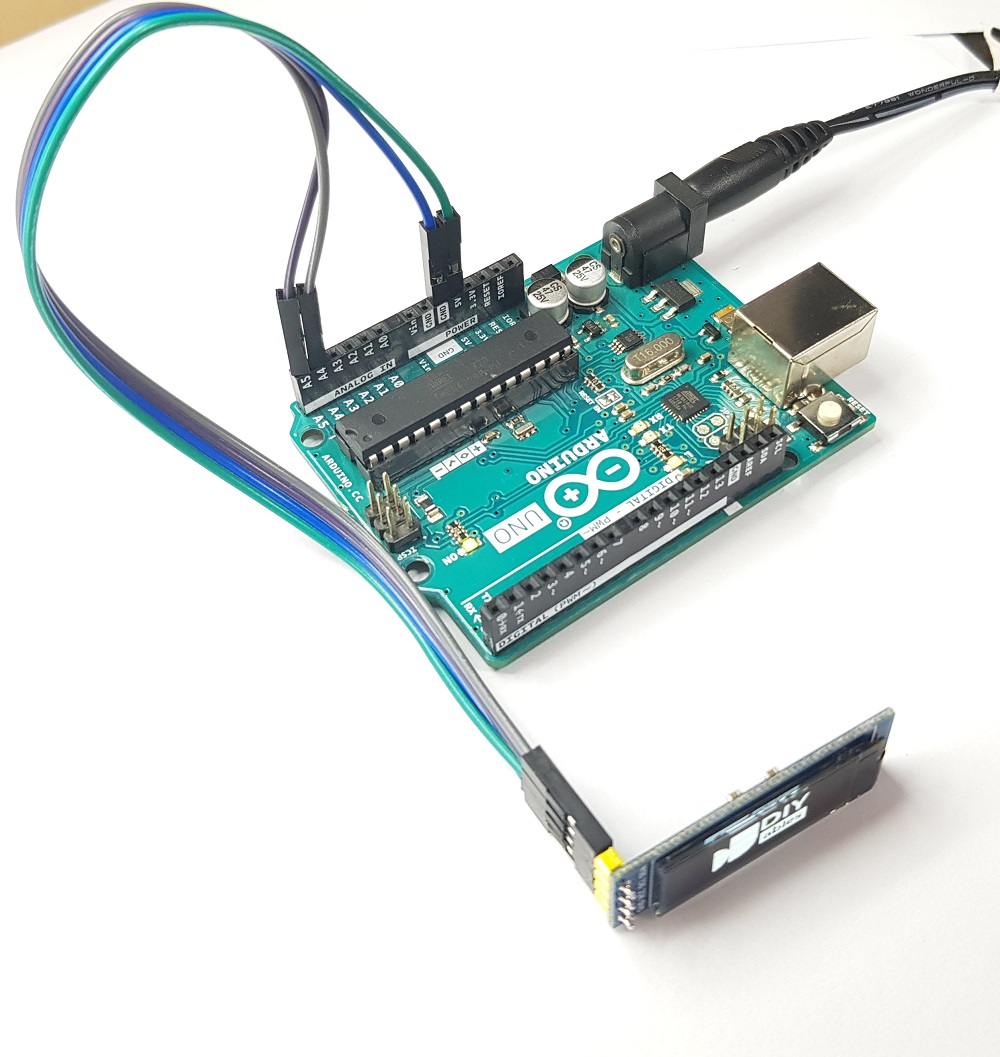
- The real wiring diagram between Arduino and OLED 128x64
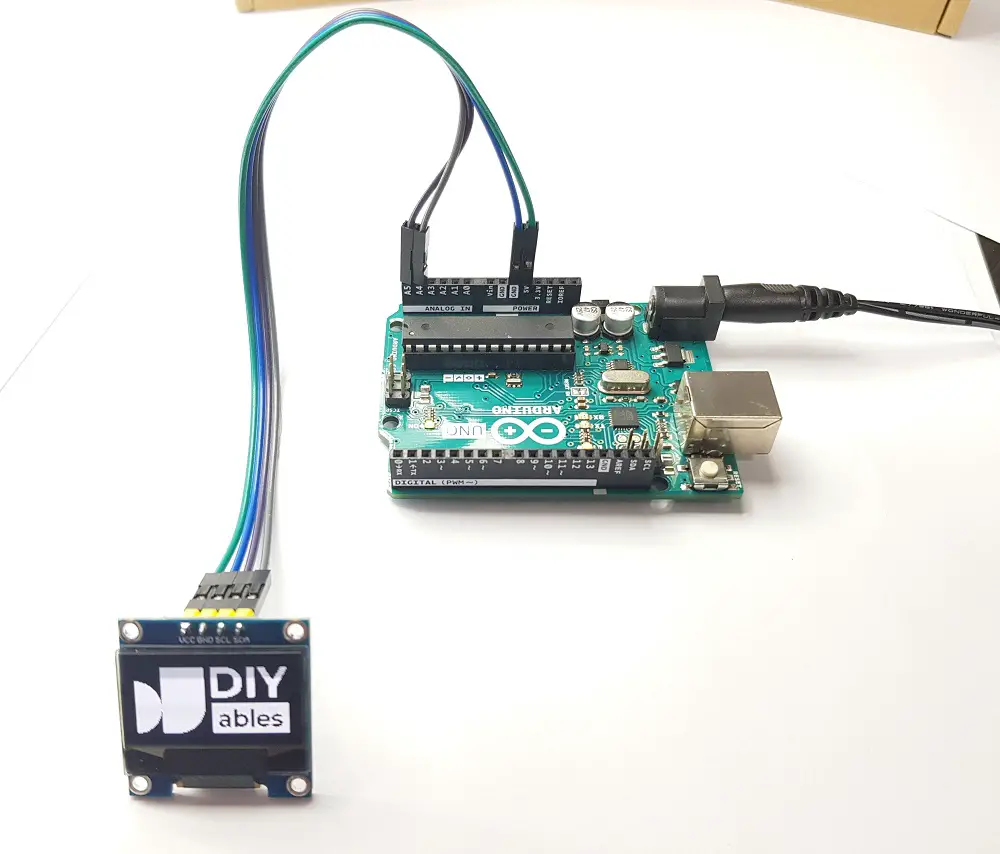
This image is created using Fritzing. Click to enlarge image
- The real wiring diagram between Arduino and OLED 128x32
This image is created using Fritzing. Click to enlarge image
If you use other Arduino other than Uno, the pins are different. Refer below table for other Arduino
| OLED Module | Arduino Uno, Nano | Arduino Mega |
|---|---|---|
| Vin | 5V | 5V |
| GND | GND | GND |
| SDA | A4 | 20 |
| SCL | A5 | 21 |
How To Use OLED with Arduino
Install SSD1306 OLED library
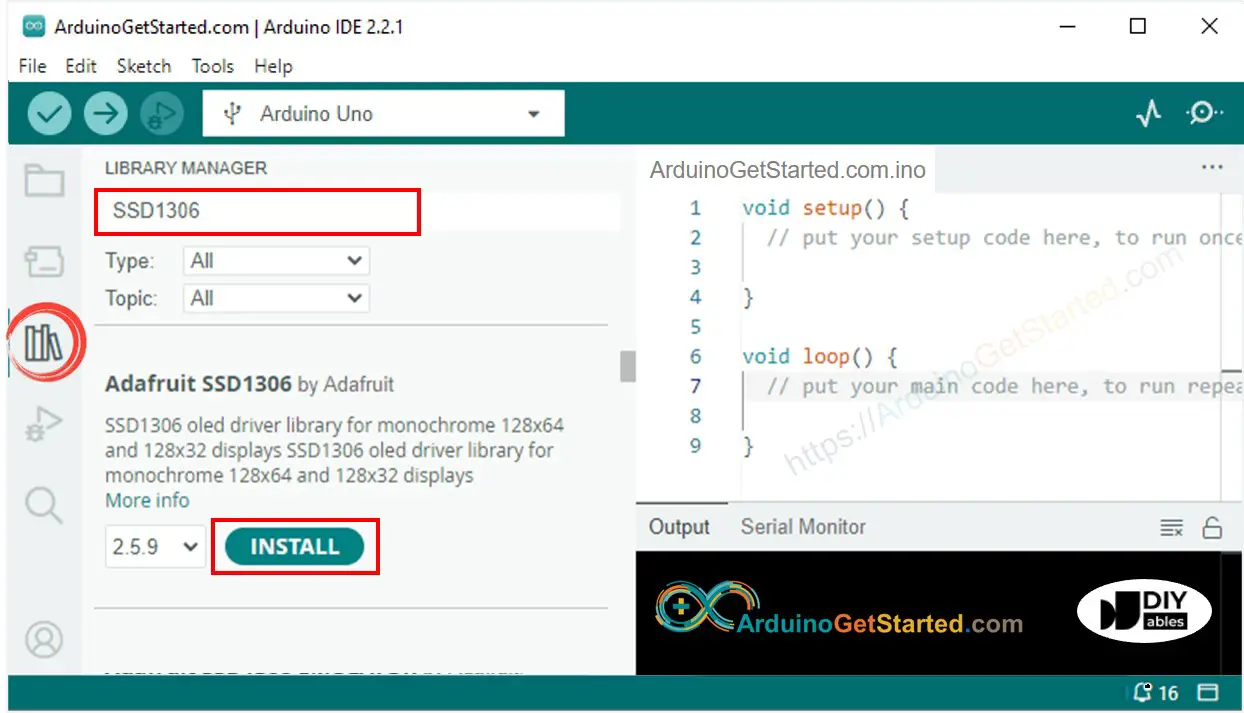
- Navigate to the Libraries icon on the left bar of the Arduino IDE.
- Search “SSD1306”, then find the SSD1306 library by Adafruit
- Click Install button to install the library.
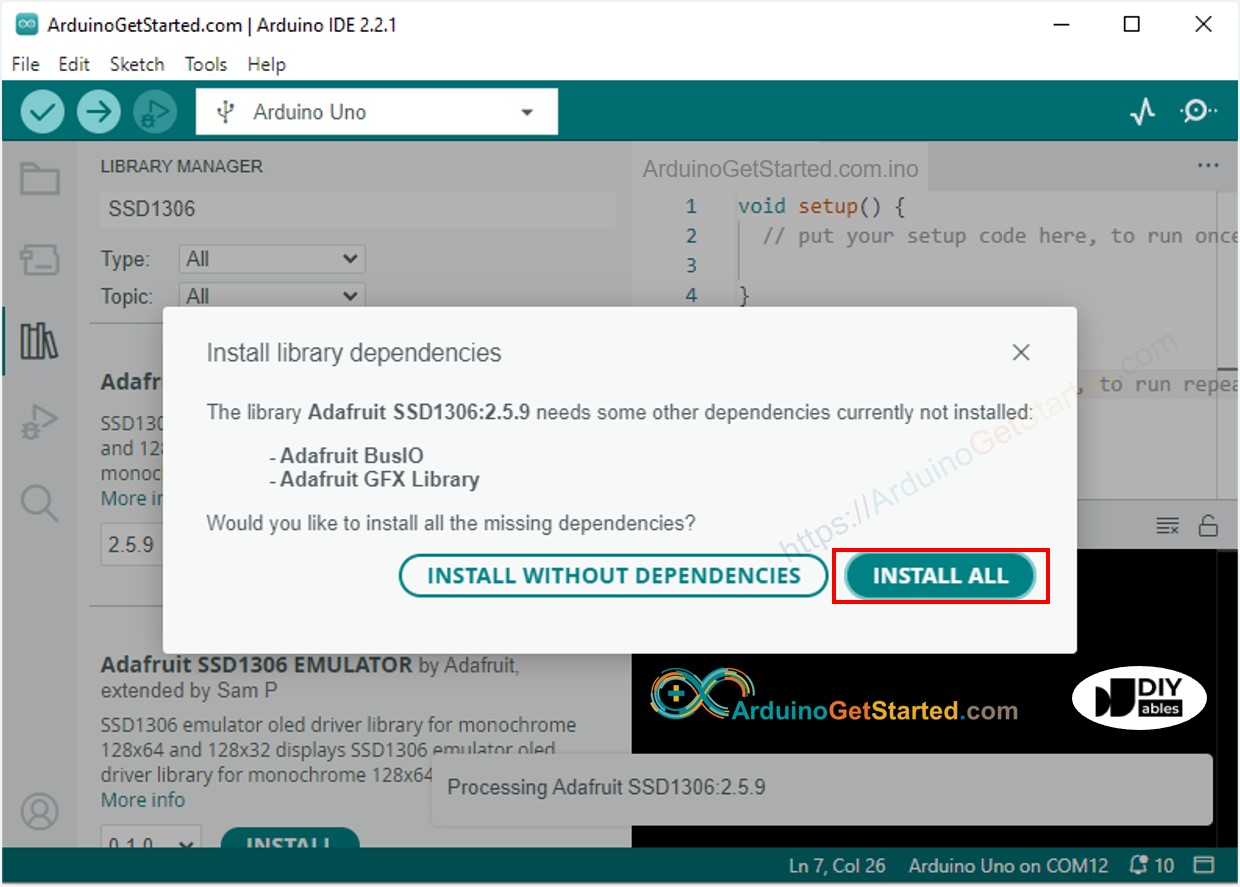
- You will be asked for intalling some other library dependencies
- Click Install All button to install all library dependencies.
How to program for OLED
- Include library
- Define the screen size if OLED 123x64
- Define the screen size if OLED 128x32
- Declare an SSD1306 OLED object
- In setup() function, initialize OLED display
- And then you can display text, images, draw line ...
※ NOTE THAT:
From this point on, all codes are provided for OLED 128x64, but you can easily adapt for OLED 128x32 by changing the screen size and adjusts coordinates if needed
Arduino Code - Display Text on OLED
The below are some functions that you can use to display text on the OLED:
- oled.clearDisplay(): all pixels are off
- oled.drawPixel(x,y, color): plot a pixel in the x,y coordinates
- oled.setTextSize(n): set the font size, supports sizes from 1 to 8
- oled.setCursor(x,y): set the coordinates to start writing text
- oled.setTextColor(WHITE): set the text color
- oled.setTextColor(BLACK, WHITE): set the text color, background color
- oled.println(“message”): print the characters
- oled.println(number): print a number
- oled.println(number, HEX): print a number IN hex format
- oled.display(): call this method for the changes to make effect
- oled.startscrollright(start, stop): scroll text from left to right
- oled.startscrollleft(start, stop): scroll text from right to left
- oled.startscrolldiagright(start, stop): scroll text from left bottom corner to right upper corner
- oled.startscrolldiagleft(start, stop): scroll text from right bottom corner to left upper corner
- oled.stopscroll(): stop scrolling
How to vertical and horizontal center align text/number on OLED
Arduino Code - Drawing on OLED
Arduino Code – Display Image
To draw image on OLED, we have to convert the image (any format) to the bitmap array first. The conversion can be done by using this Image to Bitmap Converter tool. Please see how to convert image to bitmap array on the below image. I converted the Arduino icon to bitmap array.
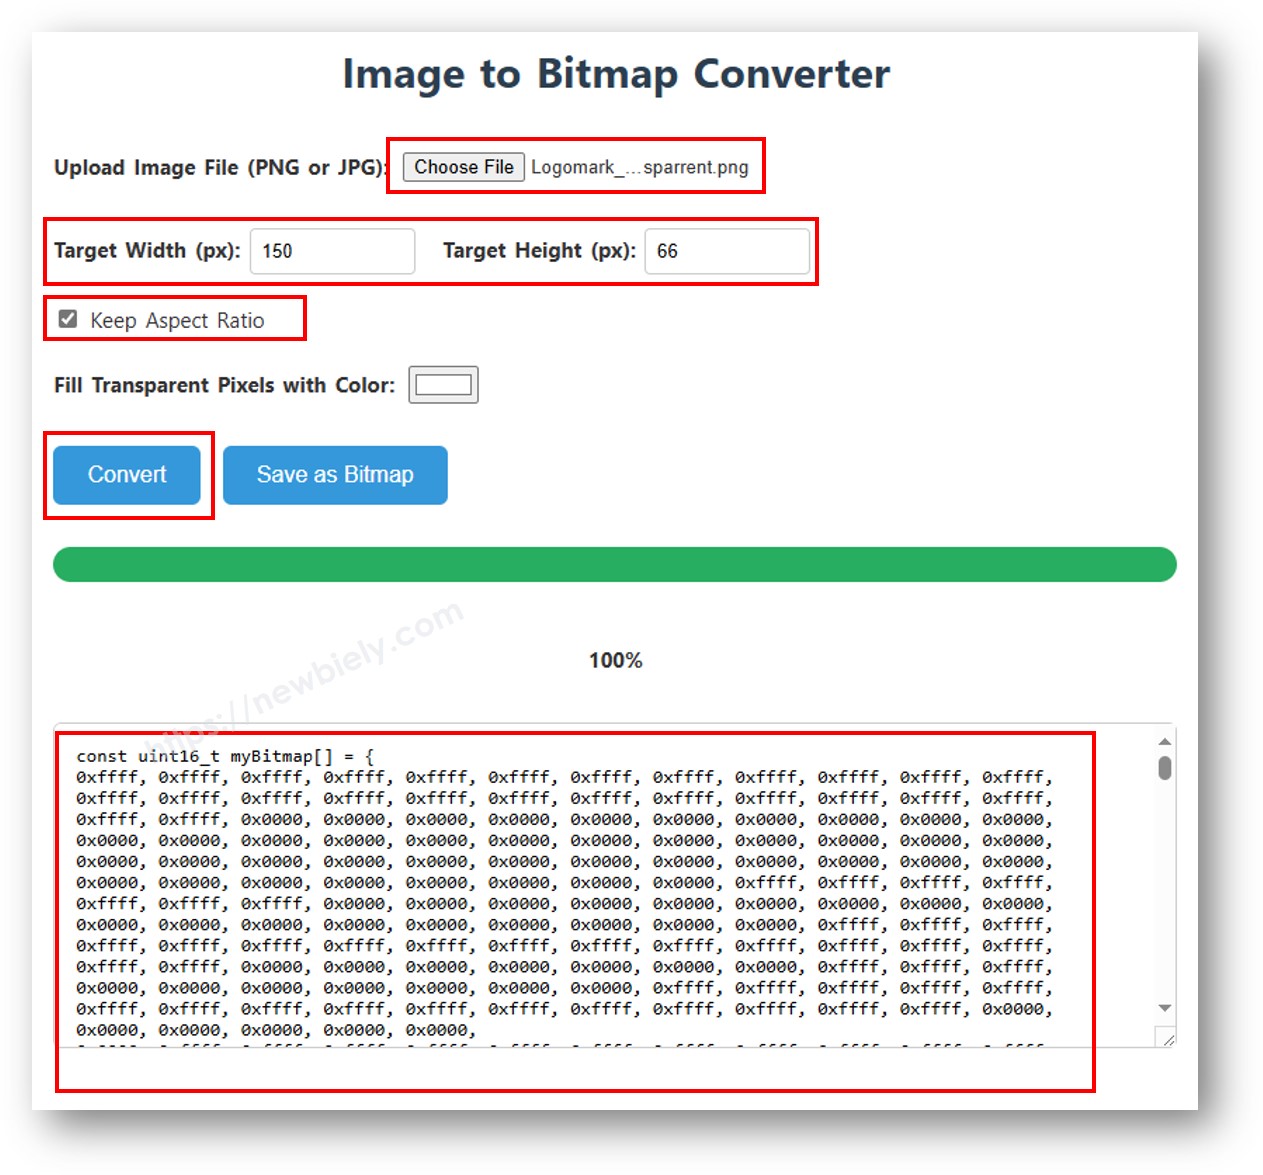
After converting, copy the array code and update the array code in the ArduinoIcon array in the below code
※ NOTE THAT:
- The image size should be smaller than or equal to screen size.
- If you want to adapt the above code for OLED 128x32, you need to recale image and change width/ height in oled.drawBitmap(); function
OLED Troubleshooting
If OLED does not display any thing, please do the following check list:
- Make sure that your wiring is correct.
- Make sure that your I2C OLED uses SSD1306 Driver.
- Check the I2C address of OLED by running the below I2C Address Scanner code on Arduino
The result on Serial Monitor: