Arduino - Potentiometer
In this tutorial, we are going to learn:
- How potentiometer works.
- How to connect the potentiometer to Arduino.
- How to program Arduino to read the value from the potentiometer and convert it to another controlable values.
Hardware Required
Or you can buy the following kits:
| 1 | × | DIYables STEM V3 Starter Kit (Arduino included) | |
| 1 | × | DIYables Sensor Kit (18 sensors/displays) |
Additionally, some links direct to products from our own brand, DIYables .
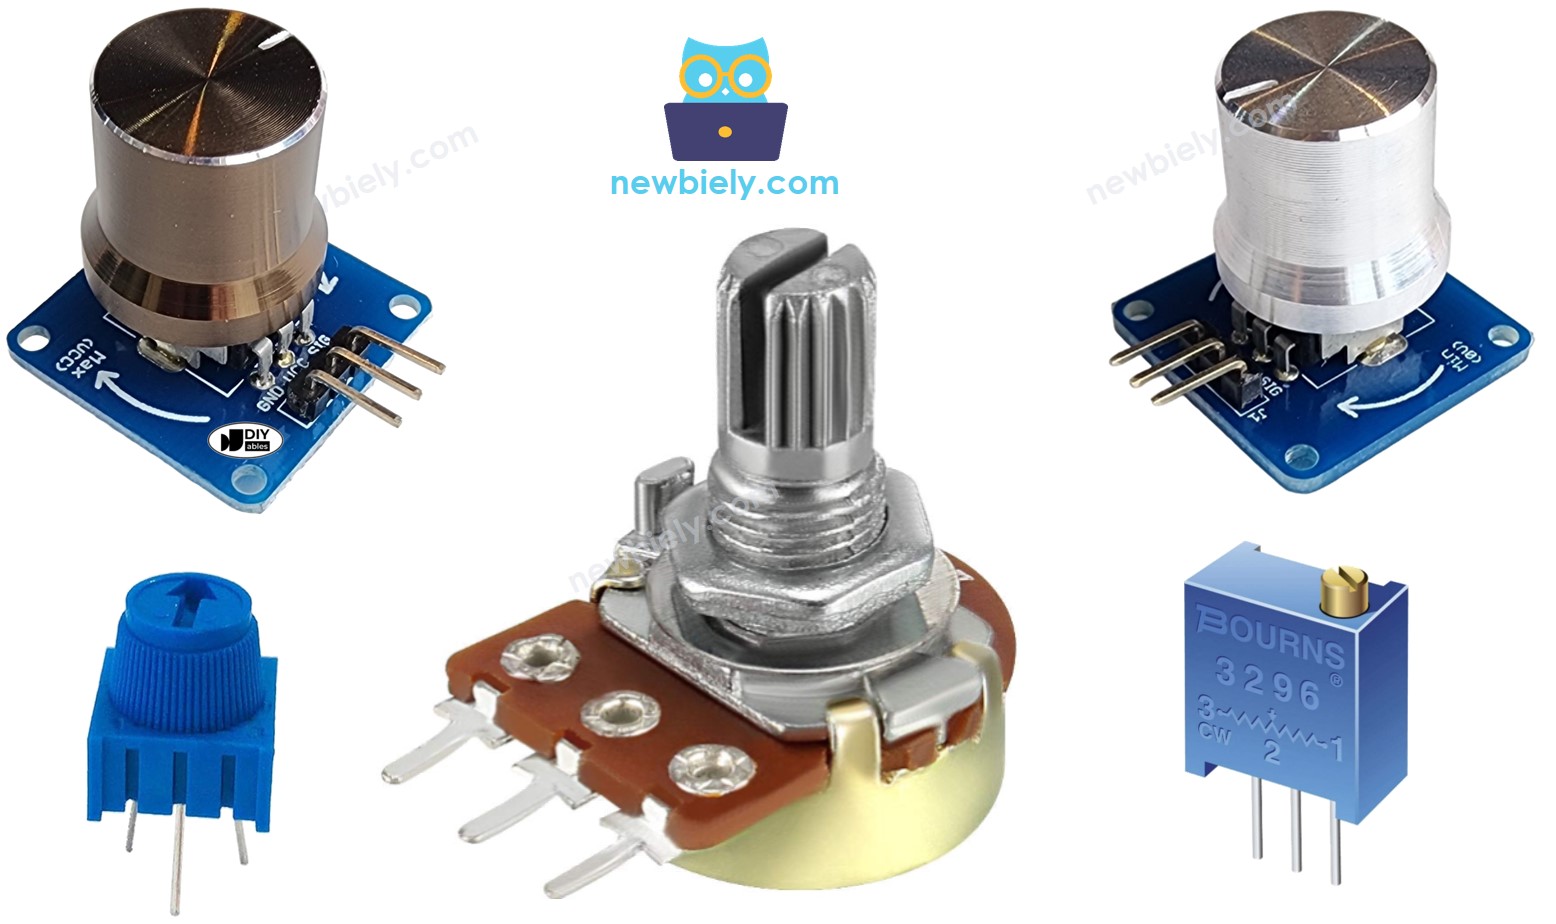
About Potentiometer
Rotary potentiometer (also called rotary angle sensor) is used to manually adjust the value of something (e.g volume of the stereo, the brightness of lamp, zoom level of oscilloscope...)
Pinout
Potentiometer usually has 3 pins:
- GND pin: needs to be connected to GND (0V)
- VCC pin: needs to be connected to VCC (5V or 3.3v)
- Output pin: outputs the voltage to Arduino's input pin.
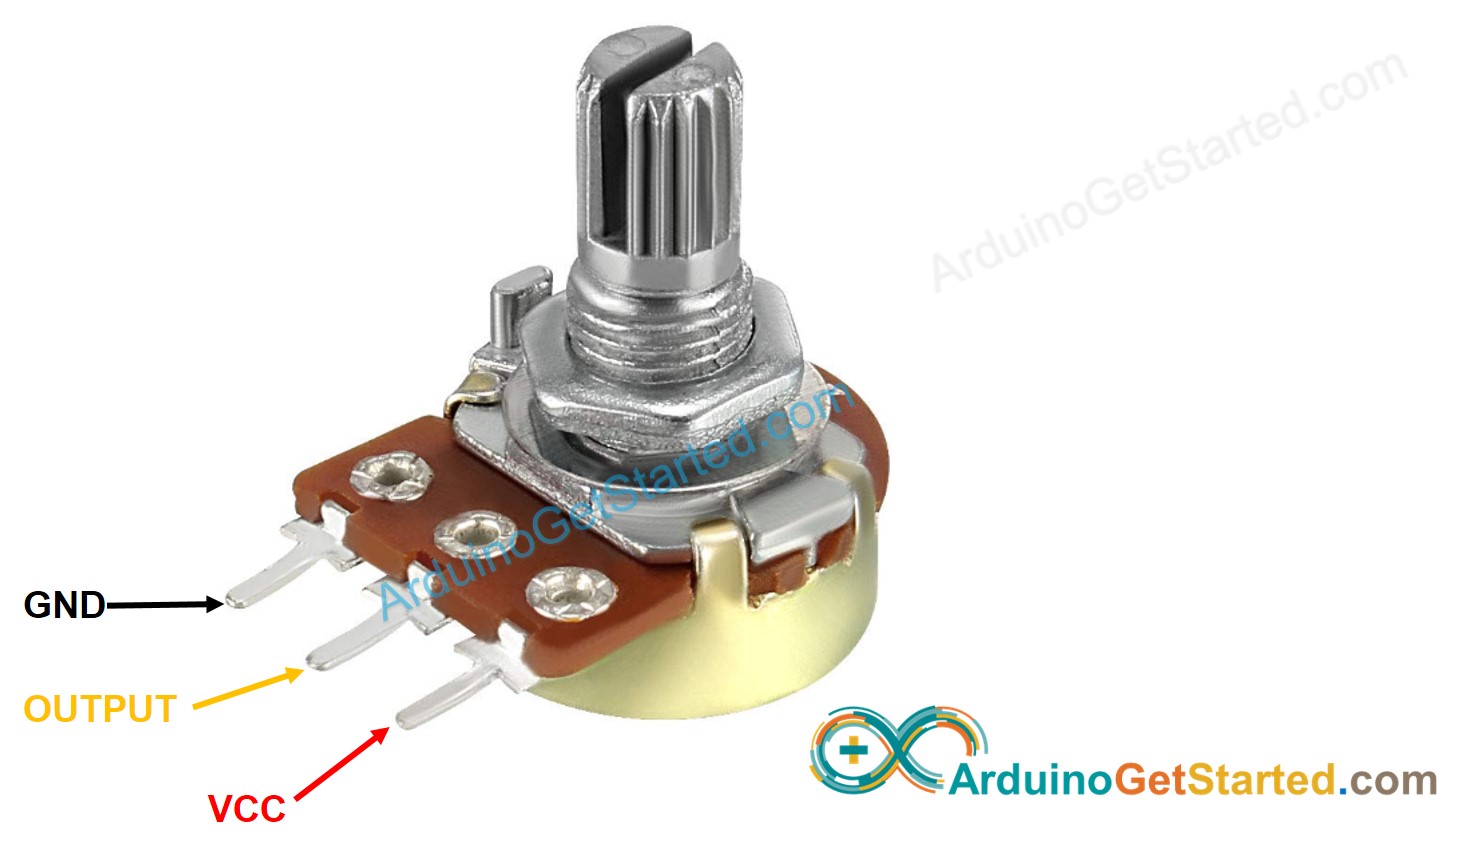
※ NOTE THAT:
GND pin and VCC pin are interchangeable
How It Works
The shaft of the potentiometer is rotatable from 0° (nearest by GND) to an upper bound angle (nearest by VCC pin), called ANGLE_MAX.
The voltage at the output pin ranges from GND's voltage to VCC's voltage. The output voltage is in direct proportion to the rotated angle of the shaft.
- If the angle is 0°, output pin'S voltage is 0v
- If the angle is ANGLE_MAX, output pin'S voltage is VCC's voltage
- If the angle is in between 0° and ANGLE_MAX, output_voltage = angle × VCC / ANGLE_MAX
※ NOTE THAT:
ANGLE_MAX value is depended on manufacturers. In practice, we usually do NOT care about the value of ANGLE_MAX, except when we need to calculate the rotated angle (see use cases part).
Arduino - Rotary Potentiometer
Arduino's pin A0 to A5 can work as analog input. The analog input pin converts the voltage (between 0v and VCC) into integer values (between 0 and 1023), called ADC value or analog value.
By connecting an output pin of the potentiometer to an analog input pin, we can read the analog value from the pin, and then converts it to a meaningful value.
The value Arduino get is NOT angle, NOT voltage. It is integer value ranges from 0 to 1023.
After getting the integer value from the analog input pin, we rescale this value into another value. Let's see the use cases.
Use Cases
- Rescale to potentiometer's angle.
- Rescale to potentiometer's voltage:
- Rescale to the controllable value (e.g volume of stereo, brightness, speed of DC motor... ). This is the most common-used case.
Rescale Range
| FROM | TO | |||
|---|---|---|---|---|
| Angle | rotated by user | 0° | → | ANGLE_MAX |
| Voltage | from potentiometer's pin | 0V | → | VCC |
| ADC value | read by Arduino | 0 | → | 1023 |
| Other value | converted by Arduino | VALUE_MIN | → | VALUE_MAX |
Wiring Diagram
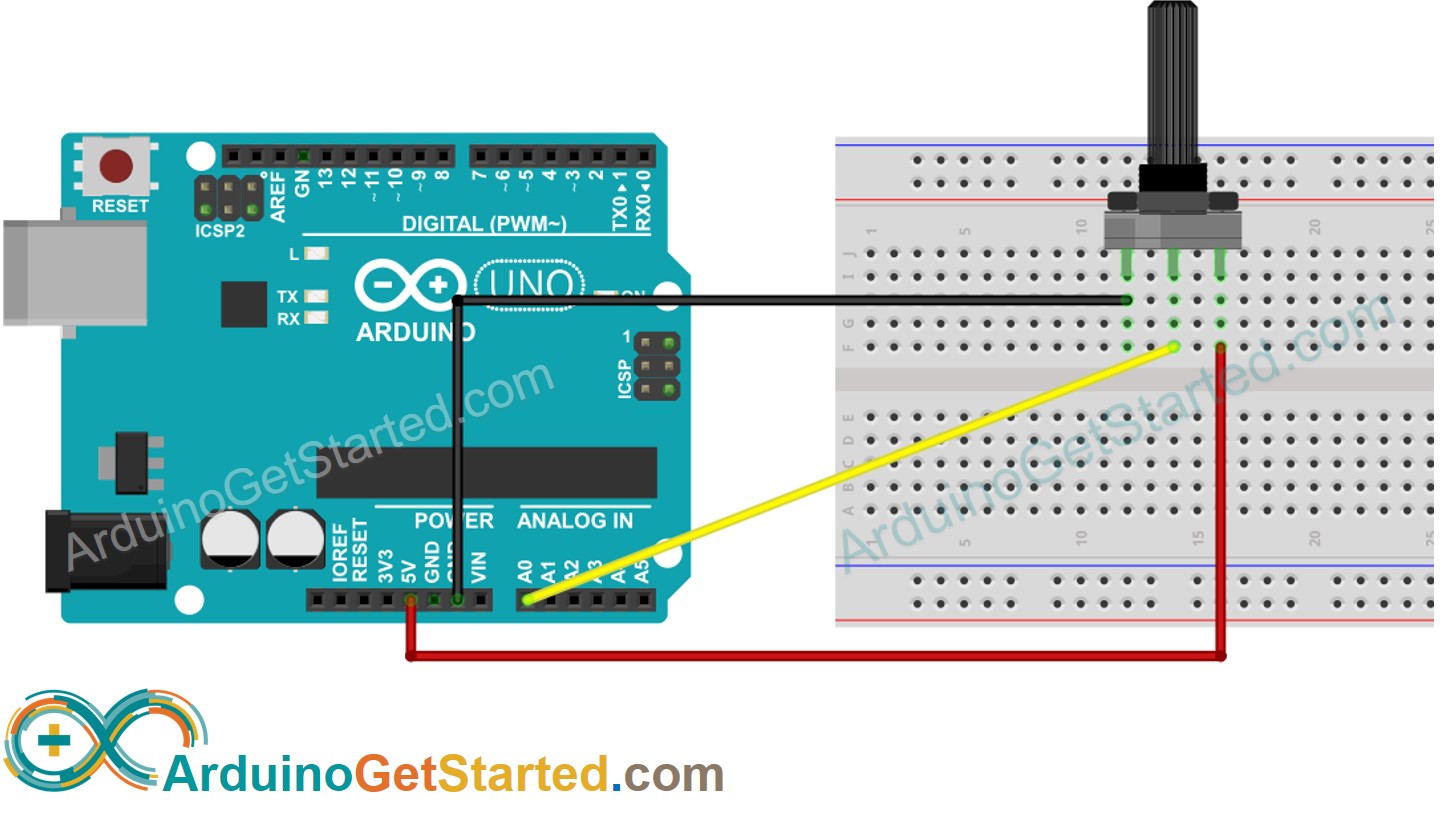
This image is created using Fritzing. Click to enlarge image
How To Program For Potentiometer
- Read the value from an input pin, which connected to the output pin of the potentiometer by using analogRead() function.
- Rescale to the potentiometer's angle by using map()function.
- Rescale to the potentiometer's voltage:
- Rescale to the controllable value (e.g volume of stereo, brightness, speed of DC motor... )
- For example, rescaling to the brightness of LED. As mentioned in this tutorial, the brightness of LED can be controlled by using PWM value from 0 (always OFF) to 255 (always ON). Therefore, we can map the analog value to the brightness of LED (from OFF to the brightest) as follows:
If you want to dim LED from the nightlight to the brightest,
※ NOTE THAT:
The map() function can only be used to rescale the analog value to the int or long type value. If the controllable value is float type, you need to use the floatMap() function instead of the map() function.
floatMap() function:
Arduino Code
Quick Steps
- Copy the above code and open with Arduino IDE
- Click Upload button on Arduino IDE to upload code to Arduino
- Open Serial Monitor
- Rotate the potentiometer
- See the result on Serial Monitor
Video Tutorial
We are considering to make the video tutorials. If you think the video tutorials are essential, please subscribe to our YouTube channel to give us motivation for making the videos.
Challenge Yourself
Use the potentiometer to do one of the following projects:
- Controlling position of the servo motor. Hint: Refer to arduino - Servo Motor.
- Changing the brightness of LED. Hint: Refer to Arduino - Fade Led.
Additional Knowledge
- GND pin and VCC pin are interchangeable. The is no convention about these two pins. If you select a pin as the GND pin, the other is the VCC pin. There is only one thing you need to pay attention to. The voltage value at the output pin is inverted when we interchange these pins.