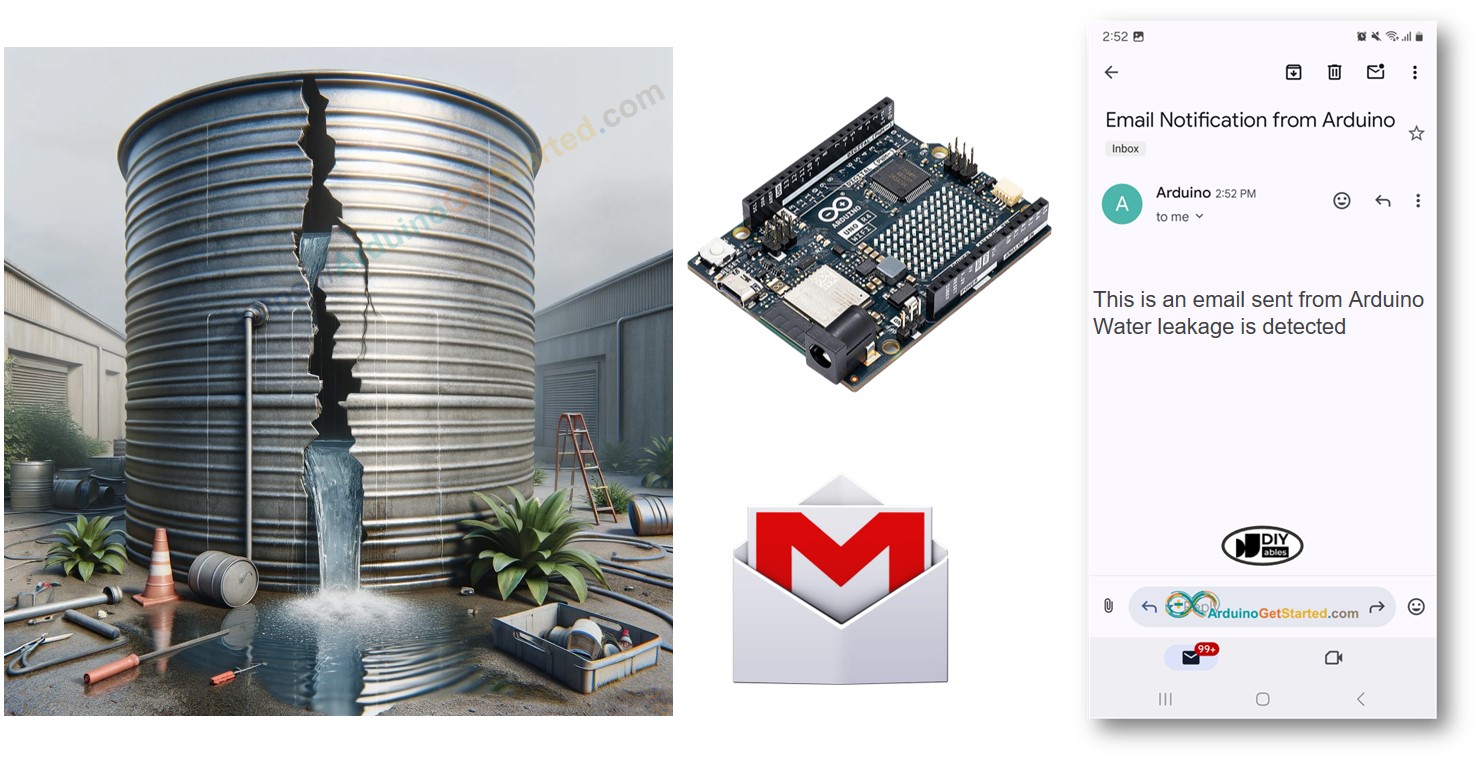
In this guide, we will learn how to use Arduino to find water leaks and send alerts by email instantly. We will go through how to set up the sensor, show examples of the code, and explain how to connect with email services. This will help keep your home or office safe from water damage. This is great for people who enjoy do-it-yourself projects and want to improve their systems for detecting water leaks.
Disclosure: Some links in this section are Amazon affiliate links. If you make a purchase through these links, we may earn a commission at no extra cost to you. Additionally, some links direct to products from our own brand, DIYables .
About Water Sensor and Gmail
We offer detailed tutorials on Water Sensors and Gmail. Each guide provides thorough details and easy-to-follow steps on hardware setup, how it works, and how to connect and program the Arduino. To learn more, visit these links:
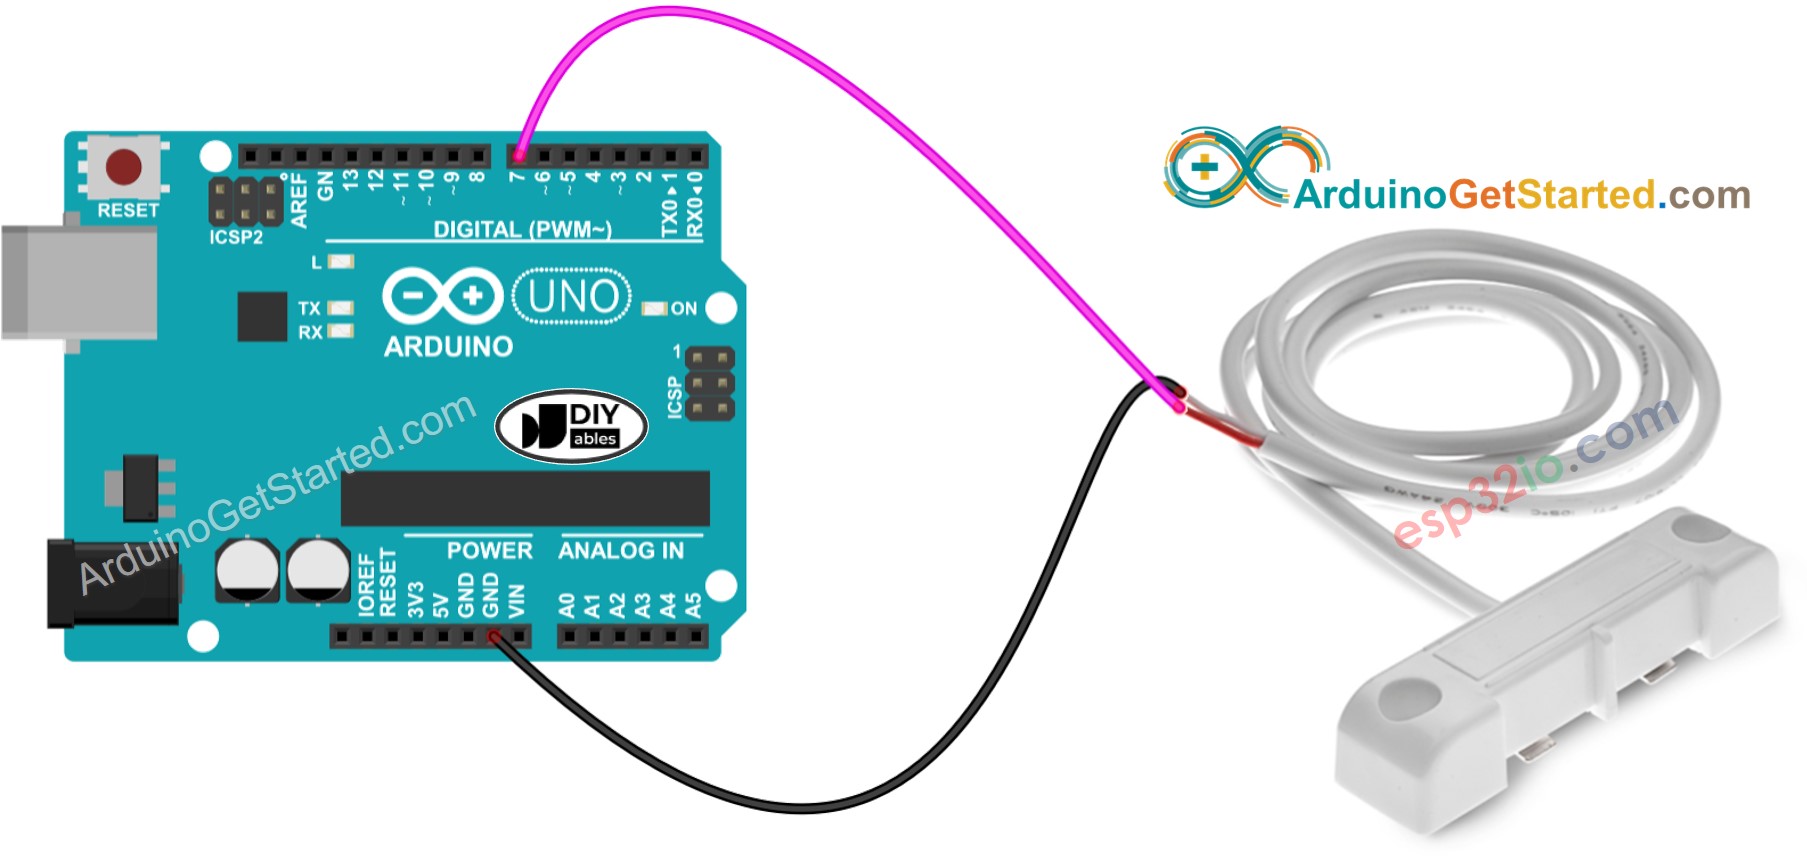
This image is created using Fritzing. Click to enlarge image
Arduino Code
/* * Created by ArduinoGetStarted.com * * This example code is in the public domain * * Tutorial page: https://arduinogetstarted.com/tutorials/arduino-water-leak-email-notification */#include <WiFiS3.h>#include <ESP_Mail_Client.h>#define WIFI_SSID "YOUR_WIFI_SSID"// CHANGE IT#define WIFI_PASSWORD "YOUR_WIFI_PASSWORD"// CHANGE IT// the sender email credentials#define SENDER_EMAIL "xxxxxx@gmail.com"// CHANGE IT#define SENDER_PASSWORD "xxxx xxxx xxxx xxxx"// CHANGE IT to your Google App password#define RECIPIENT_EMAIL "xxxxxx@gmail.com"// CHANGE IT#define SMTP_HOST "smtp.gmail.com"#define SMTP_PORT 587#define WATER_SENSOR_PIN 7 // Arduino pin D7 connected to water sensor's pinint water_state; // current state of water sensorint prev_water_state; // previous state of water sensorSMTPSessionsmtp;voidsetup() {Serial.begin(9600);WiFi.begin(WIFI_SSID, WIFI_PASSWORD);Serial.print("Connecting to Wi-Fi");while (WiFi.status() != WL_CONNECTED) {Serial.print(".");delay(300); }Serial.println();Serial.print("Connected with IP: ");Serial.println(WiFi.localIP());Serial.println();pinMode(WATER_SENSOR_PIN, INPUT_PULLUP); // set Arduino pin to input pull-up mode water_state = digitalRead(WATER_SENSOR_PIN); // read state}voidloop() { prev_water_state = water_state; // save the last state water_state = digitalRead(WATER_SENSOR_PIN); // read new stateif (prev_water_state == HIGH && water_state == LOW) {Serial.println("Water leakage is detected!");String subject = "Email Notification from Arduino";String textMsg = "This is an email sent from Arduino.\n"; textMsg += "Water leakage is detected"; gmail_send(subject, textMsg); }}void gmail_send(String subject, String textMsg) {// set the network reconnection optionMailClient.networkReconnect(true);smtp.debug(1);smtp.callback(smtpCallback); Session_Config config;// set the session configconfig.server.host_name = SMTP_HOST;config.server.port = SMTP_PORT;config.login.email = SENDER_EMAIL;config.login.password = SENDER_PASSWORD;config.login.user_domain = F("127.0.0.1");config.time.ntp_server = F("pool.ntp.org,time.nist.gov");config.time.gmt_offset = 3;config.time.day_light_offset = 0;// declare the message class SMTP_Message message;// set the message headers message.sender.name = F("Arduino"); message.sender.email = SENDER_EMAIL; message.subject = subject; message.addRecipient(F("To Whom It May Concern"), RECIPIENT_EMAIL); message.text.content = textMsg; message.text.transfer_encoding = "base64"; message.text.charSet = F("utf-8"); message.priority = esp_mail_smtp_priority::esp_mail_smtp_priority_low;// set the custom message header message.addHeader(F("Message-ID: <abcde.fghij@gmail.com>"));// connect to the serverif (!smtp.connect(&config)) {Serial.println("Connection error: ");Serial.print("- Status Code: ");Serial.println(smtp.statusCode());Serial.print("- Error Code: ");Serial.println(smtp.errorCode());Serial.print("- Reason: ");Serial.println(smtp.errorReason().c_str());return; }if (!smtp.isLoggedIn()) {Serial.println("Not yet logged in."); } else {if (smtp.isAuthenticated())Serial.println("Successfully logged in.");elseSerial.println("Connected with no Auth."); }// start sending Email and close the sessionif (!MailClient.sendMail(&smtp, &message)) {Serial.println("Connection error: ");Serial.print("- Status Code: ");Serial.println(smtp.statusCode());Serial.print("- Error Code: ");Serial.println(smtp.errorCode());Serial.print("- Reason: ");Serial.println(smtp.errorReason().c_str()); }}// callback function to get the Email sending statusvoid smtpCallback(SMTP_Status status) {// print the current statusSerial.println(status.info());// print the sending resultif (status.success()) {for (size_t i = 0; i < smtp.sendingResult.size(); i++) {// get the result item SMTP_Result result = smtp.sendingResult.getItem(i);Serial.print("Status: ");if (result.completed)Serial.println("success");elseSerial.println("failed");Serial.print("Recipient: ");Serial.println(result.recipients.c_str());Serial.print("Subject: ");Serial.println(result.subject.c_str()); }Serial.println("----------------\n");// free the memorysmtp.sendingResult.clear(); }}
Place the water sensor where it might detect water leakage.
Connect the water sensor to the Arduino board.
Connect the Arduino board to your PC using a micro USB cable.
Open the Arduino IDE on your PC.
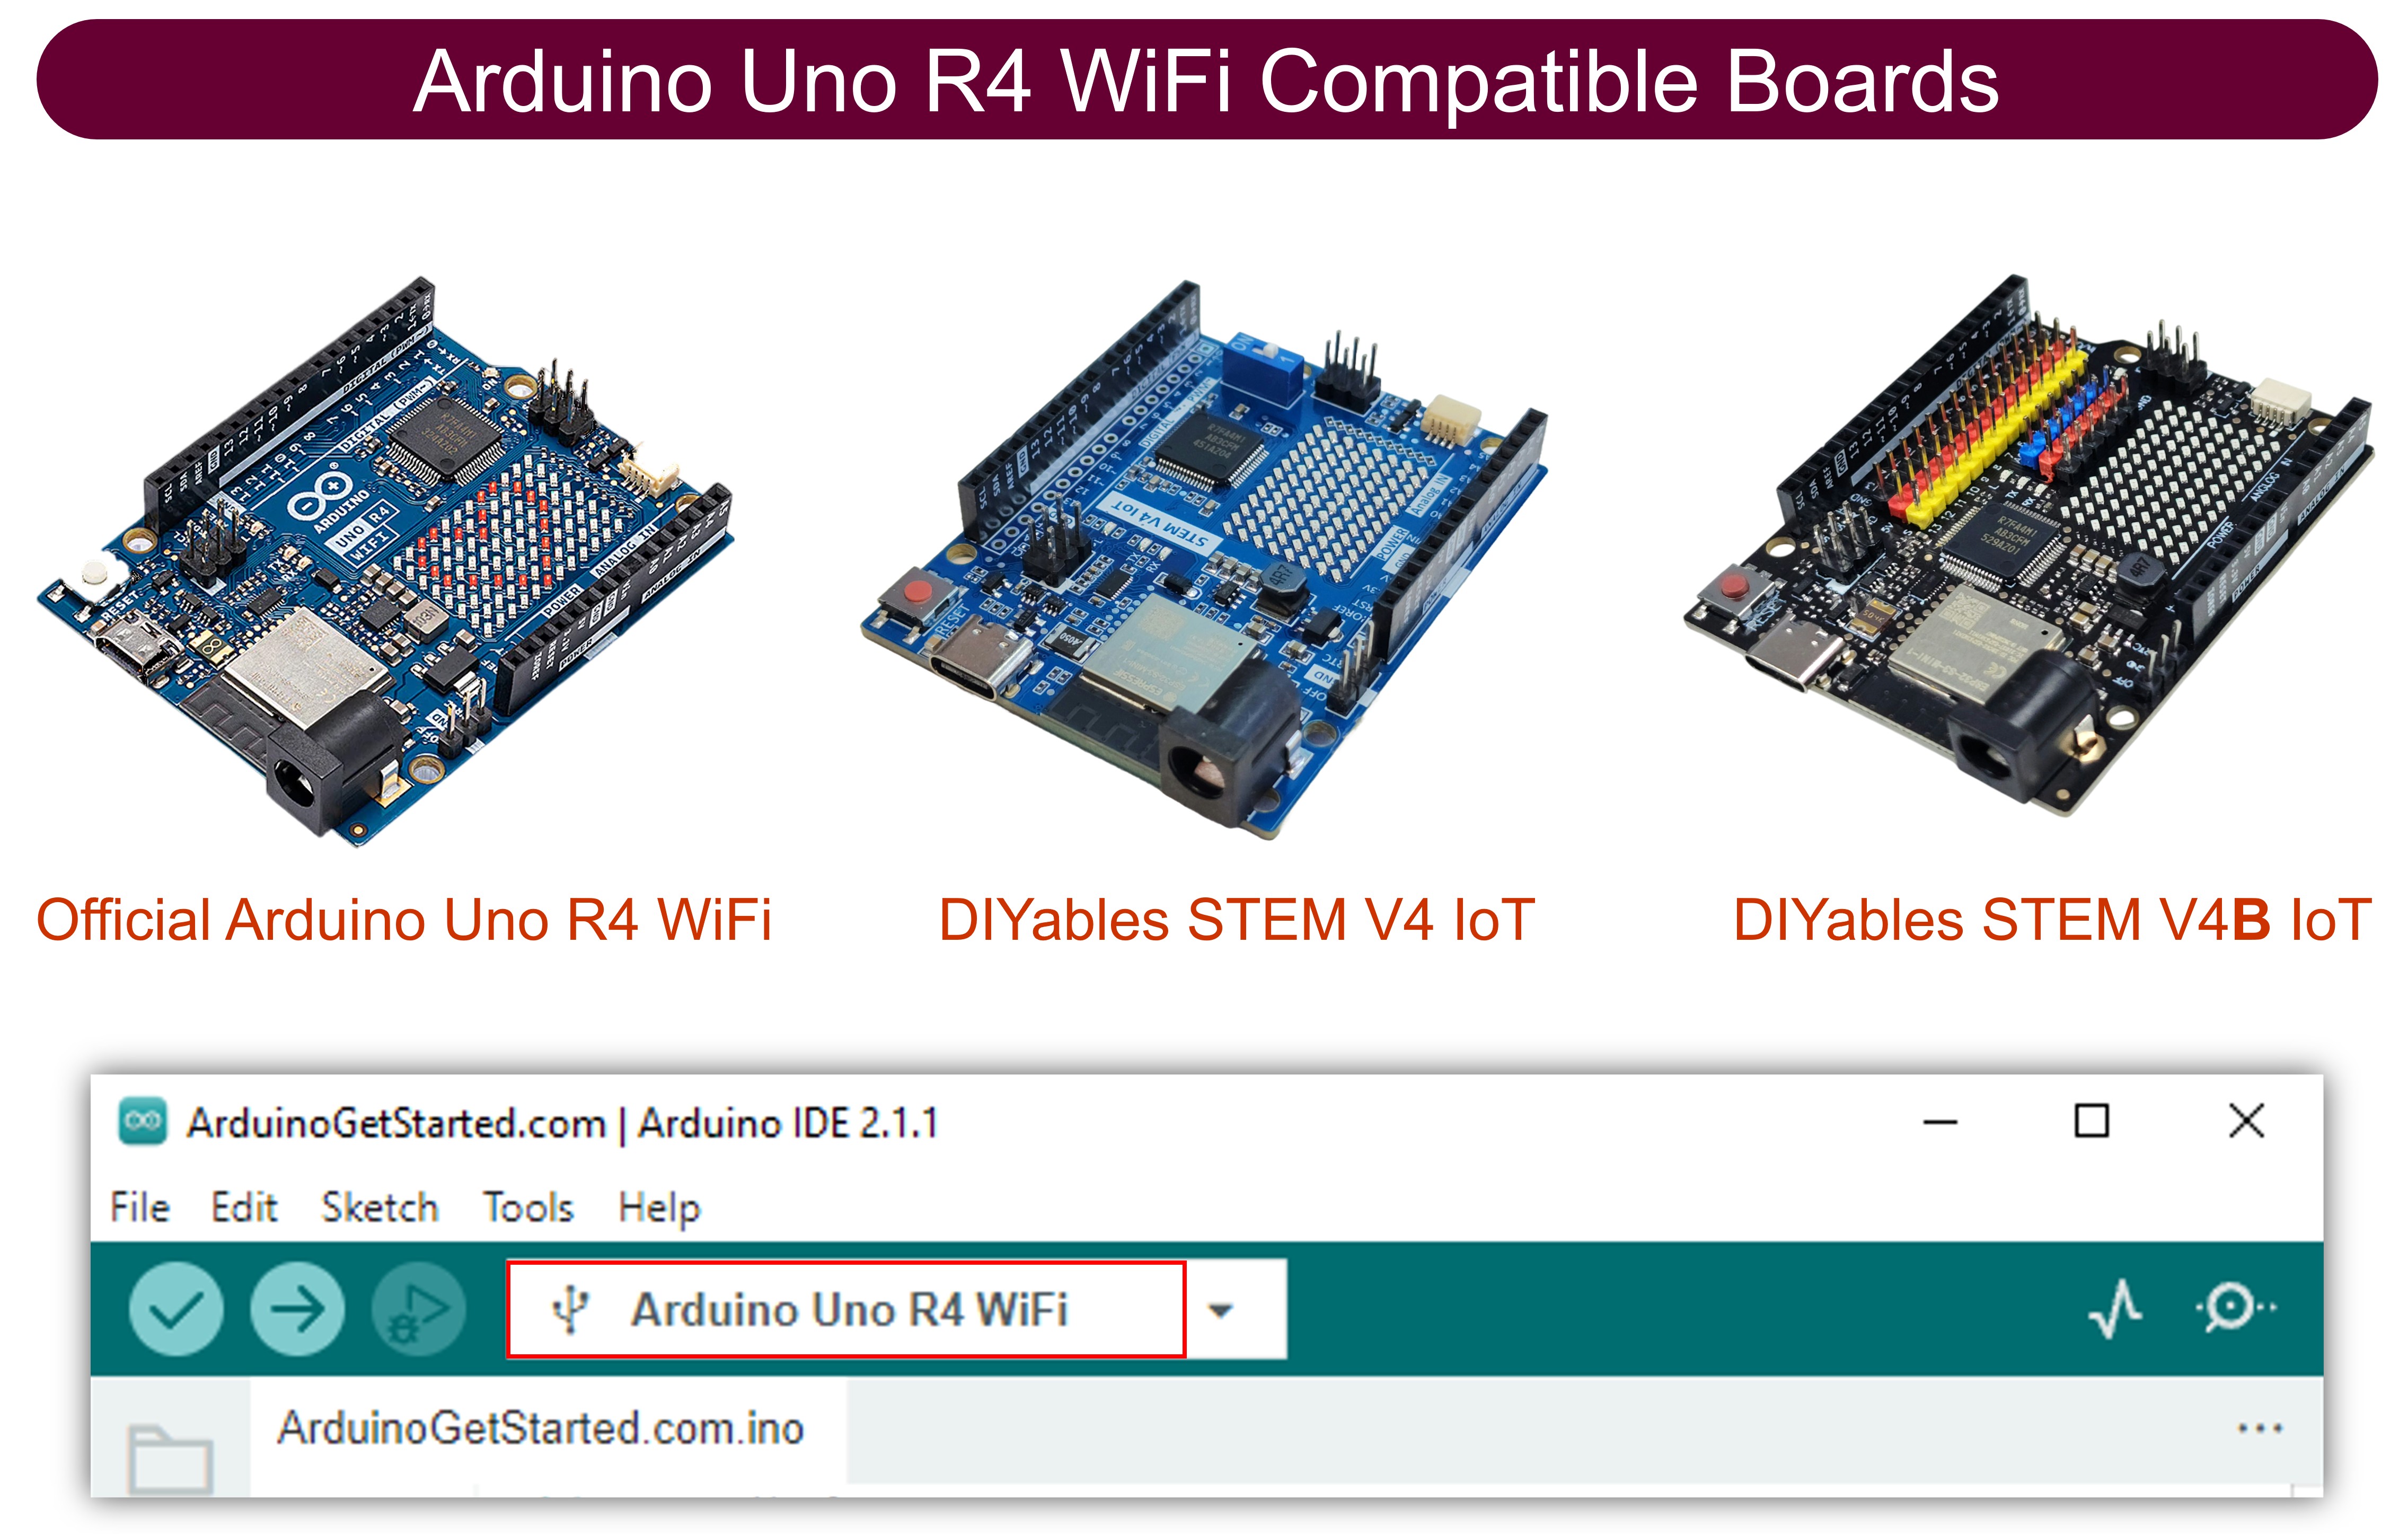
Select the right Arduino board (Arduino Uno R4 WiFi) and COM port.
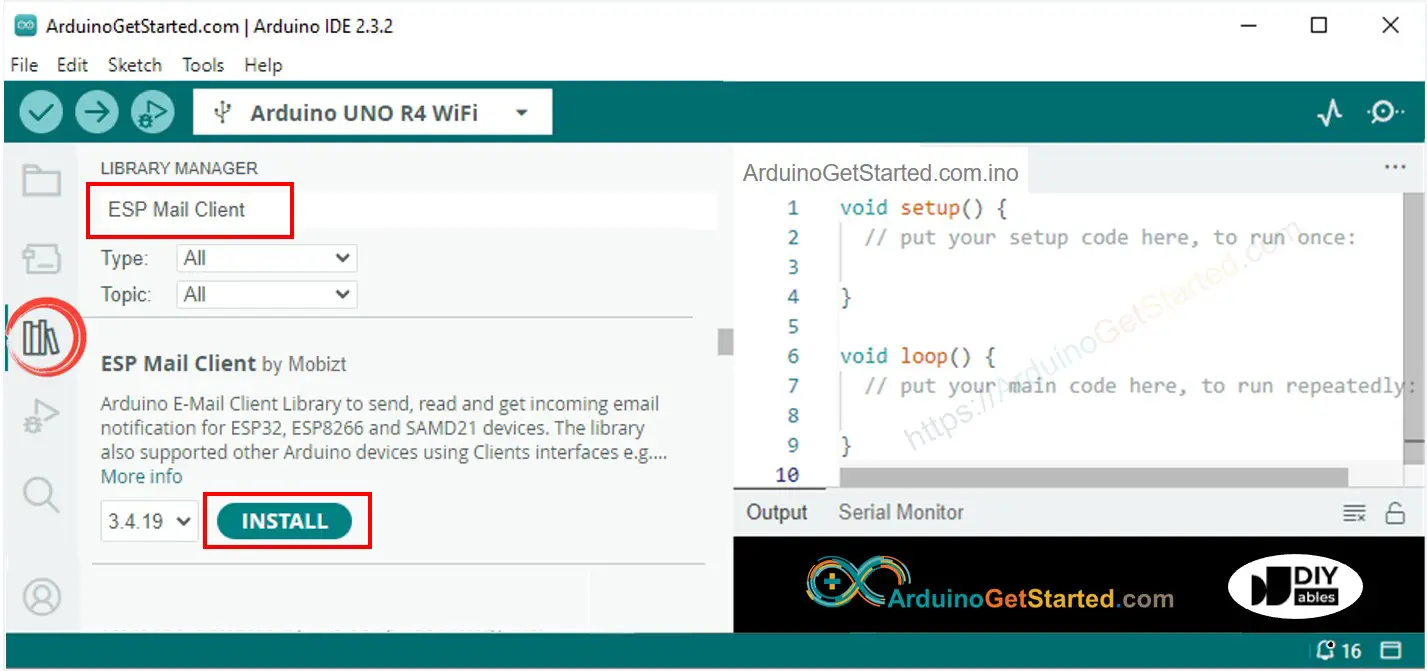
Open the Library Manager by clicking on the Library Manager icon in the Arduino IDE's left navigation bar.
Search for ESP Mail Client and find the ESP Mail Client developed by Mobizt.
Click the Install button to add the ESP Mail Client library.
Copy the code provided and open it in Arduino IDE.
Update your WiFi details (SSID and password) in the code by modifying WIFI_SSID and WIFI_PASSWORD.
Replace the sender's email and password with your own by changing SENDER_EMAIL and SENDER_PASSWORD.
Update the recipient's email address in the code by modifying RECIPIENT_EMAIL. This can be the same as the sender’s email.
※ NOTE THAT:
The email of the sender must be a Gmail account.
The sender's password is the App password obtained from the earlier step.
The email of the recipient can be any kind of email.
Click the Upload button in Arduino IDE to upload the code to Arduino.
Open the Serial Monitor.
Pour water onto the water sensor.
Look at the result on the Serial Monitor.
Newbiely | Arduino IDE 2.3.8
──
☐
✕
File
Edit
Sketch
Tools
Help
Arduino Uno
Newbiely.ino
···
8Serial.println("Hello World!");
Output
Serial Monitor
Message (Enter to send message to 'Arduino Uno' on 'COM15')
New Line
9600 baud
Water leakage is detected
#### Email sent successfully
> C: Email sent successfully
----------------
Message sent success: 1
Message sent failed: 0
----------------
Message No: 1
Status: success
Date/Time: May 27, 2024 04:42:50
Recipient: xxxxxx@gmail.com
Subject: Email Notification from Arduino
----------------
Ln 11, Col 1
Arduino Uno on COM15
2
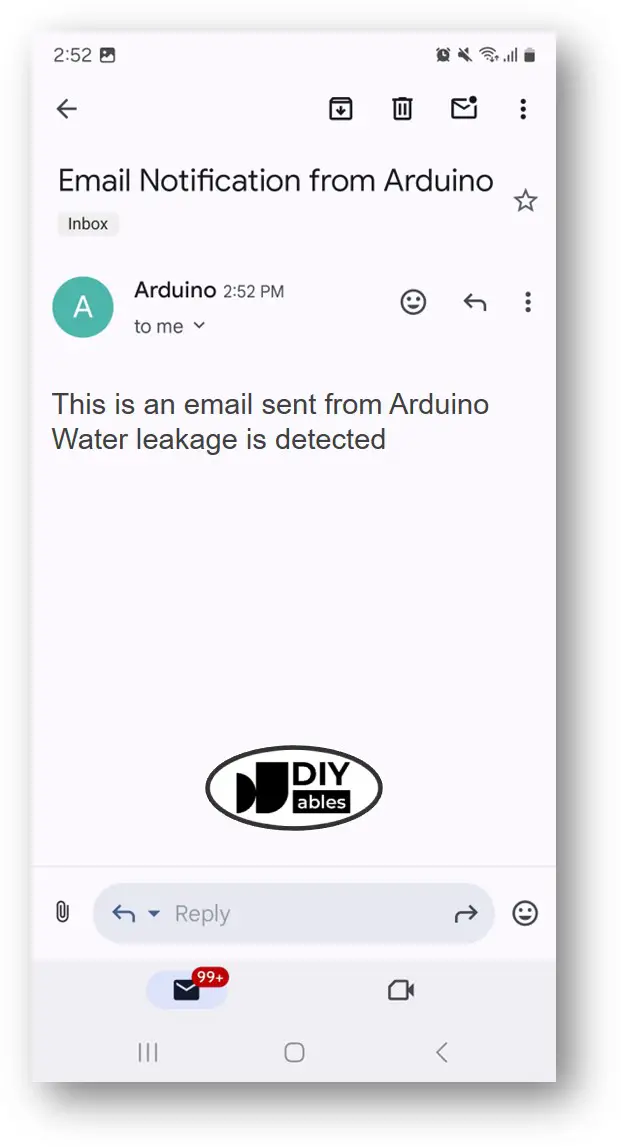
Check your email inbox. You will receive an email like the following:
Video Tutorial
We are considering to make the video tutorials. If you think the video tutorials are essential, please subscribe to our YouTube channel to give us motivation for making the videos.
You can share the link of this tutorial anywhere. Howerver, please do not copy the content to share on other websites. We took a lot of time and effort to create the content of this tutorial, please respect our work!