Arduino - Make Voice Phone Call
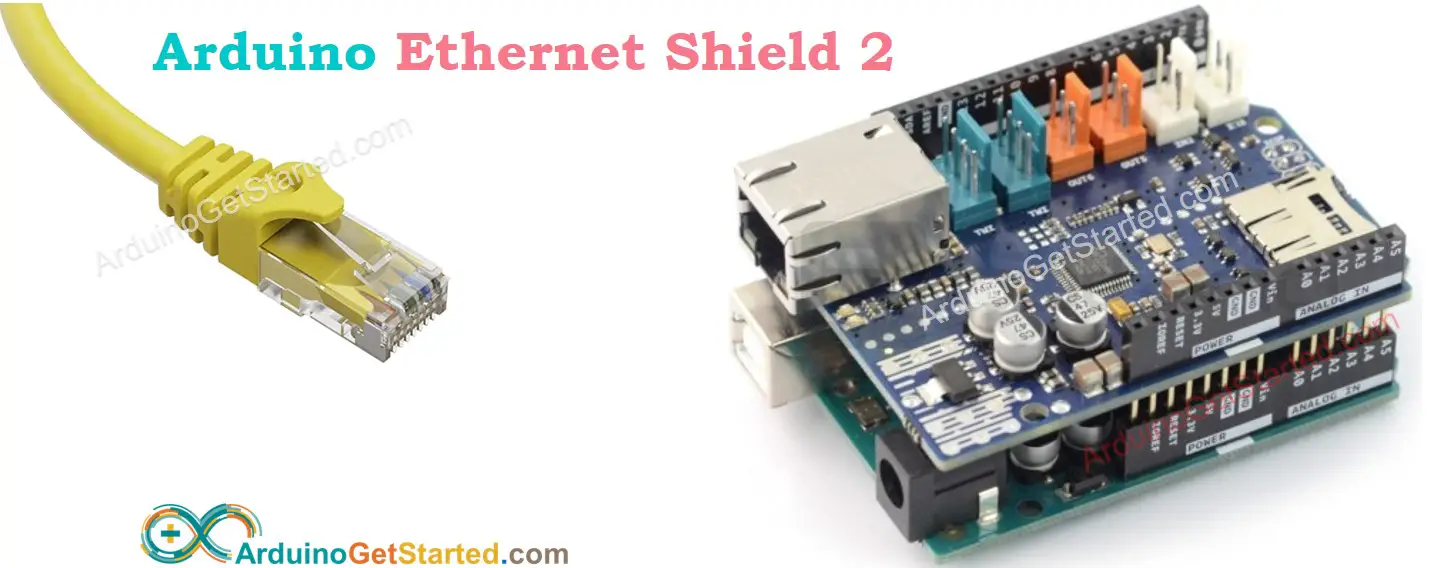
In this tutorial we are going to learn how to use Arduino to make a real-time VoIP (Voice over Internet Protocol) call to your phone. The code is available for Arduino Ethernet Shield. You can modify it to make it works with other shield/board
The tutorial provides the Arduino code for two cases:
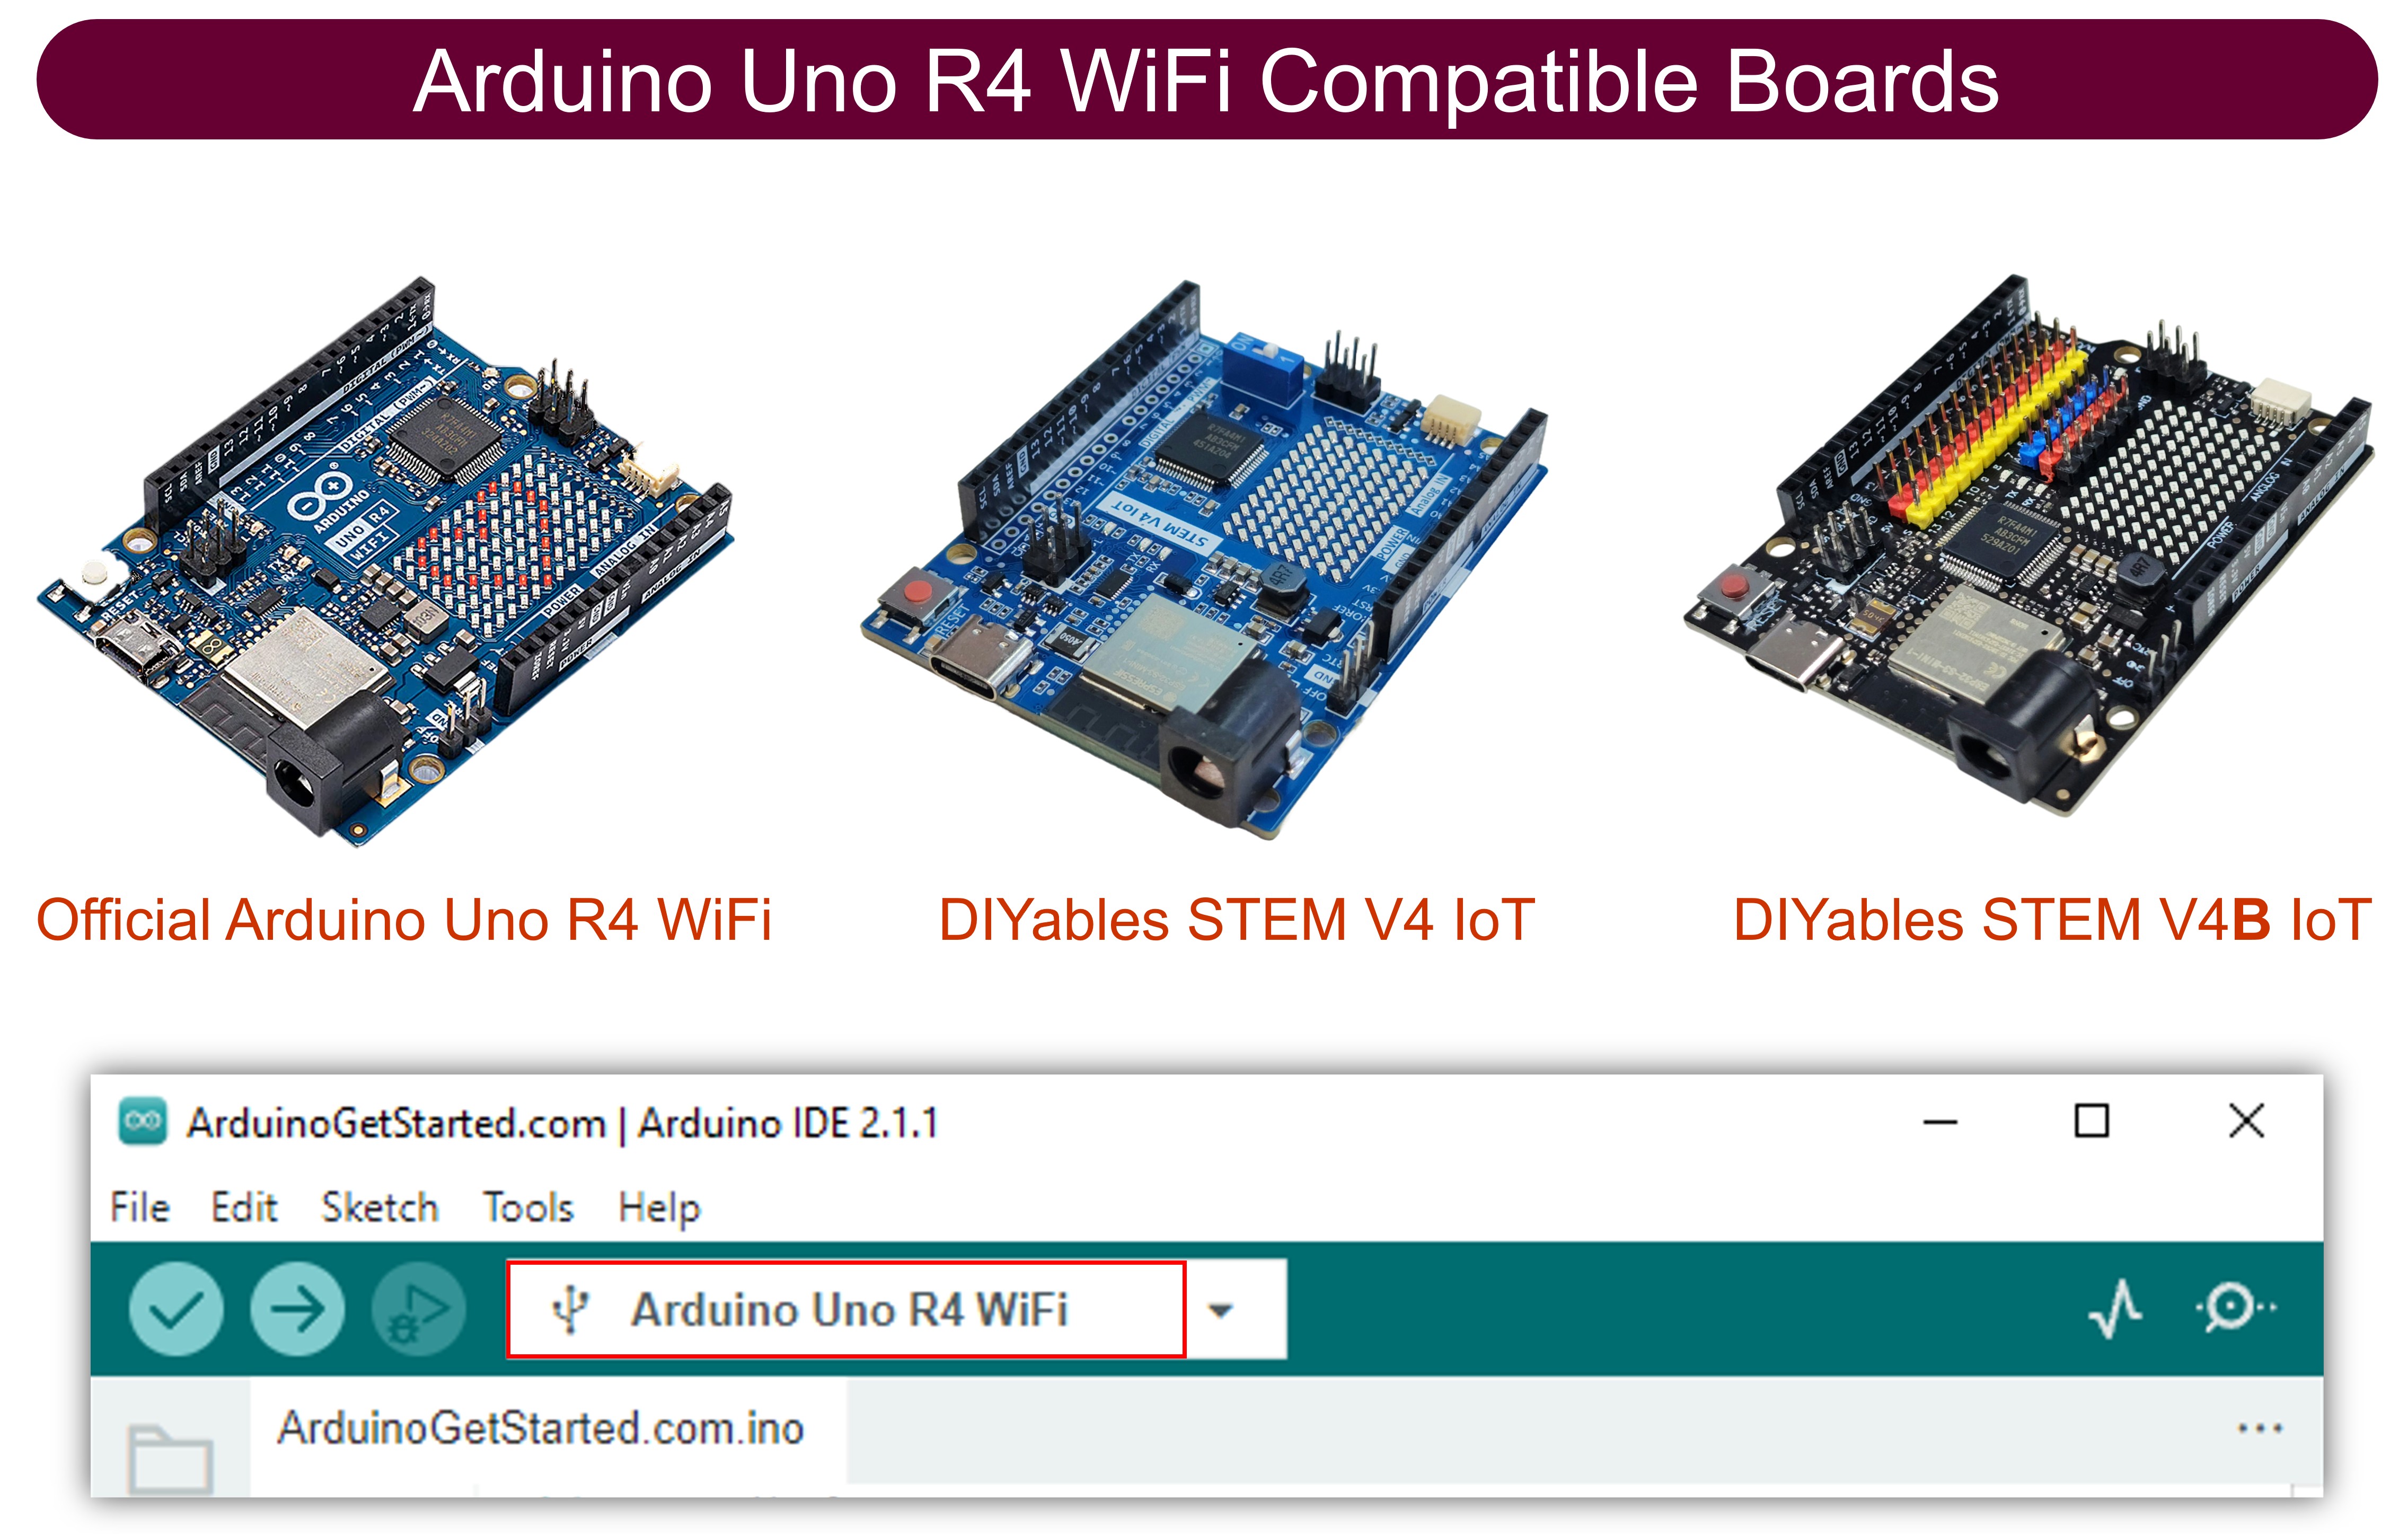
- Arduino Uno R4 WiFi
- Arduino Uno/Mega with Ethernet Shield
Hardware Required
| 1 | × | Arduino UNO R4 WiFi | |
| 1 | × | Alternatively, DIYables STEM V4 IoT | |
| 1 | × | Alternatively, DIYables STEM V4B IoT | |
| 1 | × | USB Cable Type-A to Type-C (for USB-A PC) | |
| 1 | × | USB Cable Type-C to Type-C (for USB-C PC) |
Alternatively if using Ethernet:
Or you can buy the following kits:
| 1 | × | DIYables STEM V3 Starter Kit (Arduino included) | |
| 1 | × | DIYables Sensor Kit (18 sensors/displays) |
Additionally, some links direct to products from our own brand, DIYables .
Prerequisite
If you do not know about IFTTT and related concepts, We highly recommend you reading the following tutorials:
Wiring Diagram
- Arduino - Ethernet Shield: we just need to stack the shield on Arduino Uno/Mega
How It Works
We need to:
- Install IFTTT app on your phone (available for Android and iOS).
- Create an IFTTT Applet on the IFTTT website, which connects Webhooks to VoIP Calls service.
When we create the Applet:
- We can write the text message, which is converted to the voice message to be sent on the phone.
- We can include data from Arduino to the message.
Workflow
- Arduino makes an HTTP request to Webhooks of IFTTT,
- Webhooks triggers VoIP Calls service on IFTTT
- VoIP Calls service on IFTTT converts the text message to the voice message.
- VoIP Calls service on IFTTT makes a call to IFTTT app on your phone.
- Your phone is ringging.
- You accept the call
- The voice message is spoken.
※ NOTE THAT:
- The message is specified on the Applet, not in the Arduino code.
- Since this is VoIP, your phone need to be connected to Internet.
- VoIP call is free
- Arduino can speak to you, but you cannot speak to Arduino.
How To Use IFTTT with Arduino
- Install IFTTT app on your phone
- Create an IFTTT account and Login to IFTTT.
- Create an Applet of Webhooks and VoIP Calls services. Please write down the event name we uses
- After creating the applet, get Webhooks key from IFTTT.
- Copy below Arduino code and paste in Arduino IDE.
- Replace event name and Webhooks key in the Arduino code
- Upload the code to Arduino
※ NOTE THAT:
- The event name is given by you. You can give any name.
- Webhooks key is created by IFTTT. You can not change it.
See the video tutorial at the end of this tutorial.
Arduino code
Arduino IFTTT code for Arduino Uno R4 WiFi
Arduino IFTTT code for Arduino Uno/Mega with Ethernet Shield
※ NOTE THAT:
This tutorial used the dynamic IP address (via DHCP). If you want to use the static IP address:
- For Ethernet Shield, you need to modify Arduino code. See Arduino Ethernet Shield with static IP address
Result
In the two above codes, If succeeded,
- The result in Serial Monitor looks like below:
- Check your phone is ringging or not.
- Accept the call
- Hear the the voice message.
Video Tutorial
How to Include Sensor Data to Voice Message
To include data from Arduino to the voice message, we need to do:
- In Arduino: Include data into HTTP request (in the query string).
- In Applet: modify the setting to extract data from the HTTP request.
You can learn what is query string in this tutorial
There are 5 variables we can use in the setting of the IFTTT Applet.
| {{EventName}} | Extracted from HTTP request |
|---|---|
| {{OccurredAt}} | System time when event occurs |
| {{Value1}} | Extracted from the variable value1 of query string in HTTP request |
| {{Value2}} | Extracted from the variable value2 of query string in HTTP request |
| {{Value3}} | Extracted from the variable value3 of query string in HTTP request |
For example:
- In Arduino: Change String queryString = "" to String queryString = "?value1=26&value2=70" in above codes.
- In Applet: Modify the text message in the setting of the IFTTT Applet as follow:
Hi guy,
This is Arduino Uno, I would like to inform you that:
- The outside temperature is {{Value1}} °C
- The outside humidity is {{Value2}} %
All the above value is measured at {{OccurredAt}}
Good luck and stay healthy!
In the above message, "
" make new line when displaying.
The voice message will be like below:
YOUTUBE VIDEO
You can read the temperature and humidity from sensor and put in the query string. See how to include data from sensor to query string
Challenge Yourself
Based on the above code, make the following project:
- Make a VoIP call to your phone when the button is pressed
- Make a VoIP call to your phone when the door is open
- Make a VoIP call to your phone when the temperature is too hot ...
WARNING
Note that this tutorial is incomplete. We will post on our Facebook Page when the tutorial is complete. Like it to get updated.