Arduino - LCD Keypad Shield
The Arduino LCD Keypad Shield is a useful module that combines a 16x2 LCD display with six push buttons (Right, Up, Down, Left, Select, and Reset) for user interaction. This tutorial will guide you through setting up and programming this shield using an Arduino board.
Hardware Required
Or you can buy the following kits:
| 1 | × | DIYables STEM V3 Starter Kit (Arduino included) | |
| 1 | × | DIYables Sensor Kit (18 sensors/displays) |
Additionally, some links direct to products from our own brand, DIYables .
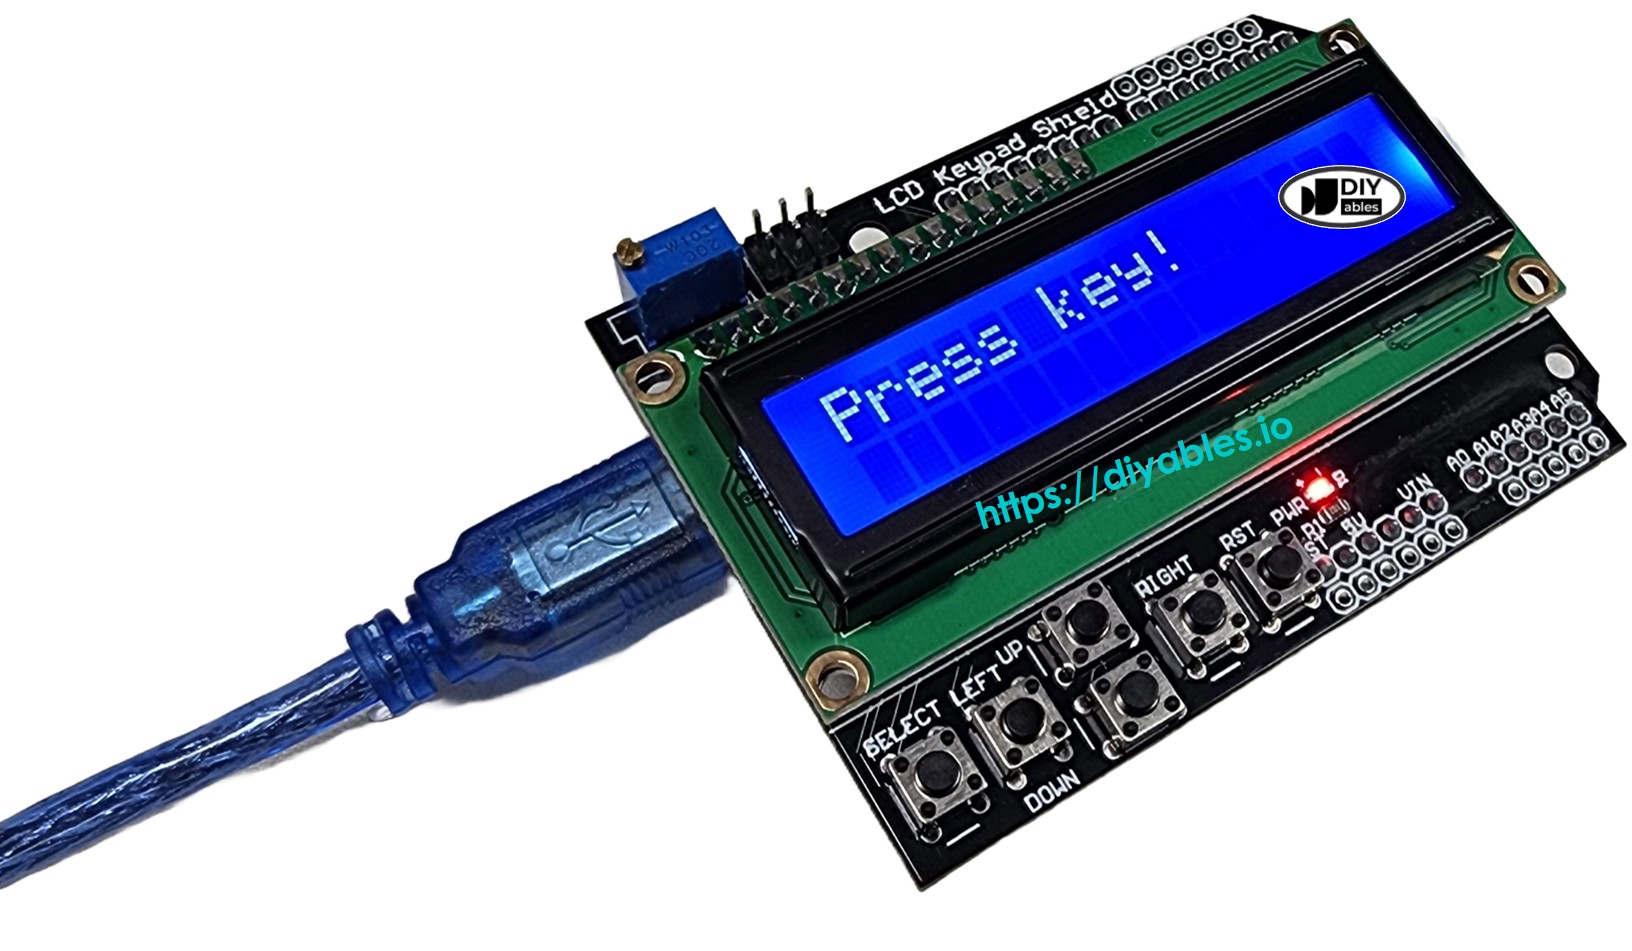
About LCD Keypad Shield
The LCD Keypad Shield has:
- A 16x2 LCD controlled by the LiquidCrystal library
- 5 push buttons connected to a single analog pin (A0)
- A reset button to restart the Arduino
- A potentiometer to adjust LCD contrast
Pinout
The table below illustrates the pin mapping between the LCD Keypad Shield and the Arduino when the shield is stacked onto the board.
| Shield Pin | Function | Arduino Pin |
|---|---|---|
| DB4 | Data | 4 |
| DB5 | Data | 5 |
| DB6 | Data | 6 |
| DB7 | Data | 7 |
| RS | Register Select | 8 |
| E | Enable | 9 |
| Analog A0 | Button Input | A0 |
Reset Button
The shield includes a reset button, which is connected to the Arduino's reset pin. Pressing this button will restart the Arduino, resetting the program.
Potentiometer
The shield features a small potentiometer near the LCD display. This is used to adjust the contrast of the LCD screen. If the text is not visible, try turning the potentiometer slowly to improve visibility.
Wiring Diagram
Simply plug the LCD Keypad Shield onto your Arduino board. The pins will align automatically.

This image is created using Fritzing. Click to enlarge image
Arduino Code
Quick Steps
- Stack the LCD Keypad Shield on Arduino
- Connect Arduino to PC via USB cable
- Open Arduino IDE, select the right board and port
- Copy the above code and paste it to the Arduino IDE
- Click Upload button on Arduino IDE to upload code to Arduino
- Press each button on the shield one by one and check if the corresponding text appears on the LCD.
- Check out the result on LCD display
If the LCD remains blank, ensure:
- The shield is properly connected to the Arduino.
- The potentiometer is adjusted for proper contrast.
- The uploaded code matches the example provided.
- The Arduino board is powered correctly.
Following these steps should help you get your Arduino LCD Keypad Shield working properly!
For more functions on controlling the LCD display, please refer to this Arduino LiquidCrystal LCD tutorial.
To improve modularity and readability, we reorganize the previous code into separate functions:
Video Tutorial
We are considering to make the video tutorials. If you think the video tutorials are essential, please subscribe to our YouTube channel to give us motivation for making the videos.