
Arduino - SCD40 CO2 Sensor
In this tutorial, we are going to learn:
- What the SCD40 CO2 sensor is and how to read its CO2 value in ppm
- How to connect the SCD40 CO2 sensor module to Arduino via I2C
- How to program Arduino to check if the air in a room is good, stuffy or poor
- How to read temperature and humidity from the same SCD40 module
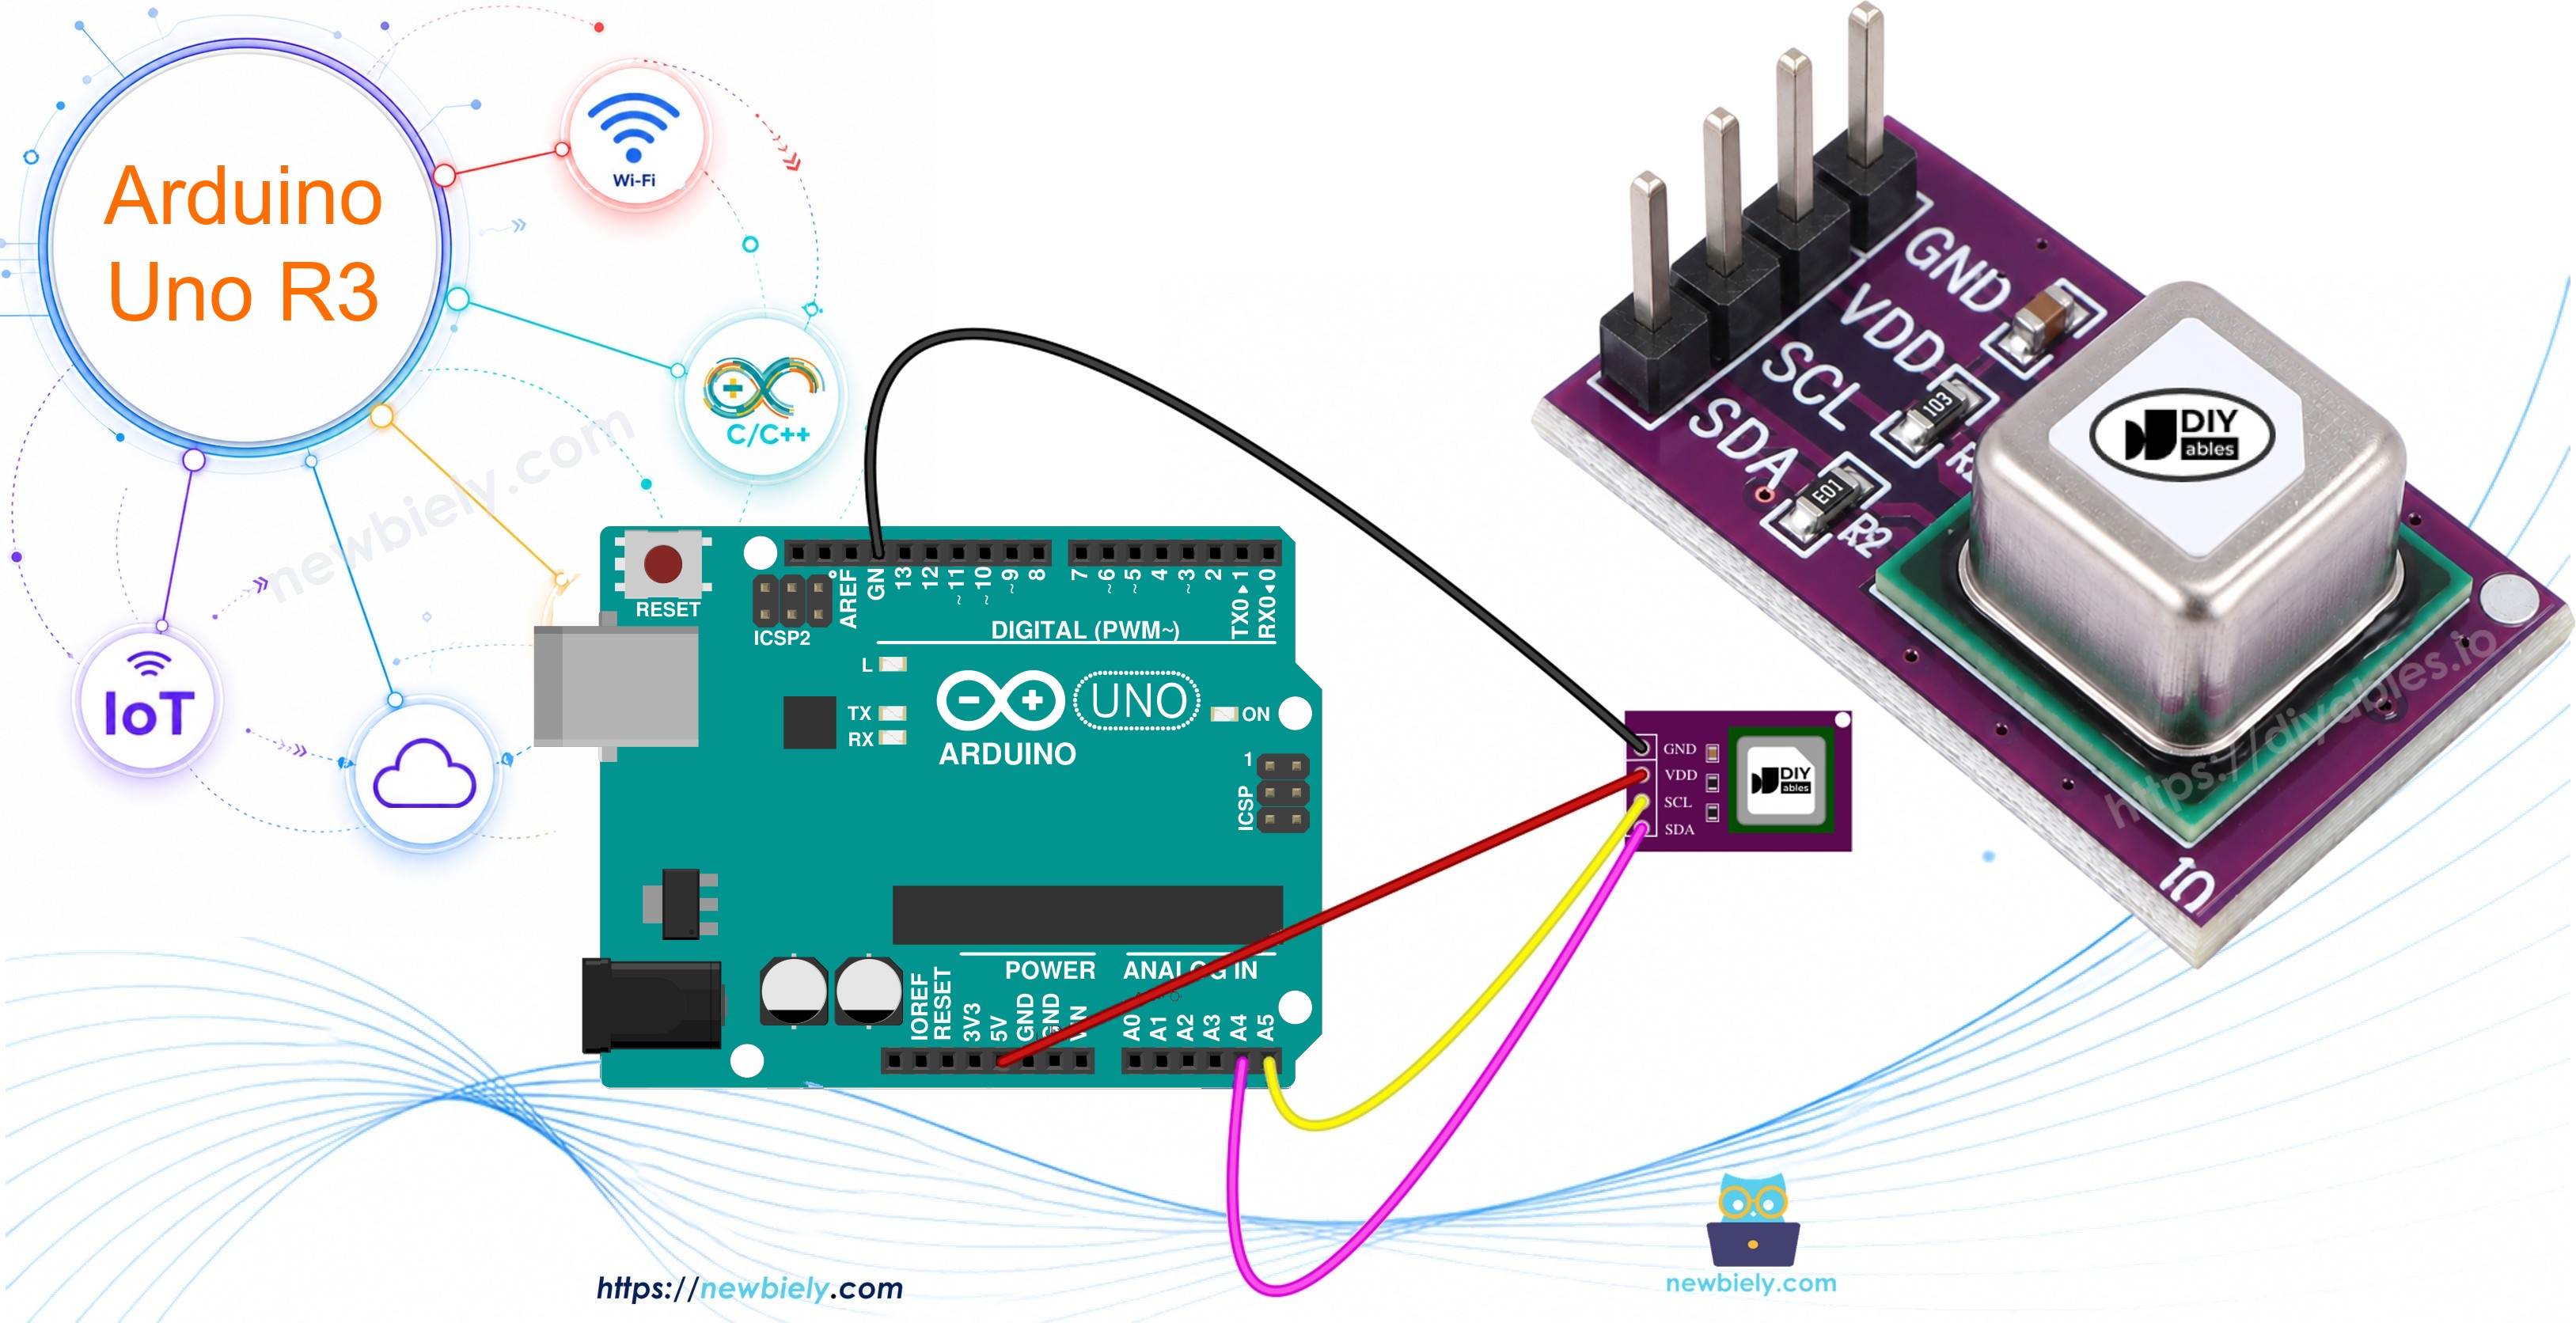
When many people stay in a closed room, the CO2 level goes up. High CO2 makes us tired and slow to think. With an SCD40 and an Arduino Uno, we can see this number and know when it is time to open a window.
Hardware Required
Or you can buy the following kits:
| 1 | × | DIYables STEM V3 Starter Kit (Arduino included) | |
| 1 | × | DIYables Sensor Kit (18 sensors/displays) |
Additionally, some links direct to products from our own brand, DIYables .
About SCD40 CO2 Sensor
The SCD40 is a small CO2 sensor made by Sensirion. It measures the real amount of carbon dioxide in the air. This is different from cheap gas sensors like the MQ series (see Arduino - Gas Sensor), which only estimate air quality. How does it work? Inside the sensor, a tiny infrared light blinks. CO2 gas absorbs this light and makes a very small pressure wave, like a sound. A tiny microphone hears it. The more CO2 there is, the louder the sound. This method is called photoacoustic NDIR.
| SCD40 | |
|---|---|
| Operating Voltage | 2.4V to 5.5V |
| Interface | I2C (address 0x62) |
| CO2 Output Range | 0 to 40,000 ppm |
| CO2 Accuracy | ±(50 ppm + 5% of reading), from 400 to 2,000 ppm |
| Reading Rate | one new value every 5 seconds |
| Temperature Accuracy | ±0.8°C (15°C to 35°C) |
| Humidity Accuracy | ±6 %RH (15°C to 35°C, 20 to 65 %RH) |
| Average Current | about 15 mA |
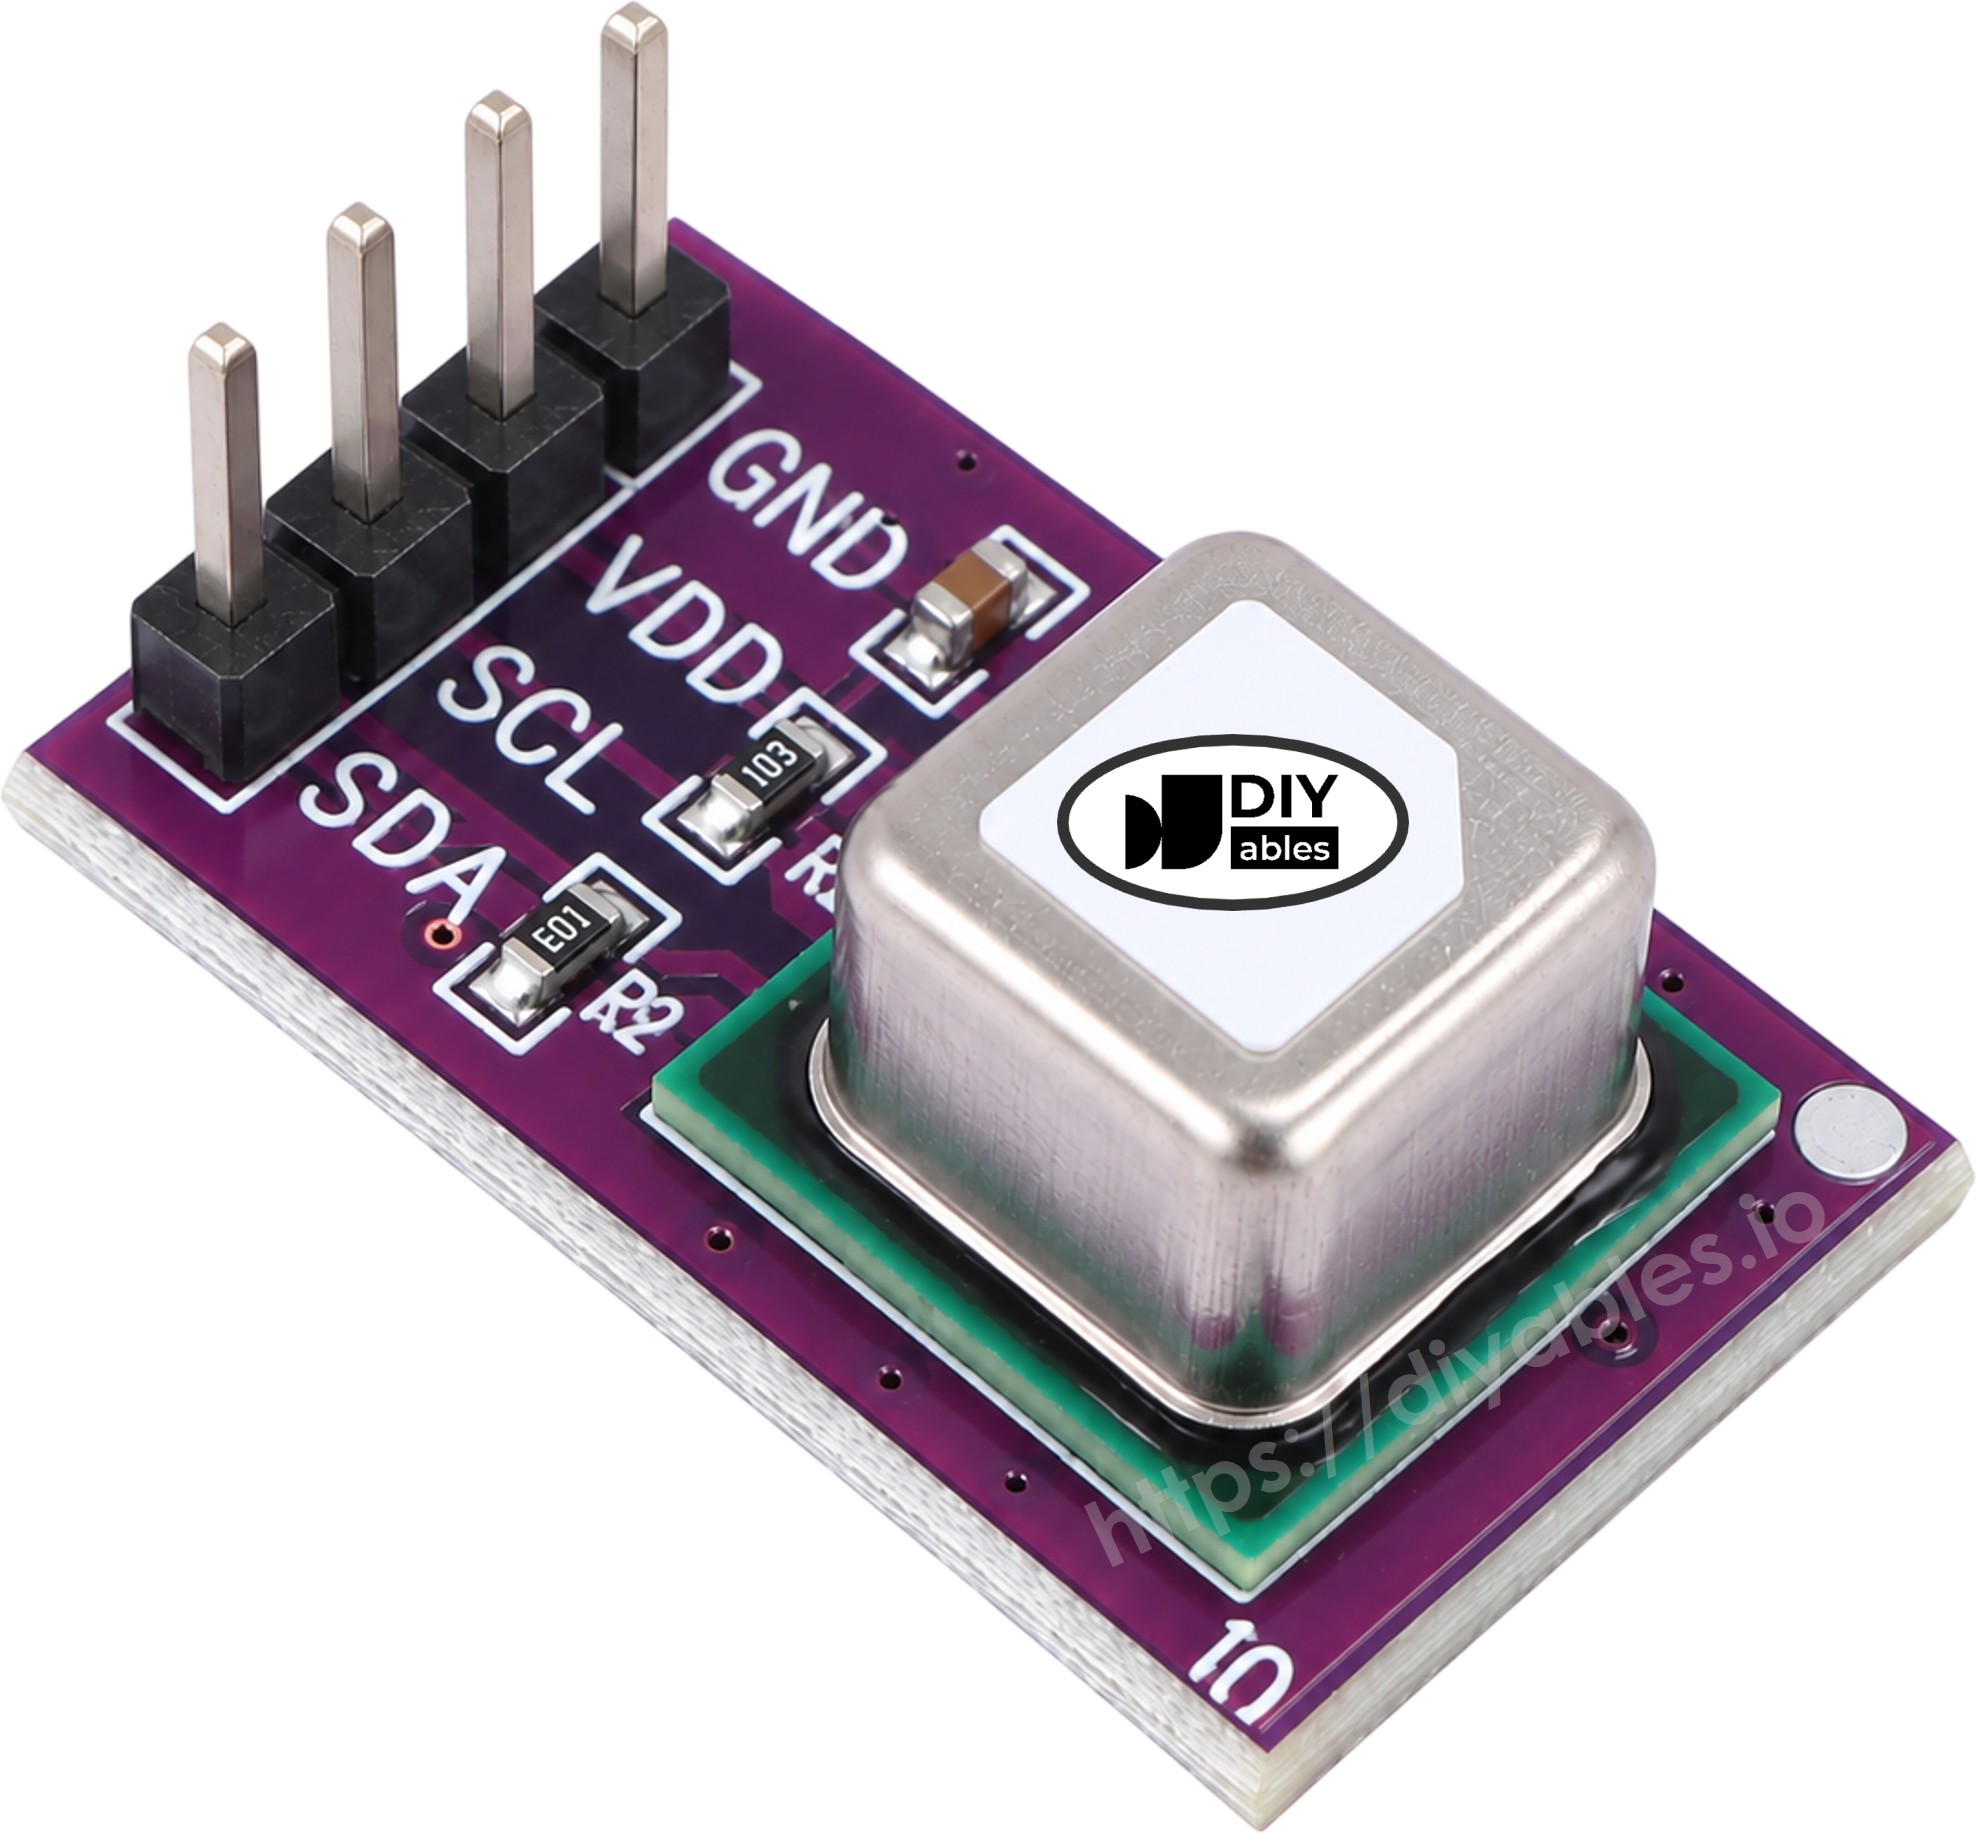
The SCD40 module has four pins:
- VCC pin: needs to be connected to VCC (5V, or 3.3V)
- GND pin: needs to be connected to GND (0V)
- SDA pin: the I2C data pin. It needs to be connected to the SDA pin of Arduino
- SCL pin: the I2C clock pin. It needs to be connected to the SCL pin of Arduino
Most SCD40 modules already have pull-up resistors for the I2C lines, so we do not need to add any.
What Does the CO2 Value Mean?
The sensor gives CO2 in ppm (parts per million). We can use this simple guide:
| CO2 Level | Air Quality |
|---|---|
| About 400 ppm | Fresh outdoor air |
| 400 to 1,000 ppm | Good indoor air |
| 1,000 to 2,000 ppm | Stuffy, open a window |
| Above 2,000 ppm | Poor, may cause headache or sleepiness |
※ NOTE THAT:
- The SCD40 calibrates itself automatically (Automatic Self-Calibration). For this to work, the sensor needs to see fresh air (about 400 ppm) at least once a week, for example near an open window for an hour.
- The first few readings after power on may be less accurate. Give it a few minutes.
Wiring Diagram
On Arduino Uno, the I2C pins are A4 (SDA) and A5 (SCL).
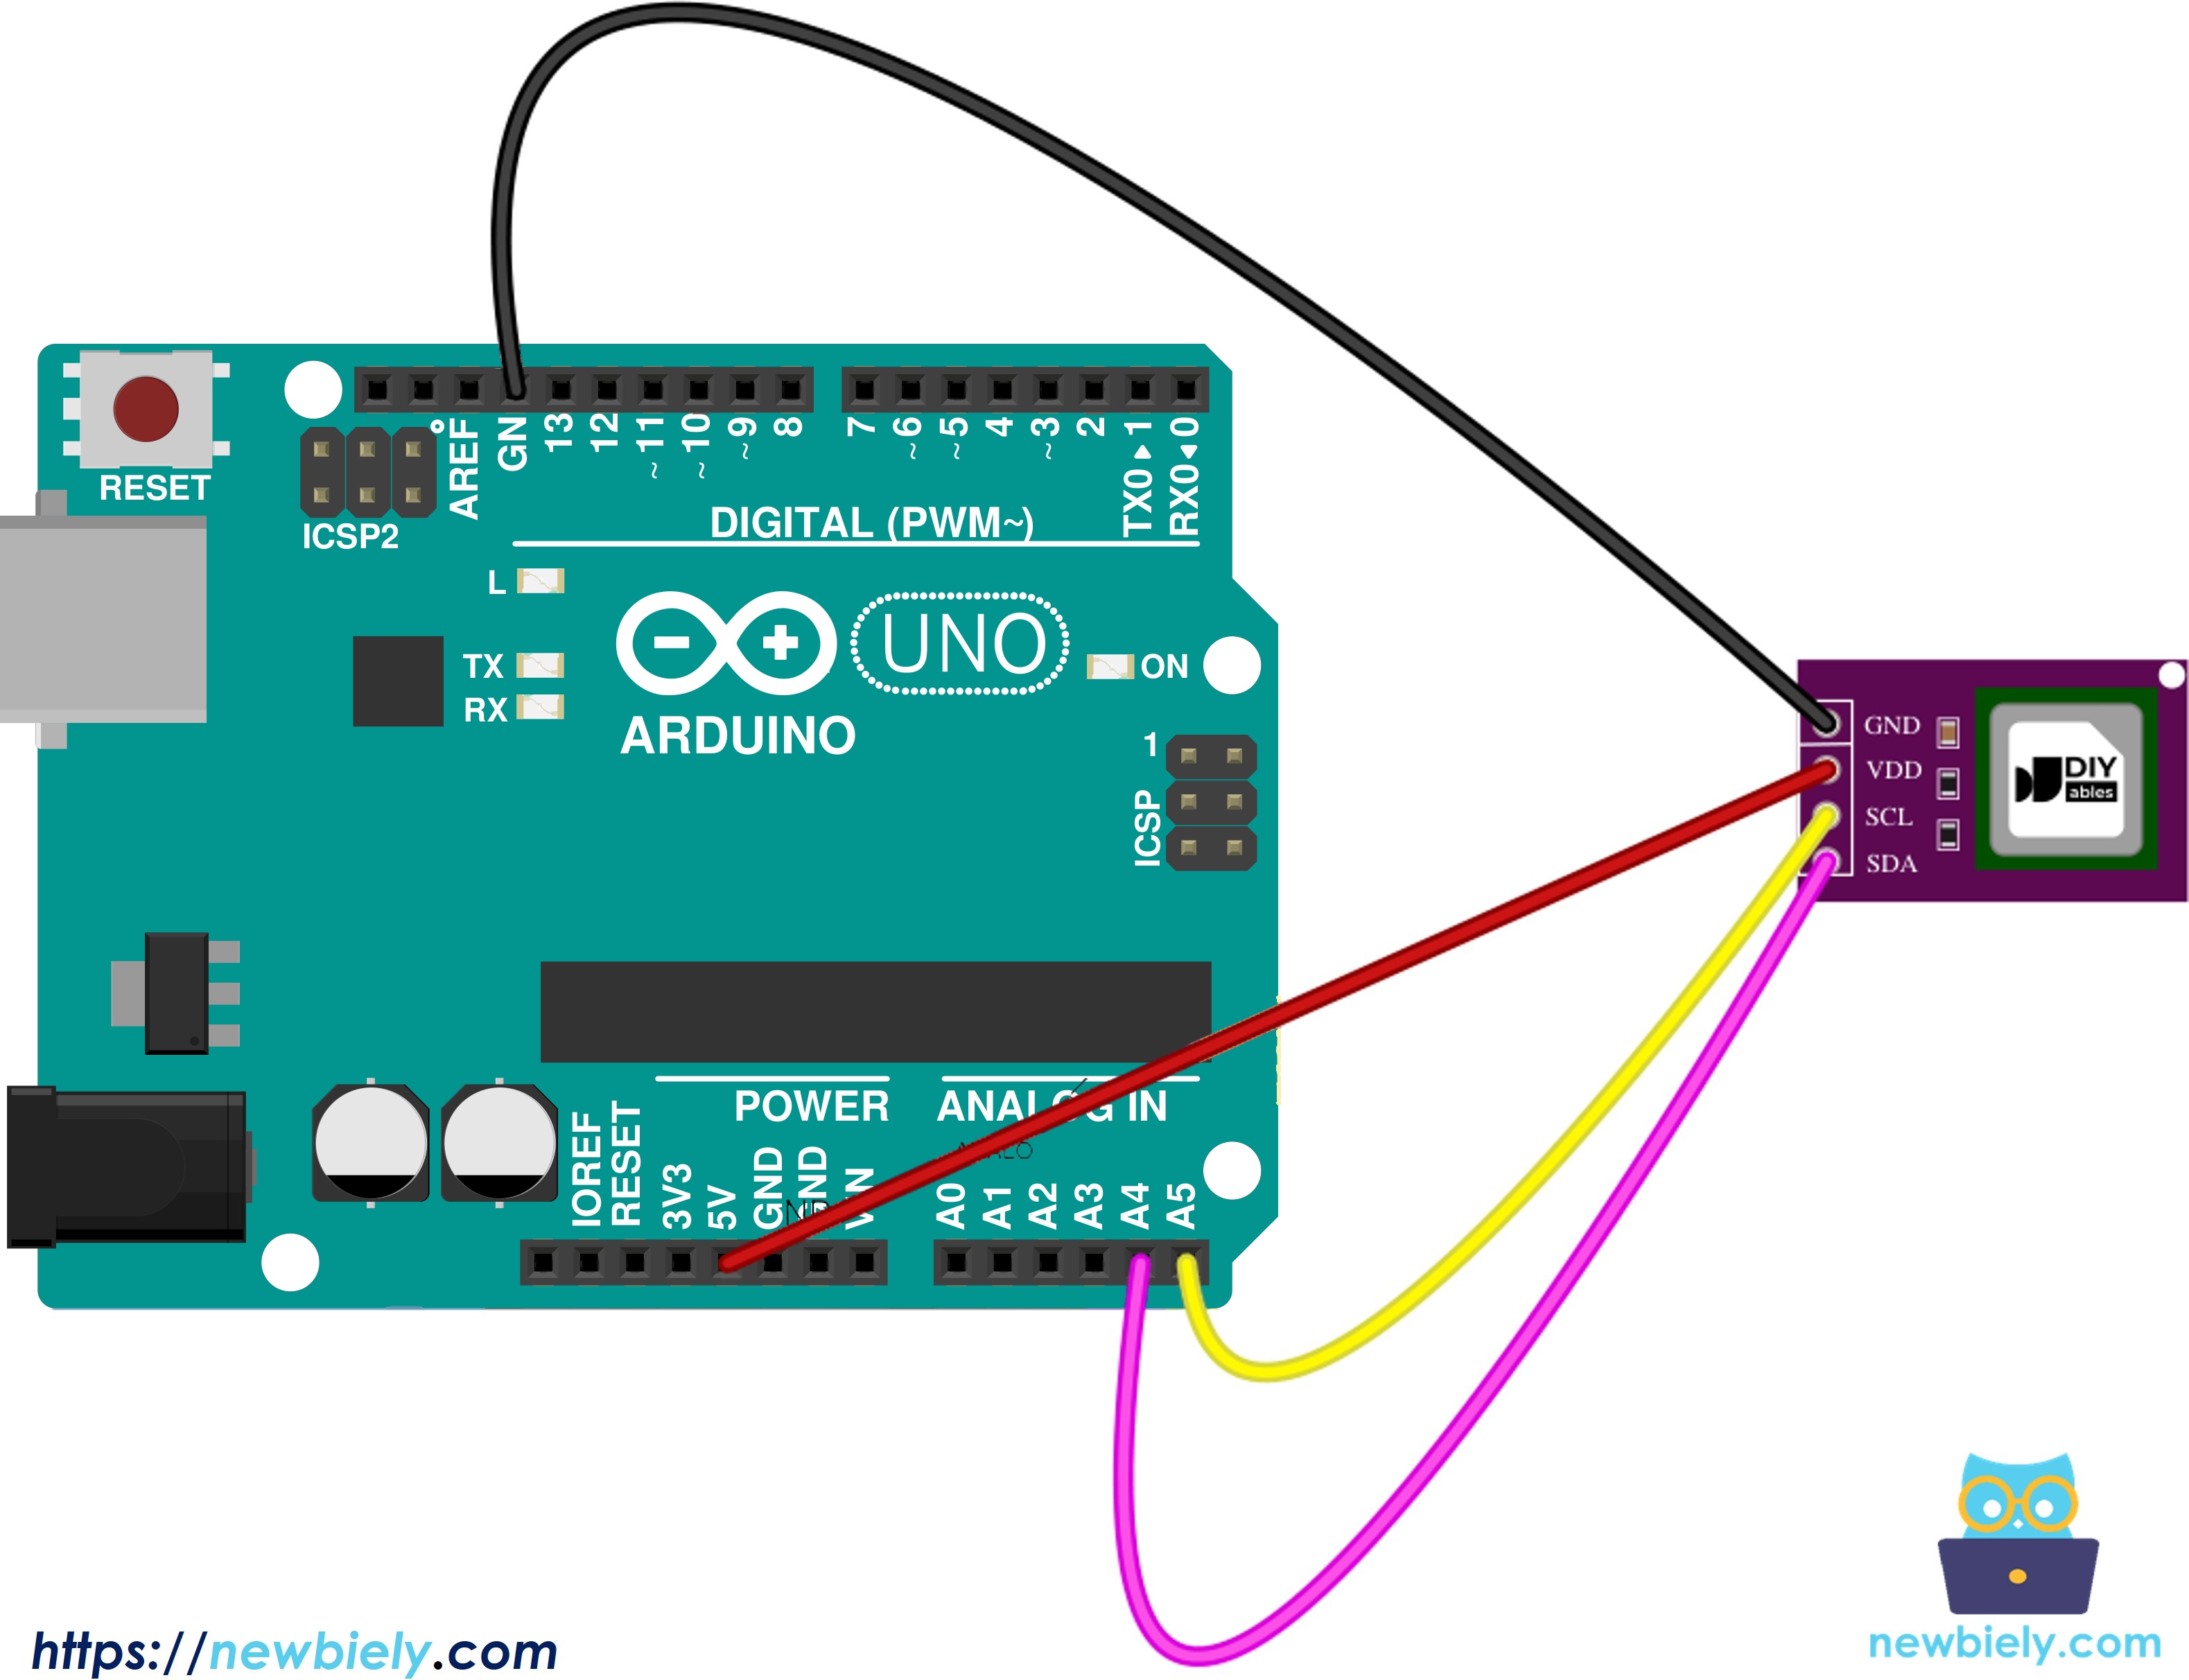
This image is created using Fritzing. Click to enlarge image
Wiring table of SCD40 Module and Arduino Uno
| SCD40 Module | Arduino Uno |
|---|---|
| VCC | → 5V |
| GND | → GND |
| SDA | → A4 |
| SCL | → A5 |
How To Program For SCD40 CO2 Sensor
- Include the libraries:
- Declare an SCD4x object:
- Initialize I2C and the sensor:
- Start the measurement. After this, the sensor makes a new reading every 5 seconds:
- Check if a new reading is ready:
- Read the values. The function always gives three values together:
Arduino Code - SCD40 CO2 Sensor
The below code prints the CO2 level and a simple word for the air quality: Good, Moderate or Poor.
Quick Steps
- Connect Arduino to PC via USB cable
- Open Arduino IDE, select the right board and port
- Navigate to the Libraries icon on the left bar of the Arduino IDE.
- Search “SCD4x”, then find the Sensirion I2C SCD4x library by Sensirion
- Click Install button to install the library.
- Search for Sensirion I2C SCD4x created by Sensirion and click the Install button.
- You will be asked to install the library dependency "Sensirion Core"
- Click Install All button to install it too.
- Copy the above code and open with Arduino IDE
- Click Upload button on Arduino IDE to upload code to Arduino
- Open the Serial Monitor. The first value comes after about 5 seconds.
- Breathe slowly near the sensor, or close the door of a small room, and see the CO2 go up.
The jump to 1362 ppm happens when we breathe on the sensor. After a short time, the value goes back down.
Reading Temperature and Humidity from the SCD40
The SCD40 also has a built-in temperature and humidity sensor. It uses them to correct the CO2 value, but we can read them too. They come from the same readMeasurement() call, so we do not need any extra wiring or library. The code below prints all three values.
Quick Steps
- Keep the same wiring as above
- Copy the above code and open with Arduino IDE
- Click Upload button on Arduino IDE to upload code to Arduino
- See the result on Serial Monitor
※ NOTE THAT:
The SCD40 is not made to be a high-accuracy thermometer. If you only need temperature and humidity, the Arduino - DHT22 tutorial is a simpler choice.
Video Tutorial
We are considering to make the video tutorials. If you think the video tutorials are essential, please subscribe to our YouTube channel to give us motivation for making the videos.